16 Jul How to install Joomla on localhost (local server) using XAMPP
Joomla is a multilingual Content Management System widely used to develop dynamic websites. It is the 2nd most used content management system, after WordPress. Joomla installation on localhost is quite easy. It has some simple steps, which can be seen below,
What you need for Installation
For starting working on Joomla, you need the following software/ tools on localhost:
- Joomla: Joomla is a free and open source content management system, used to develop websites.
- XAMPP: It is a cross platform open source web solution package, that fulfills your need of,
- Web Server
- MySQL
- PHP
Installing Joomla on Localhost using XAMPP
We’re learning Joomla installation from scratch, so first we need to install it on localhost. Here are the steps,
Step 1: Firstly, download and install XAMPP
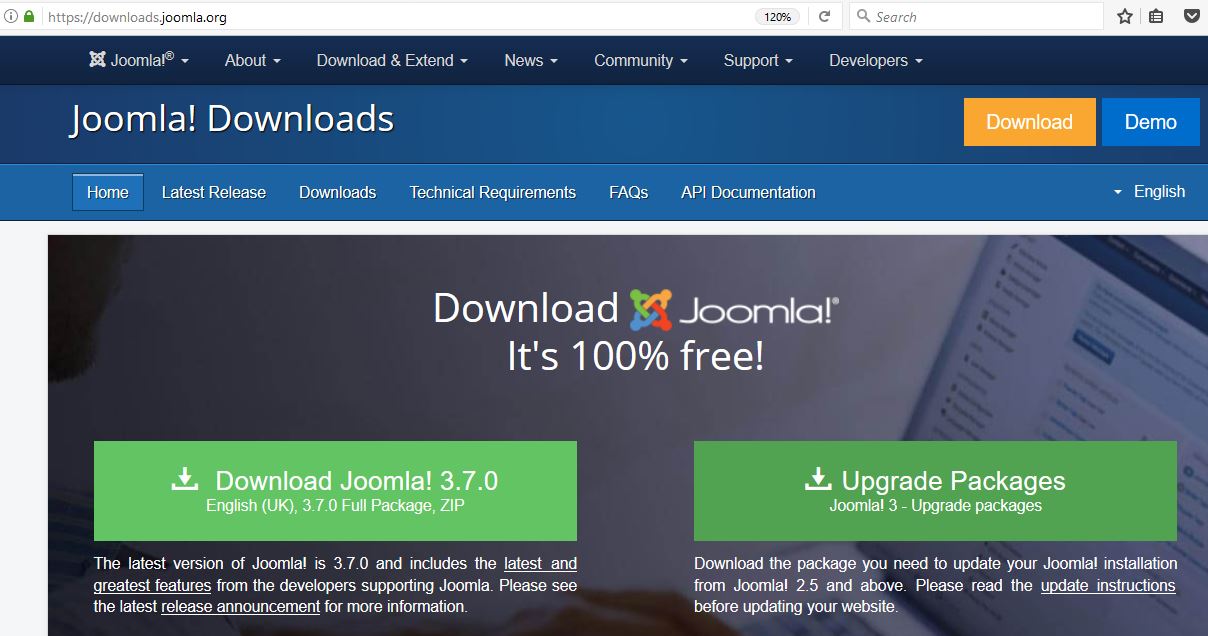
Step 2: Go to the official Joomla website and click Get started Download or go to the official Joomla Download page and click Download Joomla 3.7.0
Step 3: After downloading, go to xampp/htdocs and then create folder for our project. In that save the zip file of Joomla 3.7.0 downloaded above.
Location of new folder: C:\xampp\htdocs\Studyopedia
We have created a folder Studyopedia and now we will save the zip file here and unzip it.

Step 4: Now, start XAMPP from XAMPP Control Panel
Step 5: Go to the web browser, type localhost/Studyopedia/ and press enter.

Step 6: Now, add the following details about the website,
| Field | Value | Description |
|---|---|---|
| Site Name | Studyopedia | Add site name |
| Description | Free learning for students and professional with free learning tutorials and videos. Learning should never stop. | Add description of the website |
| Administrator Email | Administrator Email | |
| Administrator Username | LearnerOne | Administrator Username |
| Administrator Password | Administrator Password | |
| Site Offline | No | Site online or offline. If you will select “Yes”, the after installation, site will be shown as “Under Maintenance” |
Here’s the screenshot showing the same,
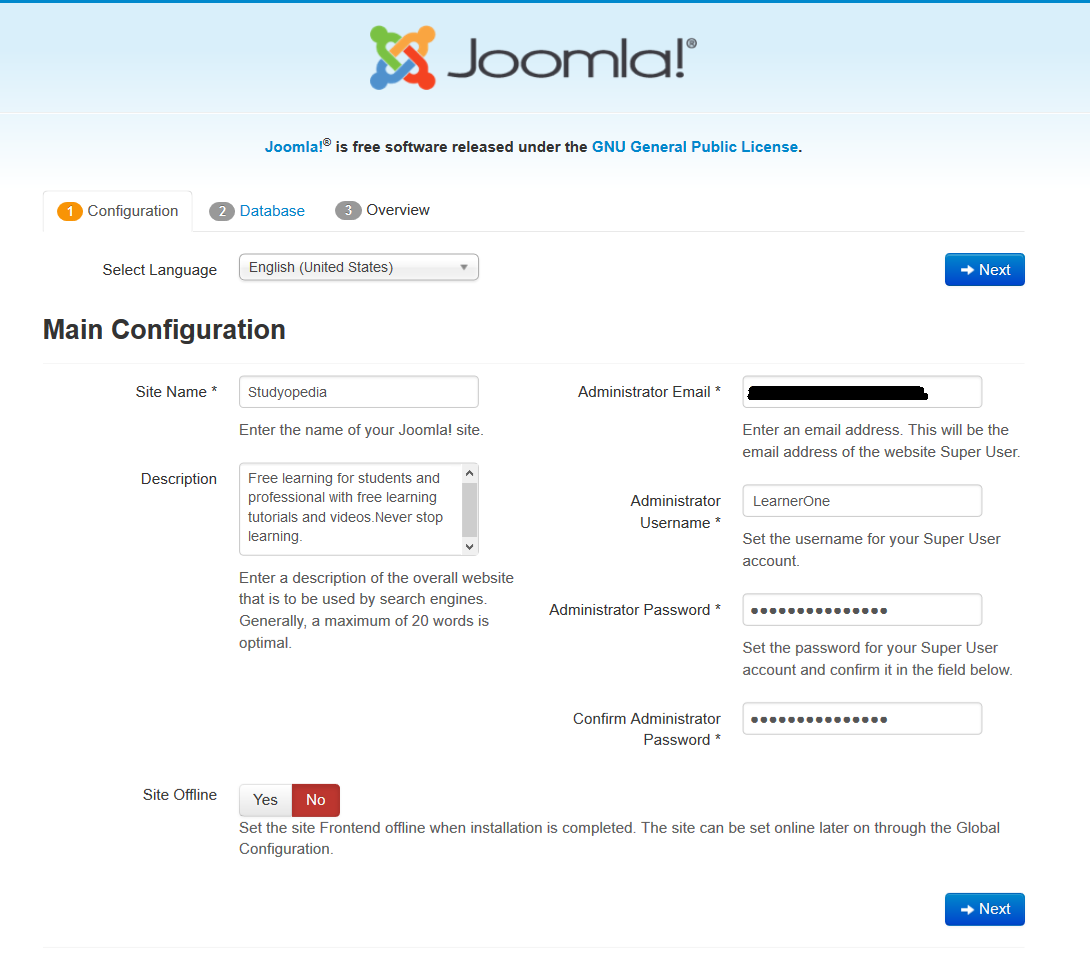
After adding the details, click Next.
Step 7: Now, for Database configuration, create a new database in phpMyAdmin.
Let’s create a new database, aviddb,
First, we need to go to phpMyAdmin. Go to the following link and press enter,
localhost/phpmyadmin
Now, after reaching phpMyAdmin, the following will be visible,
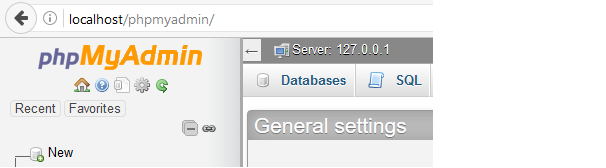
As in the above screenshot, click New to create a database.
Add the database name and click Create as in the following screenshot,
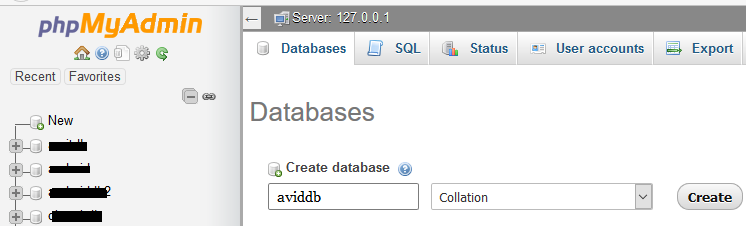
The MySQL database will get created successfully.
Let’s proceed with the Joomla installation.
Step 8:
Let’s proceed from Step 6 and add the database details in Database Configuration as shown below,
| Field | Values | Description |
|---|---|---|
| Database Type | MySQL | Type of Database |
| Host Name | localhost | Host |
| Username | root | Since we are working on localhost , our host is root . |
| Password | Add Password | |
| Database Name | aviddb | Add Database Name here |
| Table Prefix | cwtvu_ | Add a table prefix to your database tables |
| Old Database Process | Remove | " Backup " or " Remove " any existing tables from former Joomla! Installations with the same "Table Prefix". |
We created a database, aviddb in Step 7. Added the same database in Database Configuration, here’s the screenshot showing the Database Configuration details,
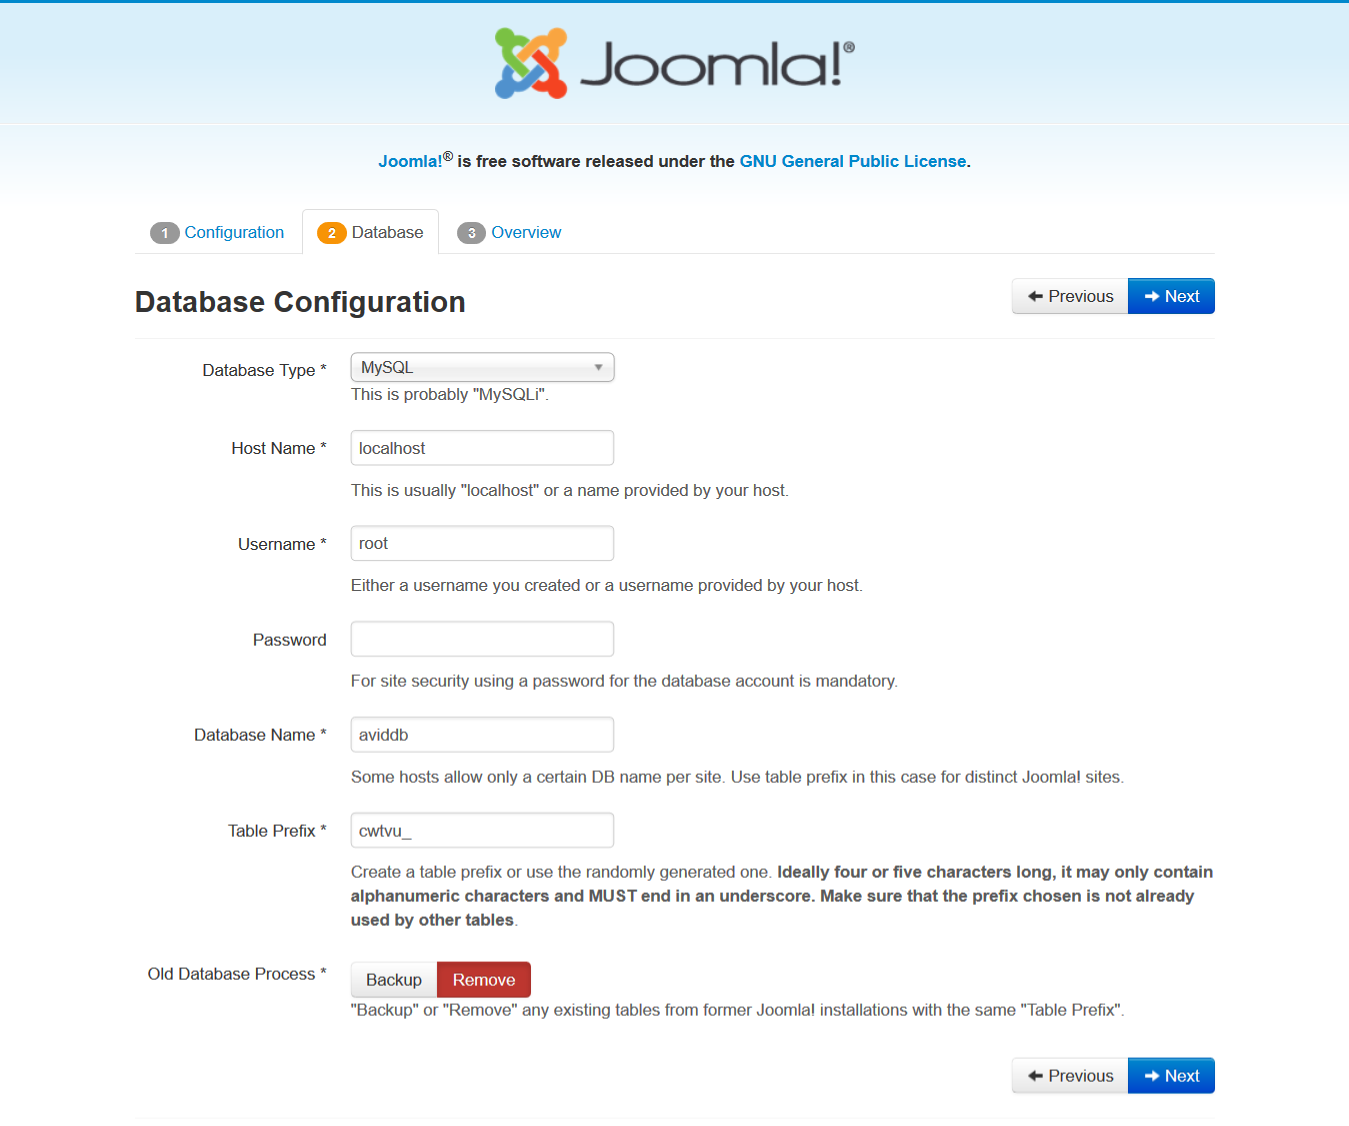
After adding the details, click Next.
Step 9: Now, add the following details for the last step Finalization. This will also show the settings enabled before,
| Field | Values | Description |
|---|---|---|
| Install Sample Data | Default English (GB) Sample Data | Installing sample content, recommended for beginners |
| Email Configuration | Yes | This will email configuration setting to admin email-id. |

Now, click Install as shown above.
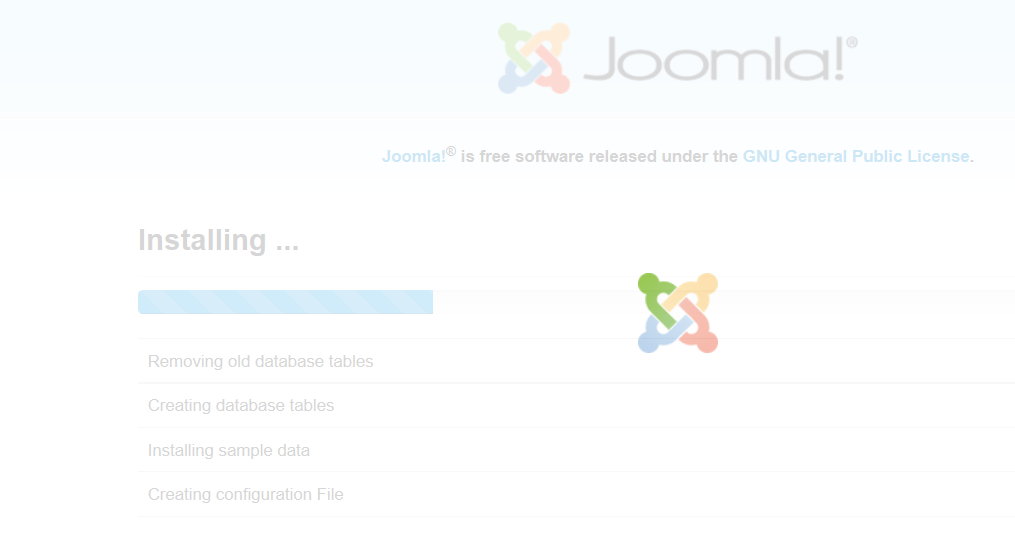
Step 10: The following shows the installation of Joomla begins. With that the sections are visible, like creating configuration files, creating database tables, installing sample data, etc.
Step 11: Joomla installation completes successfully. With the completion of installation, the interface has an option to remove installation folder, for security.
Click Remove Installation folder. This will help you to protect your site, so that no other person can re-install your site.
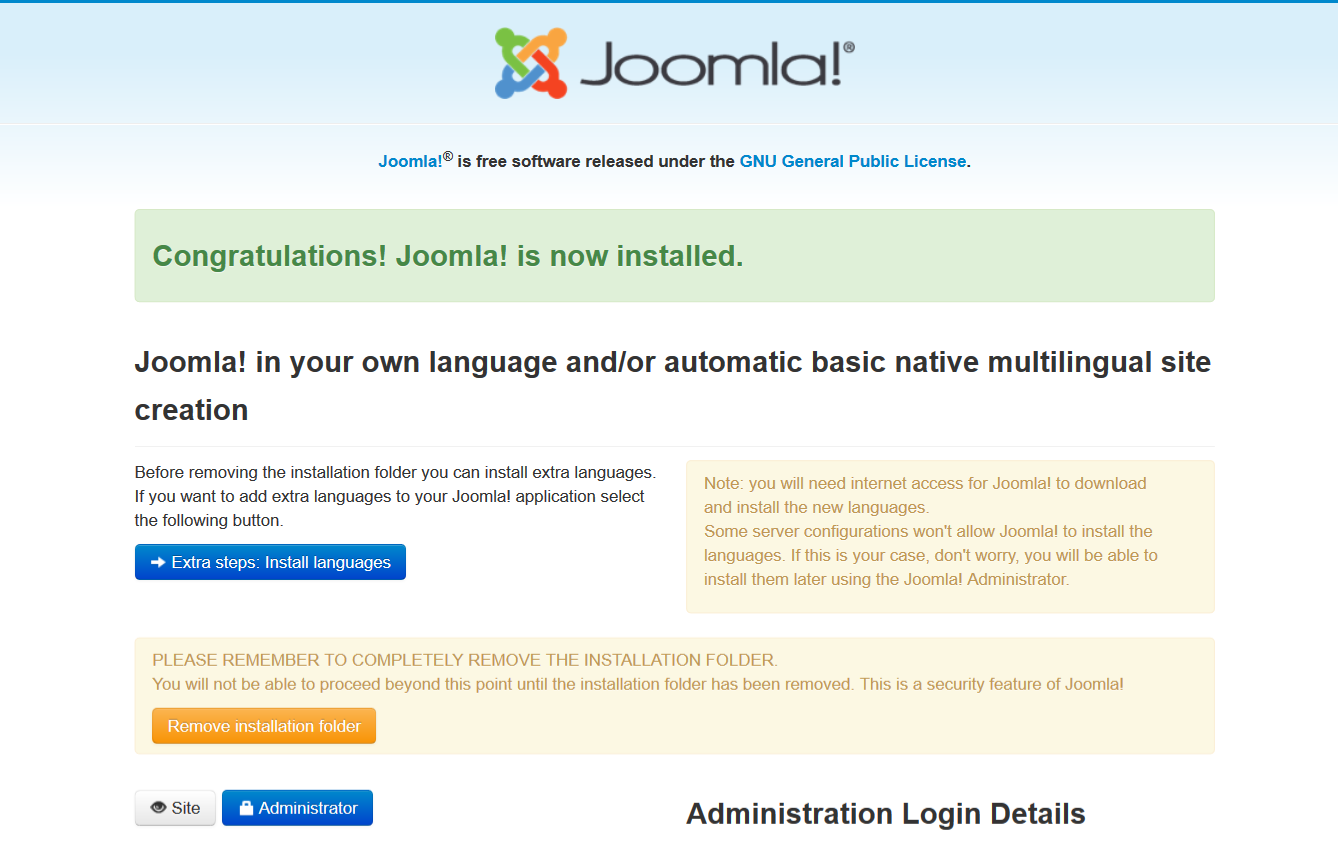
Step 12: Above you can see an option is visible to install extra language. Here you can install multiple languages for Joomla website,
Click Install Languages,
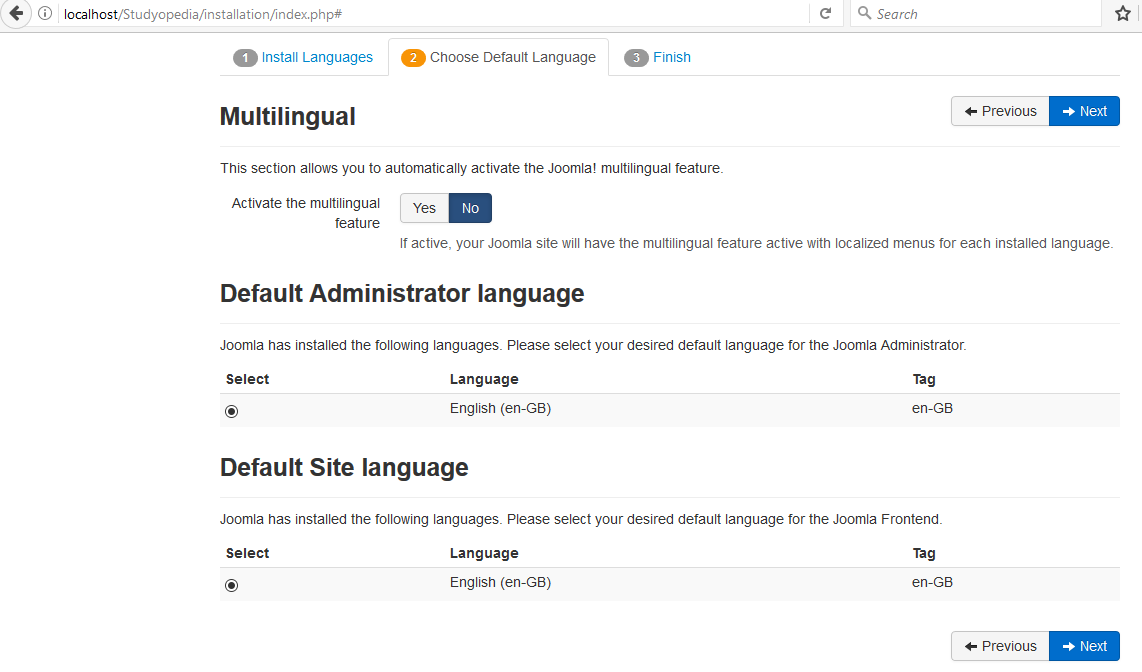
Now a section is visible wherein select the languages you want on the website.
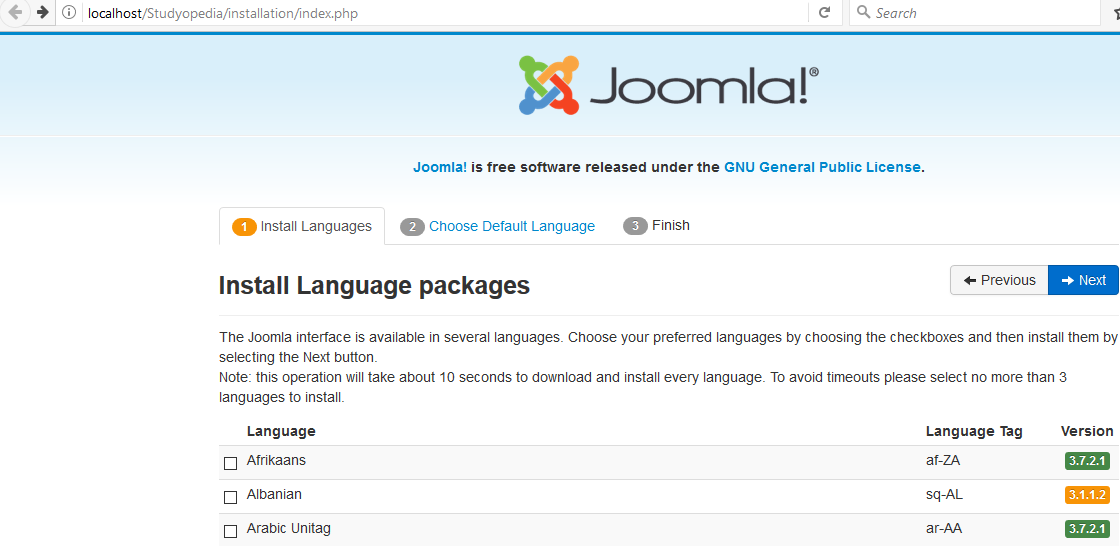
Install the languages and click Next. Now an option is visible for selecting the default administrative and default site language,
Step 13:
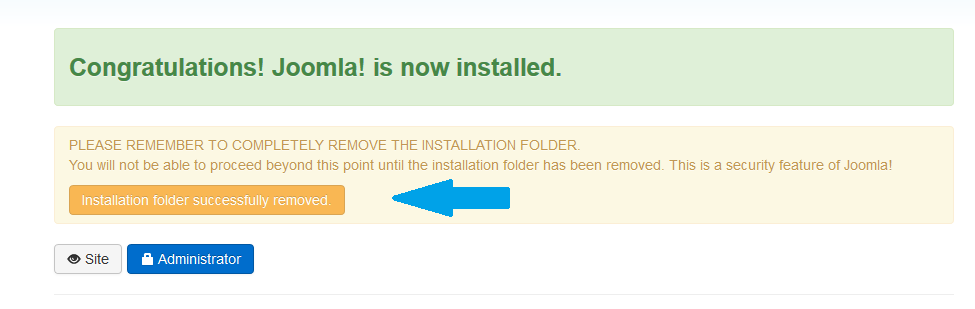
Also, you need to remove the installation folder for security, since this is a security feature for Joomla. Click on the button Remove installation folder shown below and remove the folder before moving further,

The folder will uninstall successfully,
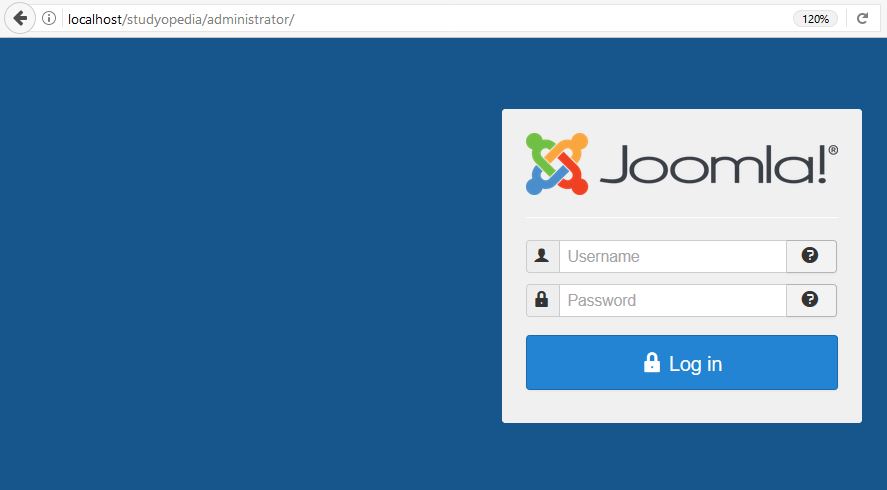
Step 14: Click Administrator to reach the administrator screen after installation,
Alexander Botha
Posted at 20:51h, 05 NovemberBeautiful and easy to follow