23 Mar Install Java 24 on Windows 11
In this article, we will learn how to install Java JDK 24 on Windows 11 OS. With that, to avoid any hassles in the future, we will also let you know how to verify the installation. The following are the steps:
- Download Java 24
- Install Java 24
- Set Java JDK Path (Environment Variable)
- Verify Java JDK 24 Installation
- Run Sample Java Program
Before moving further, we’ve prepared a video tutorial to install Java on Windows 11:
Let us begin with the 1st step:
Download Java
To download Java, go to Oracle’s official website and click Download Java:

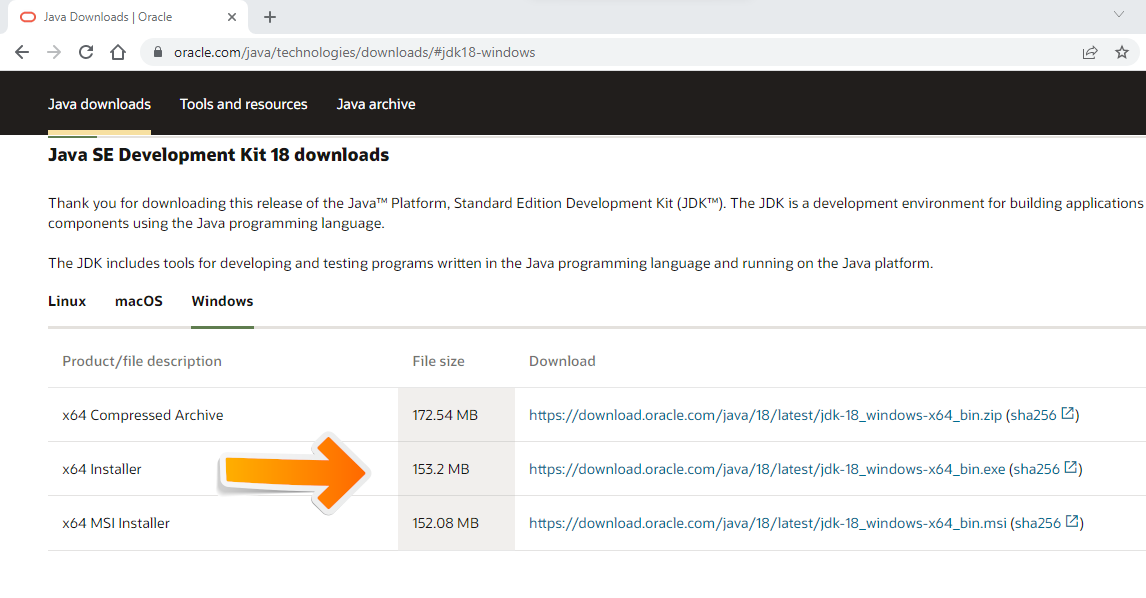
Now, the Downloads page will be visible.
Go to the bottom of the page, and click on the Windows installer as shown below:
Install Java
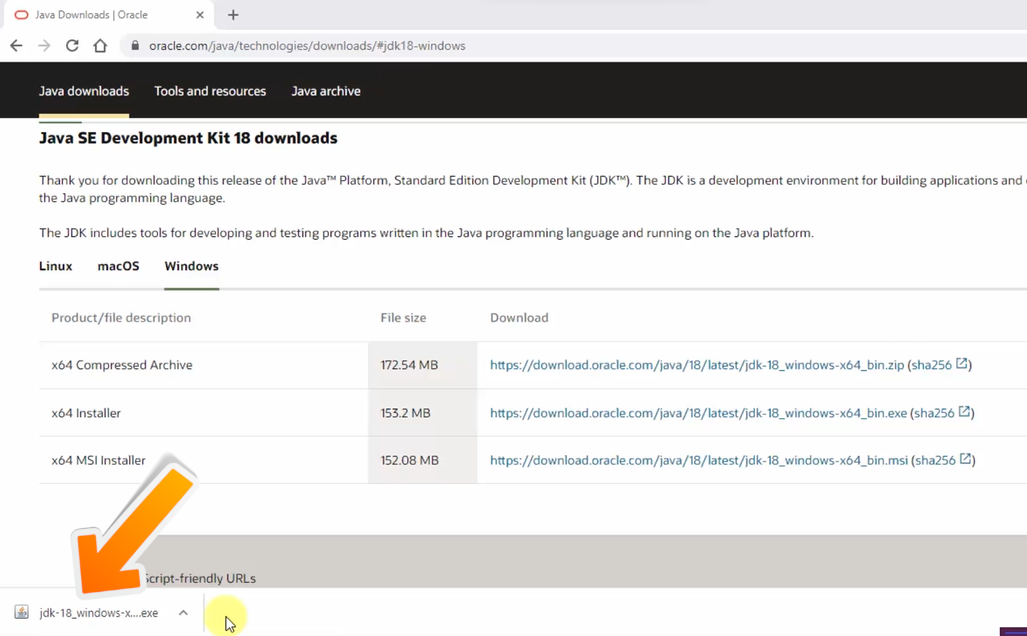
Double-click on the downloaded .exe file:
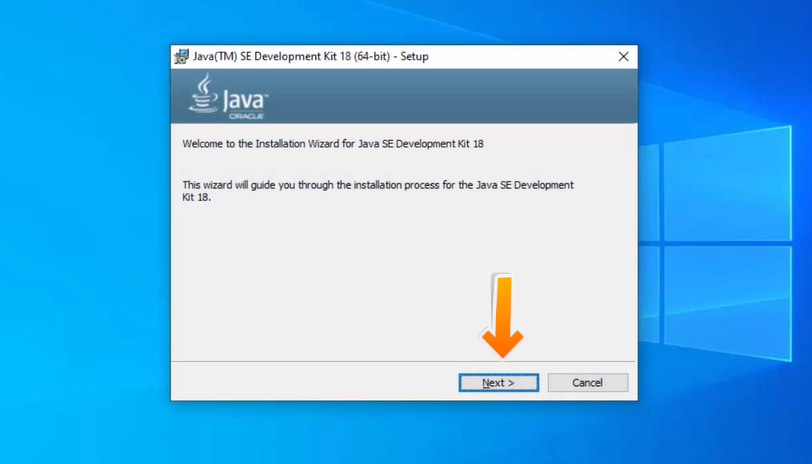
Installation begins. Click on Next:
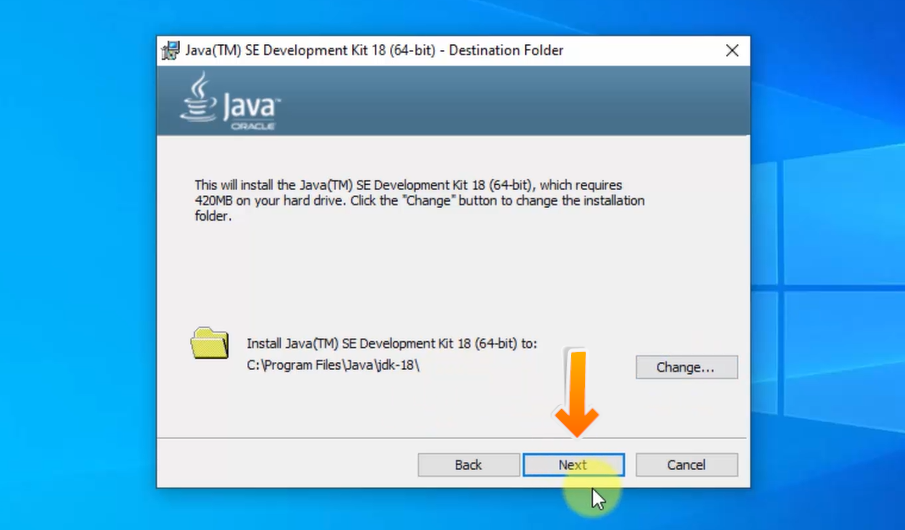
After clicking Next, the following Destination Folder section is visible. Set the path wherein the Java directories and files will get installed. Keep it the default i.e. here it will install under the following path: “C:\Program Files\Java\jdk-18″. Click on Next:
The installation continues for some seconds:
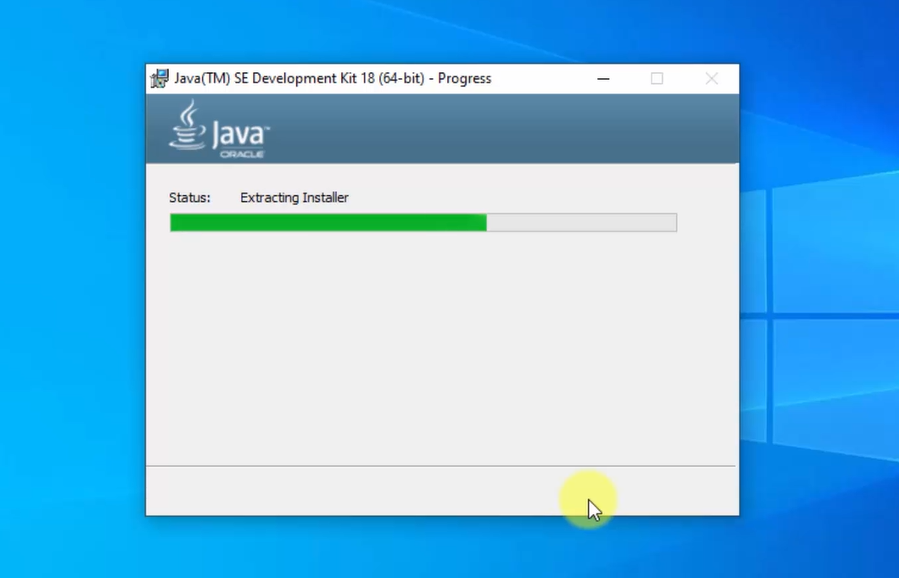
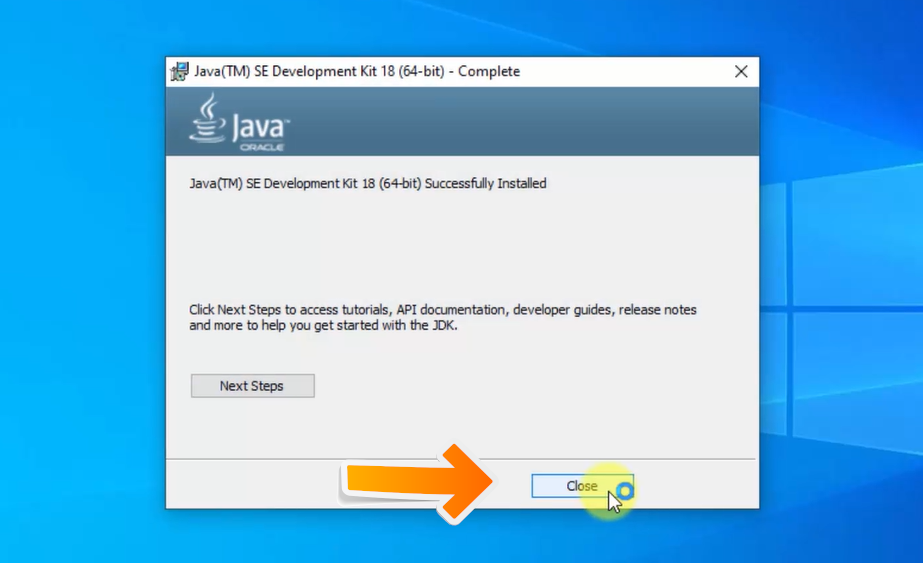
The installation finishes as in the following screenshot.
Click on Close:
Now, let us set the JDK path.
Set Java JDK Path (Environment Variable)
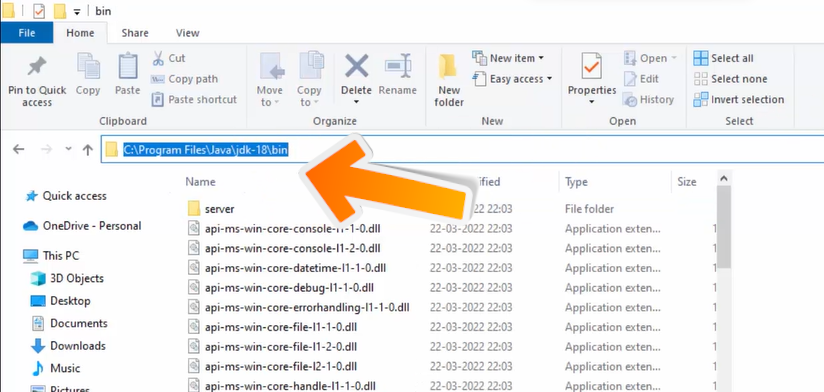
First, copy the path wherein you installed the Java JDK. Let us copy it first. Remember, we need to copy the bin path i.e. the following on our system:
|
1 2 3 |
C:\Program Files\Java\jdk-18\bin |
Here’s the screenshot of the bin path, wherein we installed Java:
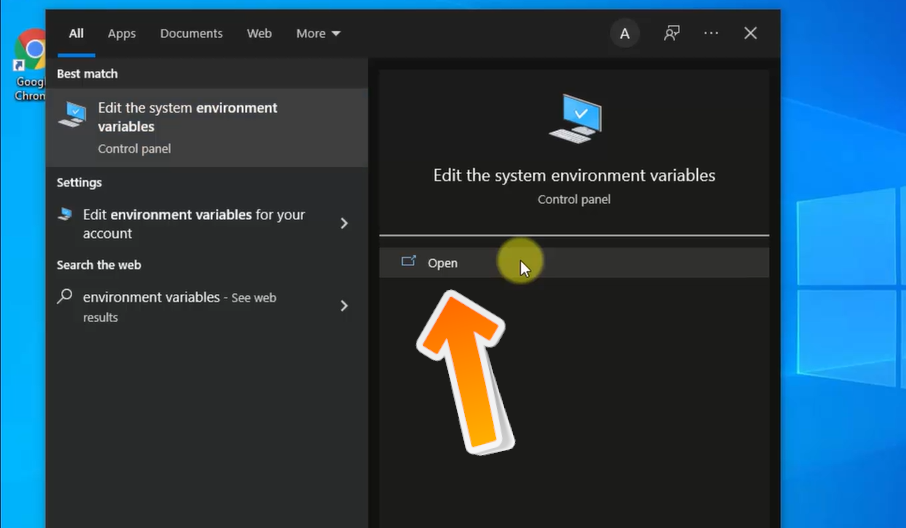
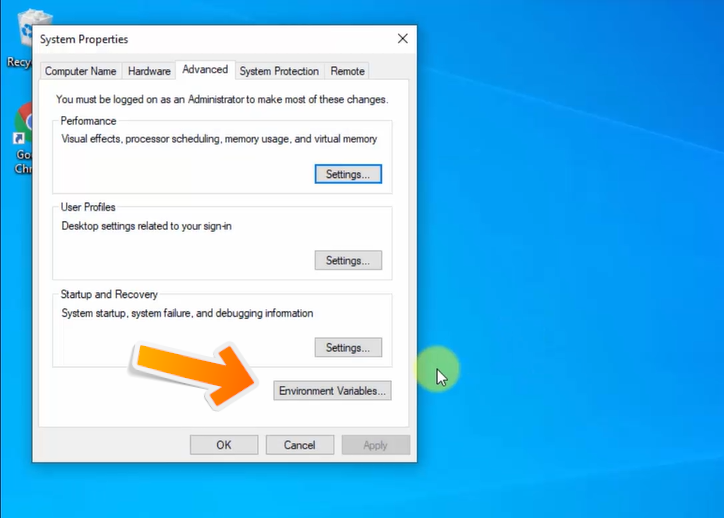
To set the JDK Path, the easiest way is to type Environment Variables on Start. On typing, the following would be visible: Now, click on Edit Environment Variables,
A new dialog box would be visible. Now, click Environment Variable:
Go to the System Variables section and double-click Path as in the below screenshot:
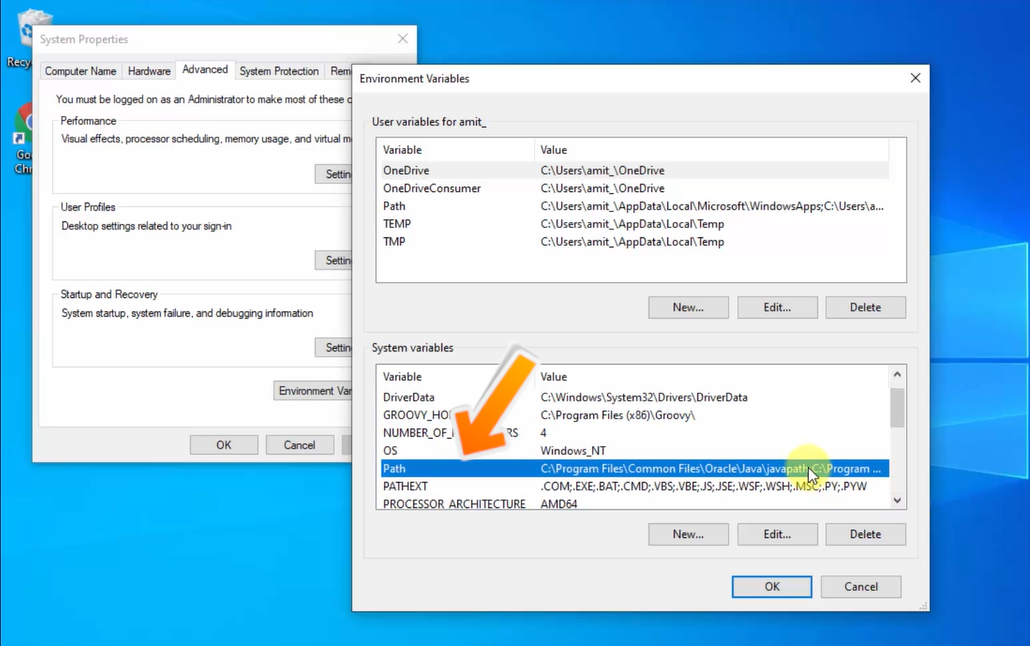
Now, the steps are displayed as a list marked in the below screenshot:
- On double-clicking Path, a new dialog box will open.
- From there, click New,
- Add the Java JDK path C:\Program Files\Java\jdk-18\bin as shown below:

Press Ok. Repeat the same for all the opened dialog boxes.
This ends the installation and the procedure to set the path for JDK. Now, we will verify the JDK installation.
Verify Java JDK Installation
We saw how to install Java JDK above. We installed it on Windows OS. Now, we can easily verify whether the installation was successful or not using the following command:
|
1 2 3 |
java --version |
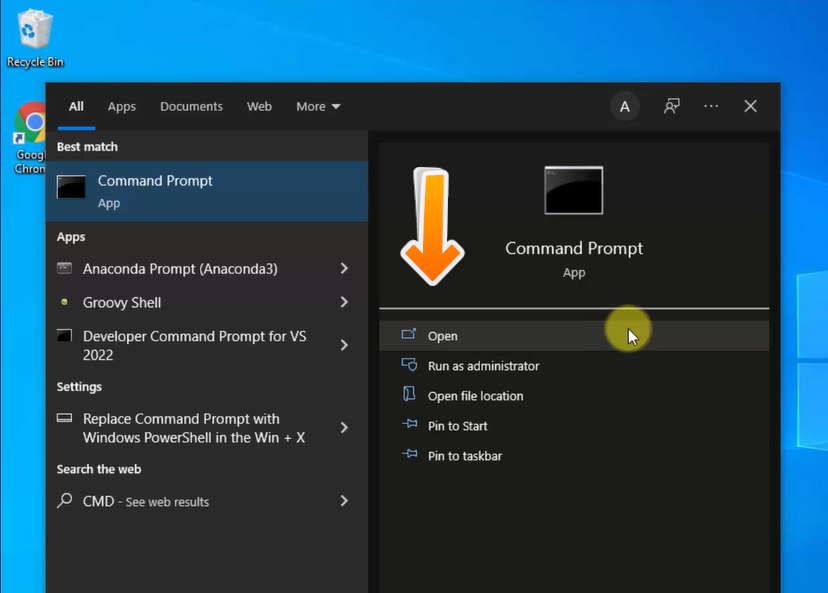
Type cmd on START and click to open the Command Prompt as shown below:
Let us implement the above command on the command prompt (cmd) and verify Java installation:
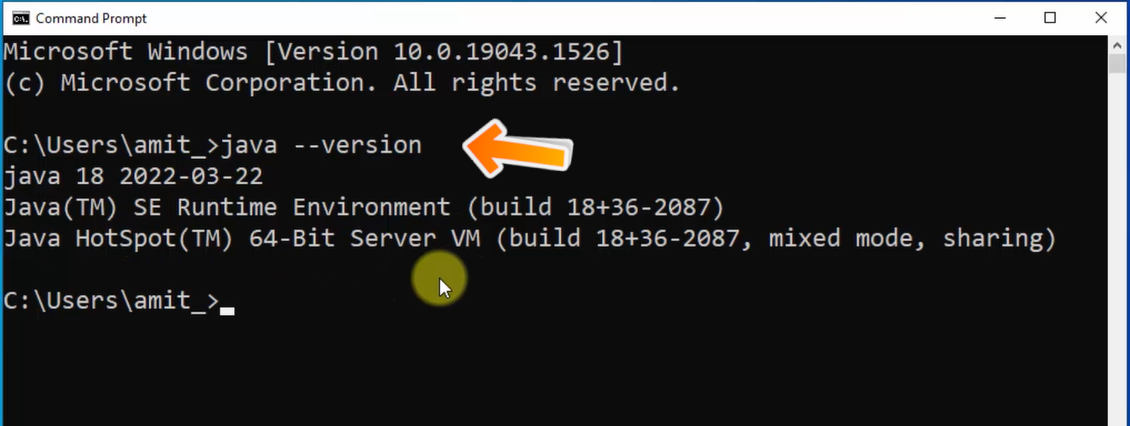
If the above is visible, that would mean you have successfully installed Java on Windows 10.
In this tutorial, we saw how to install Java on Windows 11. After installation, we also set the JDK path, without which the system won’t run Java programs. In the end, we verified the installation of Java JDK successfully
If you liked the tutorial, spread the word and share the link and our website Studyopedia with others:
For Videos, Join Our YouTube Channel: Join Now
Read More:
No Comments