02 Aug Setup Eclipse IDE on Windows For Java Development
Eclipse IDE is an open source IDE for developing applications. Let’s learn how to work with Eclipse Installation. We will also learn here to setup Eclipse, JDK and set path on Windows.
Prerequisites for Eclipse Installation
For creating a project on Eclipse IDE and running a project, you need the following software,
- Java
- Eclipse IDE: Eclipse 4.7
Download and Install JDK
Java Development Kit (JDK) is available for free from Oracle website, and is need to write and run Java programs.
Step 1- Firstly, download Java JDK.
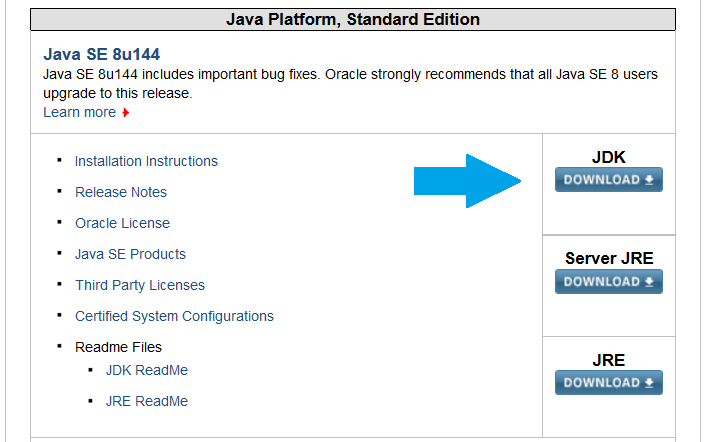
After reaching the above link, go to Java Platform, Standard Edition and find the latest update number. The latest JAVA JDK is Java SE 8u144.
Go to the section and click JDK Download.
The same is shown in the following screenshot,
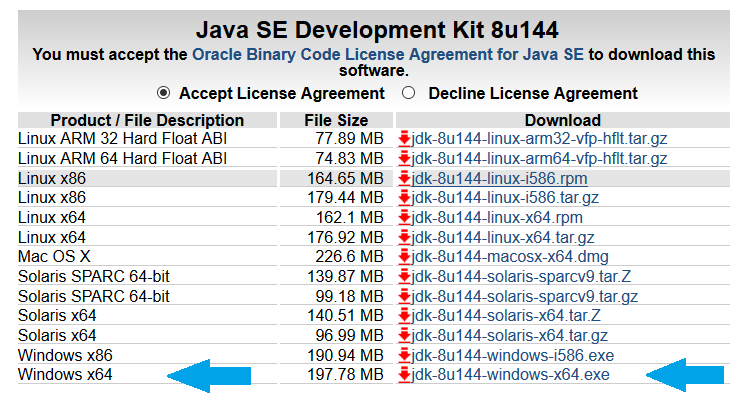
After clicking the JDK Download above, you will reach the Java SE Development Kit 8 Downloads section.
Click on Accept and select the JDK for the OS version you’re working on. We’re working on 64-bit Windows 10 OS, so we will download the 64-bit JDKWindows version.
Click jdk-8u144-windows-x64.exe as shown below,
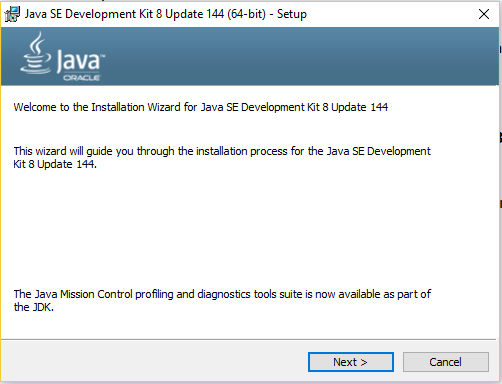
Click on the file,
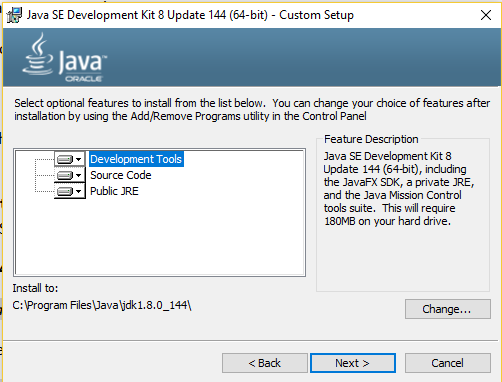
After clicking Next above, you will get an option to change the location of JDK installation. Leave as it is, and the JDK will install in the location: C:\Program Files\Java\jdk1.8.0_144\
After clicking Next above, the installation continues,
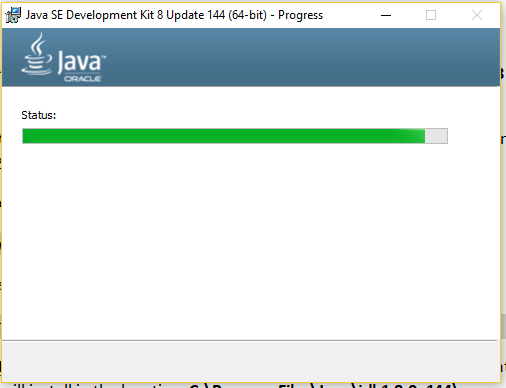
The Java Setup continues,

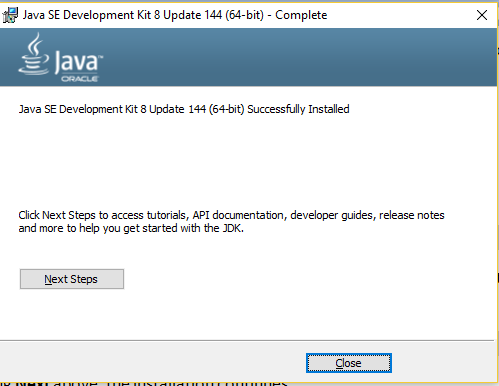
The JDK installation completed successfully,
Now go to the location and check the installation folder. The installation is successful, if you can find the JDK and JRE versions,
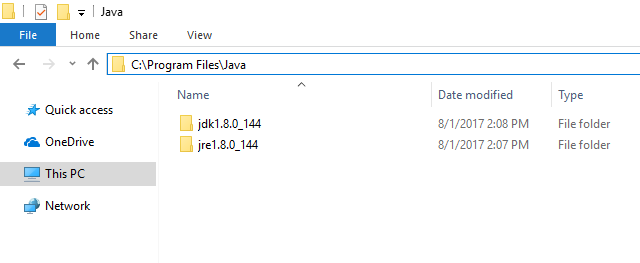
The JDK installation is successful.
Set JDK Path
Go to Control Panel > System > Advanced System Settings > Advanced tab > Environment Variables.
Under System Variable, click Path, then New and add the following JDK path,
C:\Program Files\Java\jdk1.8.0_144\bin
After that click OK,
Verify JDK Successful Installation
Go to Start > Run> type CMD and open the command prompt
Type java –version and press enter. If the following is visible, it means installation is successful,
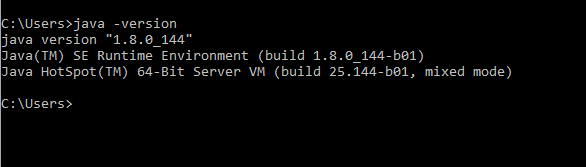
Above, you can see JAVA installation is successful, since our installed version 1.8.0_144 information is visible.
Download and Install Eclipse IDE
Step 2- Then, download Eclipse IDE and install it. Let’s see how,
The current version of Eclipse IDE is Eclipse Oxygen, i.e. Eclipse 4.7
Go to the official website of Eclipse and download Eclipse Oxgen
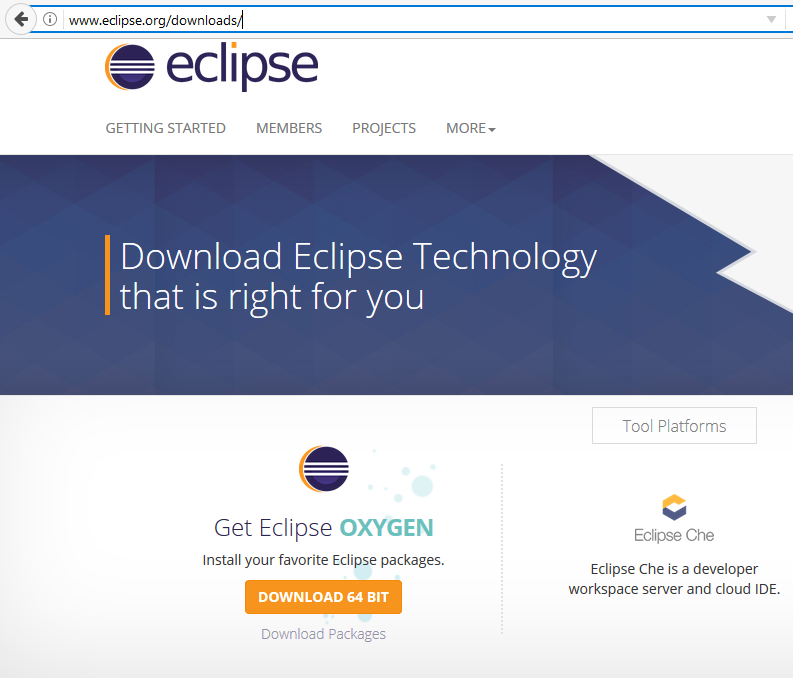
After reaching the above link, click DOWNLOAD as in the following screenshot,
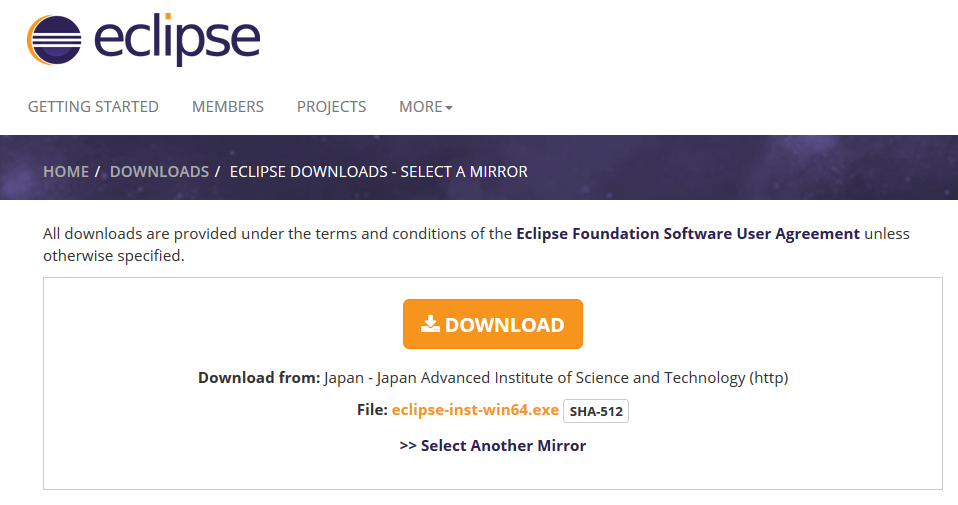
After downloading the eclipse-inst-win64.exe package, click on it and begin installing Eclipse IDE,
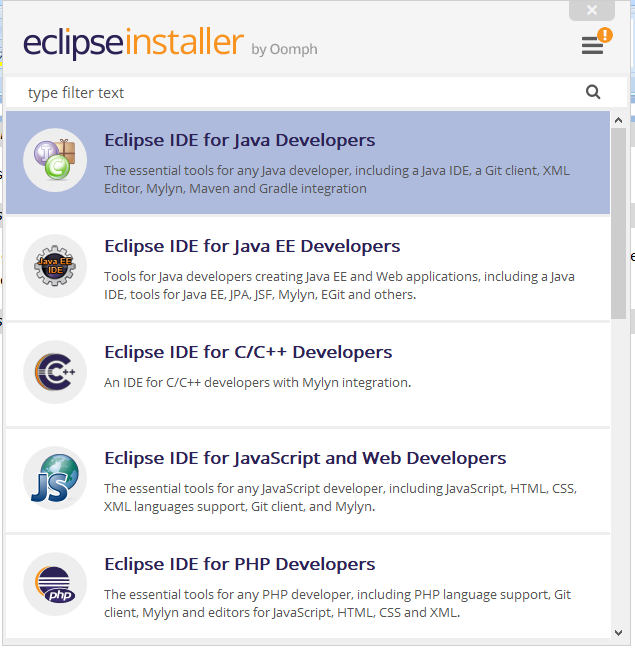
Now, select the Eclipse Installer you want,
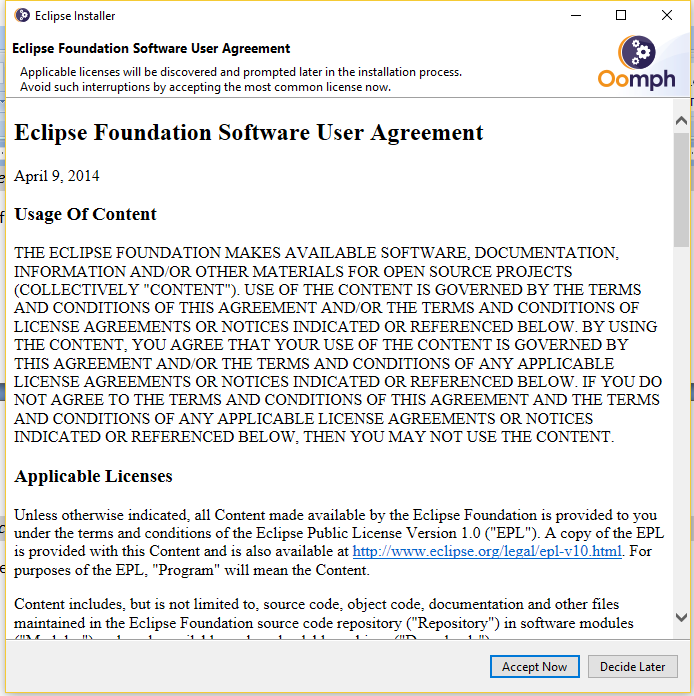
After clicking, you will be given an option to change the Eclipse installer location,

Read and Accept the Eclipse Foundation Software User Agreement,
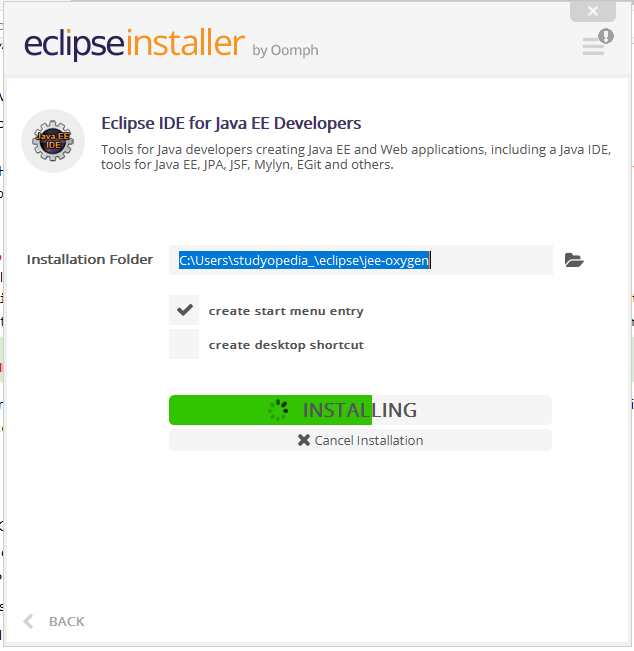
The installation starts,
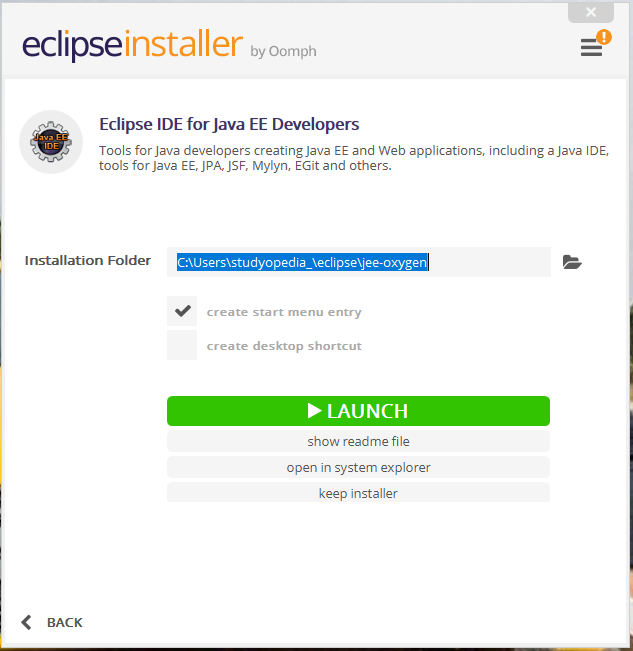
After some minutes, the installation will complete. Now, click on Launch to open Eclipse IDE for the first time.
Let us now check the video tutorial to install Eclipse 2020-03 on Windows 10:
In the next lesson, we will learn how to launch Eclipse IDE for the first time, without using Launch button.
No Comments