04 Aug Launch Eclipse
In the previous lesson, we learned how to install Eclipse IDE. We installed the current version i.e. Eclipse Oxygen. In this lesson, we will learn how to Launch Eclipse for the first time. To start Eclipse, click on Launch button, as in the following screenshot,
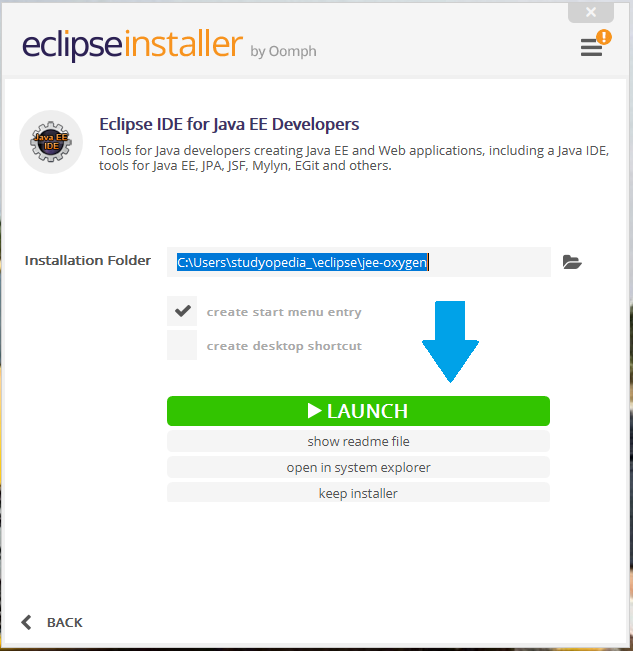
The Launch button shown above will only be available once, when you will install Eclipse.
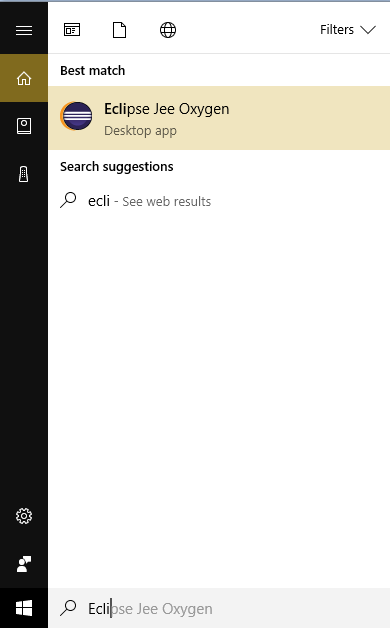
Here, we will see how to start Eclipse and use it whenever you wish to open the Eclipse IDE software,
Go to START, type Eclipse and click on it,
Eclipse IDE starts launch procedure,

The Eclipse IDE will open and it will ask you to add directory location for Workspace. This is the project location,

After setting the directory above, click Launch,
The Welcome screen is visible now,
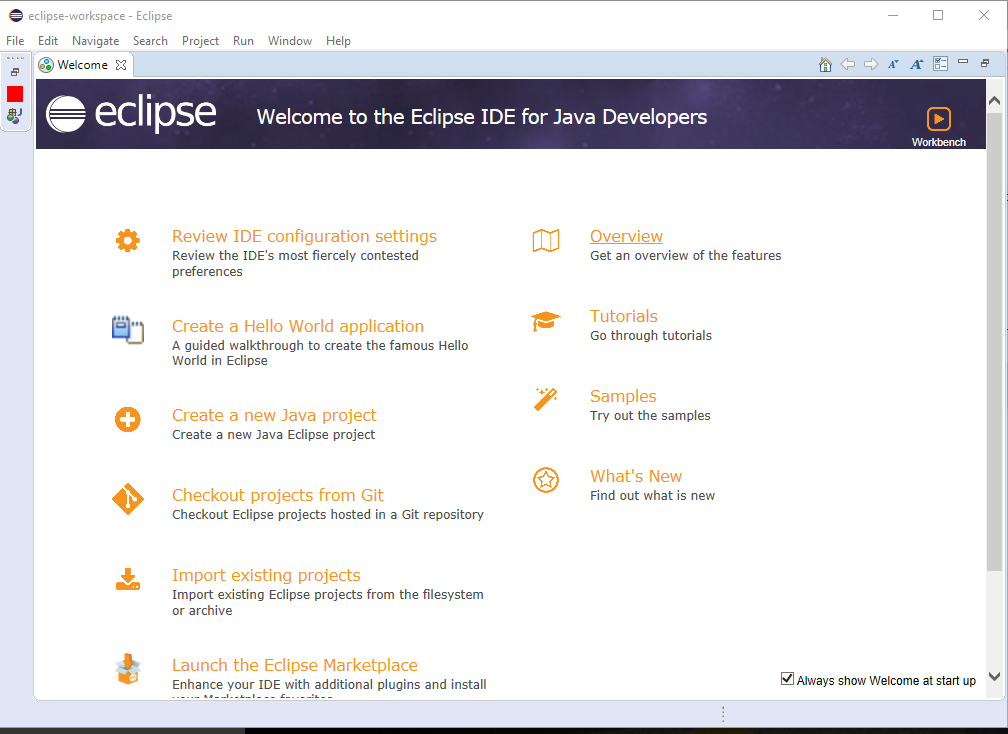
Now, begin working on Eclipse IDE. If you want the welcome screen to be visible always, then select Always show Welcome at start up.
In the next lesson, we will learn about Eclipse Menus.
No Comments