11 Jul Install WordPress on Localhost using XAMPP
WordPress installation is quite easy. It has some simple steps, which are shown below. First, we will learn about the software requirements to install WordPress for website development.
What you need for Installation
For starting work on WordPress, you need the following software/ tools on localhost:
- WordPress– WordPress is a free and open source content management system, widely used to develop websites.
- XAMPP: It is a cross platform open source web solution package, that fulfills your need of,
- Web Server
- MySQL
- PHP
Installing WordPress on Localhost
We’re learning WordPress installation from scratch, so first, we need to install it on localhost. Here are the steps:
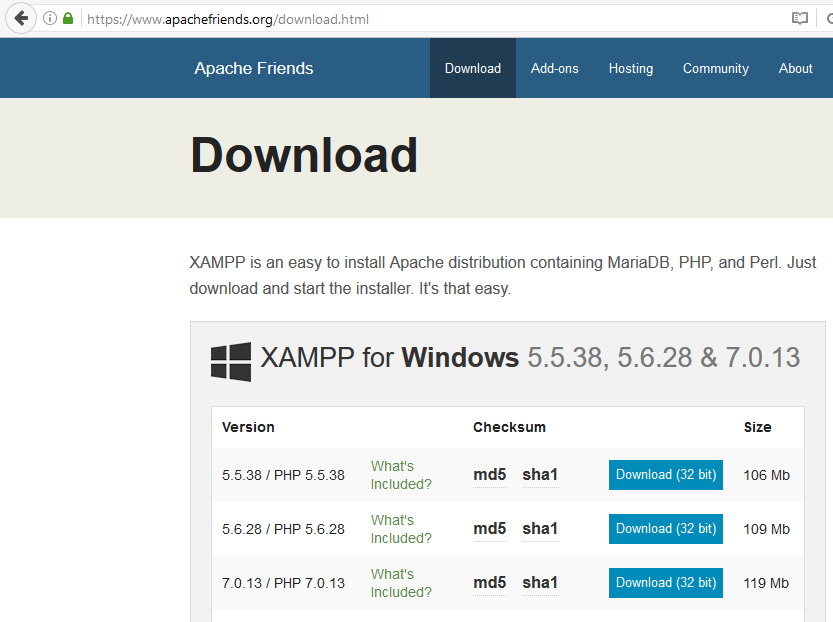
Step 1– Go to the XAMPP official website and download XAMPP,
Step 2– Install XAMPP at any location.
We’re installing in C: Drive as shown below,
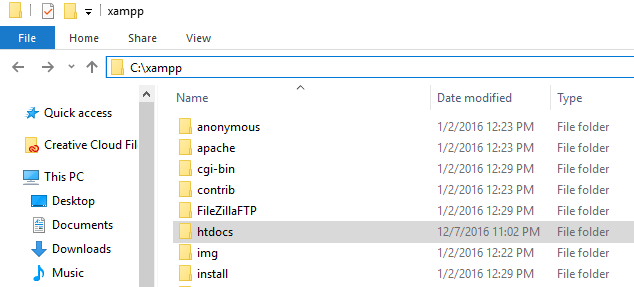
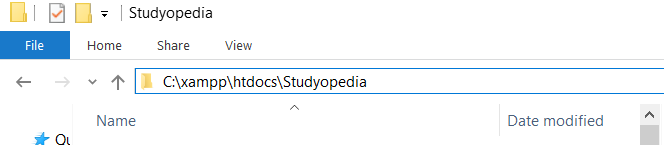
Step 3– Create project folder in the following htdocs directory, C:\xampp\htdocs\
We’re done with installation of XAMPP.
Now, we will learn how to install WordPress.
Step 4- Download WordPress from the official website.

Step 5- After downloading, move the downloaded WordPress zip file to the project folder:
C:\xampp\htdocs\Studyopedia\
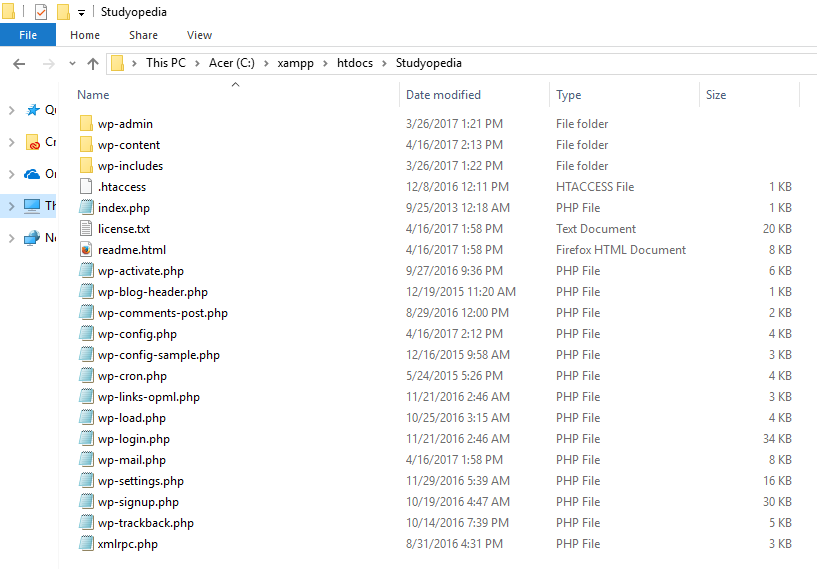
Unzip the WordPress folder in your project directory. The final link should look like the
following,
C:\xampp\htdocs\Studyopedia\
Here’s how the directory now looks like after unzipping WordPress,
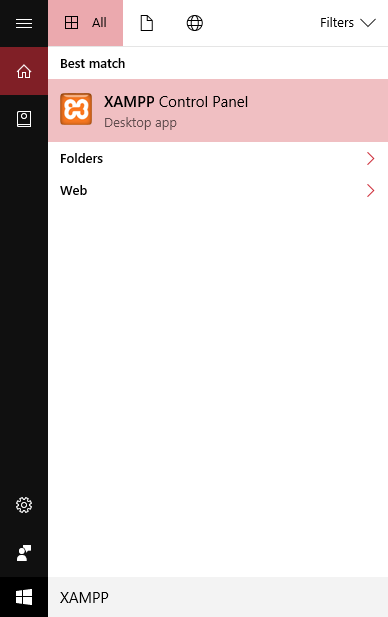
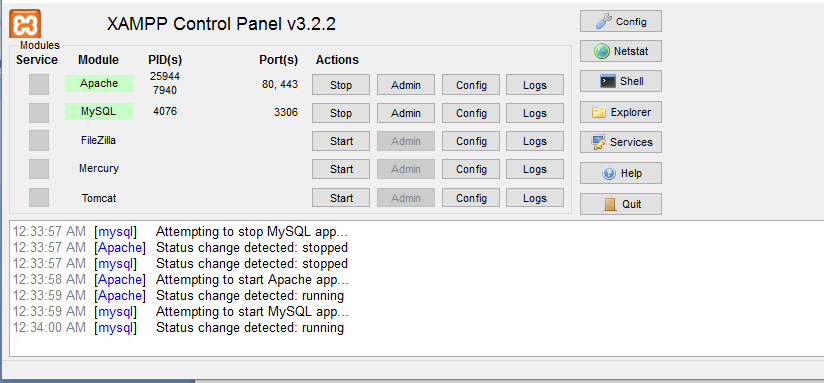
Step 6– Now, start XAMPP from XAMPP Control Panel,
After opening XAMPP, click Start on Apache and MySQL.
Here, Apache is our server and MySQL is our database.
Step 7- Go to the web browser and open your website using the project folder Studyopedia,
http://localhost/Studyopedia/
On pressing enter, it will automatically redirect to WordPress setup link as in the following screenshot,
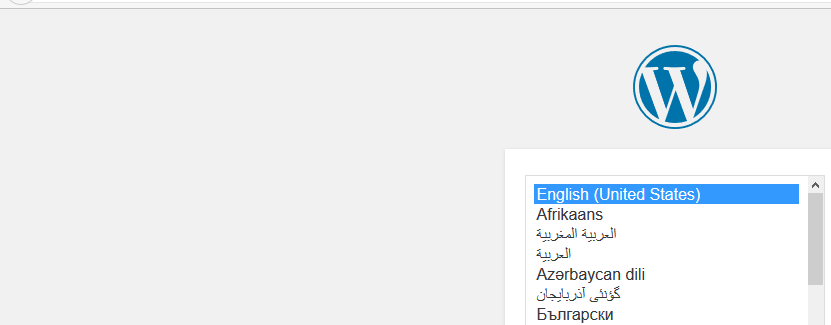
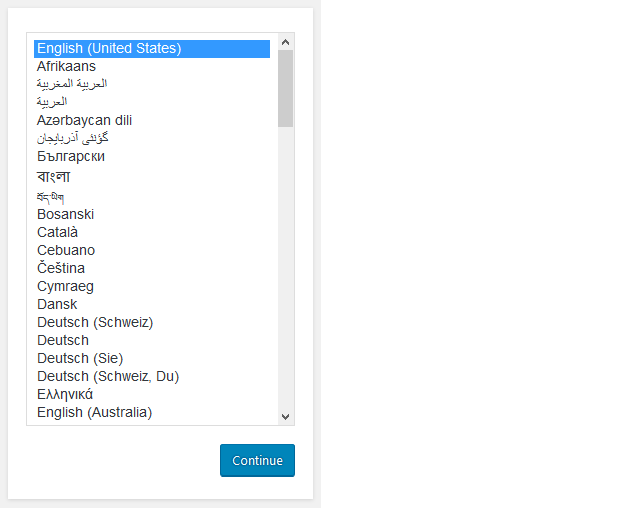
Select a language; we’re selecting English as in the following screenshot,
Now, a message is displayed that you need to create a database.
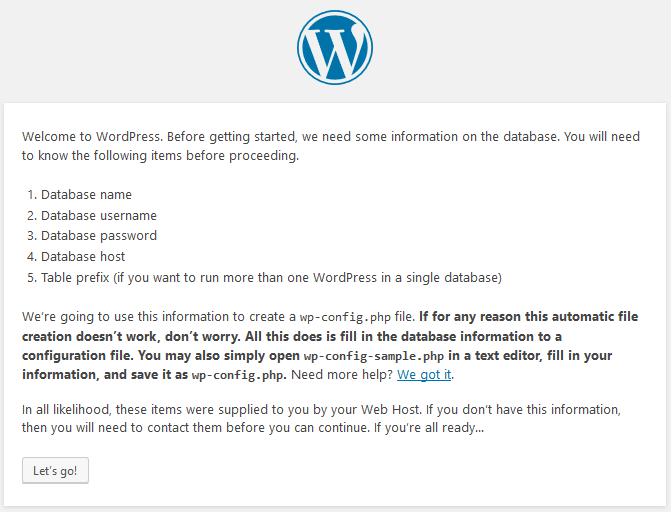
Read it and click on Let’s Go.
Meanwhile, create a database, as shown below. For creating a database, we will go to an application provided by XAMPP i.e. phpMyAdmin
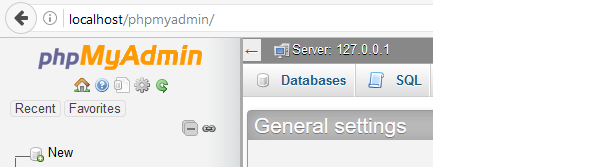
Step 8- Go to phpMyAdmin and create a new MySQL database
Go to the web browser and type the following in the address bar and press enter,
http://localhost/phpmyadmin/
Now, click New to create a new database as shown below. We’re creating a database with name, webdb. You can create a database with any name of your choice.
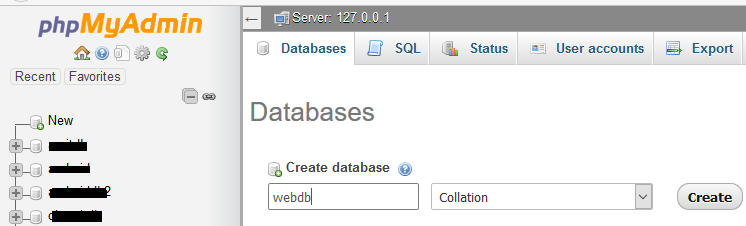
After adding the database name, click Create as in the above screenshot.
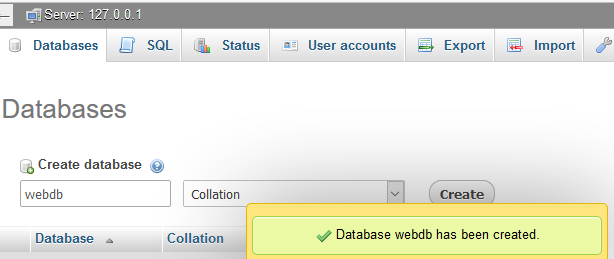
So, our database webdb created successfully as in the following screenshot,
Step 9– Continue with setting WordPress on web browser, as shown in Step 7 above. After Step 7, you will reach, where you need to add database connection details. We created a database webdb in Step 8, so we can easily add the database connection details now,
Add the database connection details,
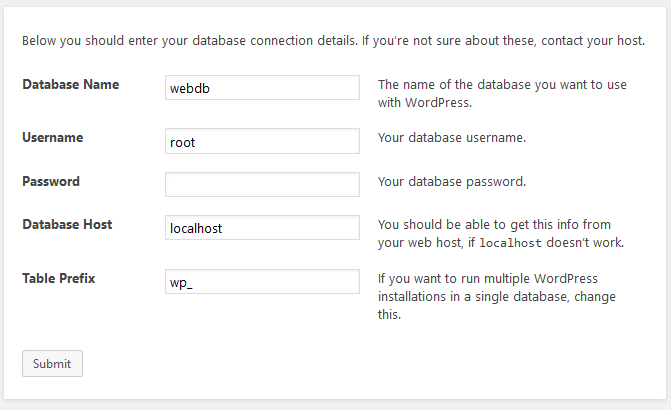
Here, you can see we added the following values in the fields,
| Field | Value | Description |
|---|---|---|
| Database Name | Webdb | The name of database |
| Username | root | Username while running on localhost will be root |
| Password | Leave it blank for localhost | |
| Database Host | localhost | Development on local system, do host is taken as localhost |
| Table Prefix | wp_ | Table prefix |
After adding the values, click Submit.
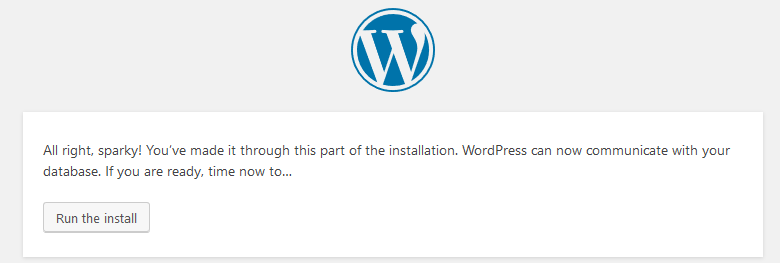
Step 10– Now, you can see the following screen, Click Run the Install,
After running, you can see the installation is successful. Now, add the site details: title, username, email, etc.

After adding the information above, here you can learn about it,
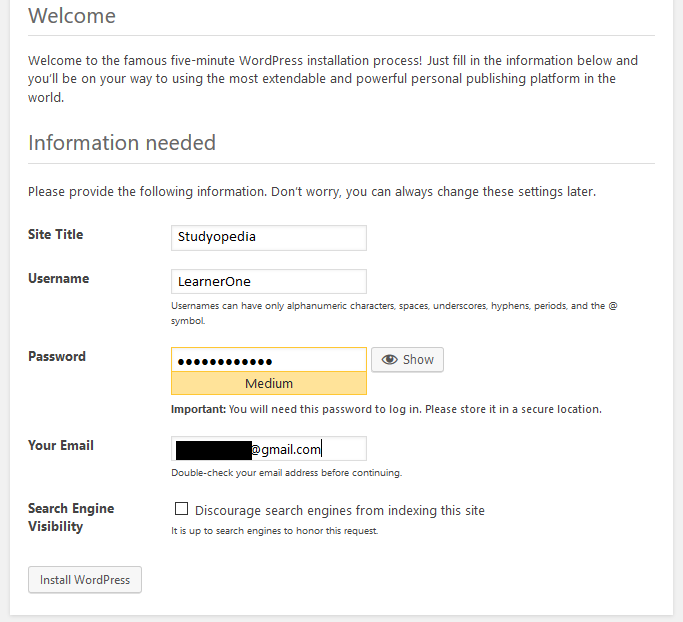
As you can see above, we added the following values,
| Site Details | Value | Description |
|---|---|---|
| Site Title | Studyopedia | Site title |
| Username | LearnerOne | Add admin username |
| Password | Add admin password | |
| Your Email | Add admin email | |
| Search Engine Visibility | Do not disable search engine visibility. |
Now, click on Install WordPress to install,
Step 11– Installation successful, since the login screen is visible,
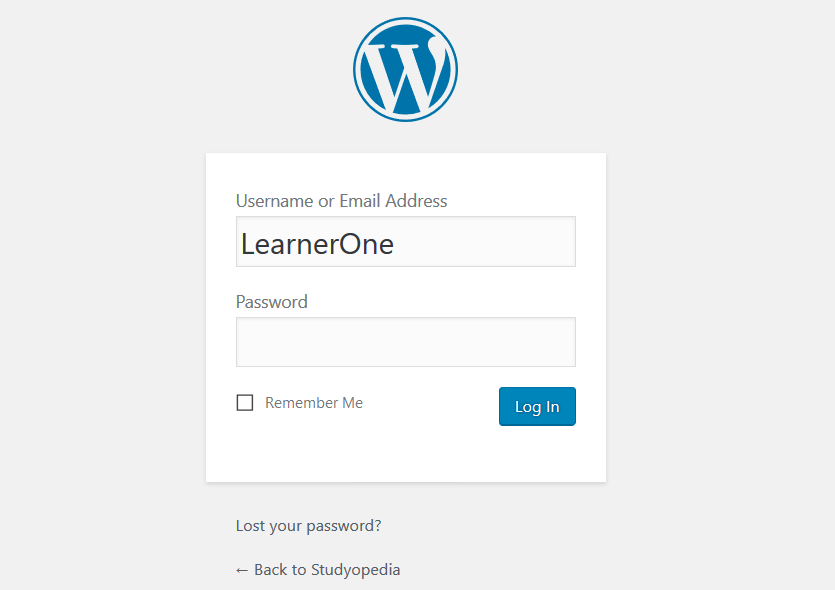
Now, you need to see what WordPress installation has provided you.
In the next lesson, we will visit the first page of our website on localhost, with the default theme installed by WordPress.
No Comments