06 Aug Java Packages
A Package in Java, as the name suggests, groups related types i.e., it can be a group of related classes or related interfaces, etc. We already have built-in packages in Java, but we can also create our own packages to group related classes.
We have the following two packages in Java:
- Built-in packages
- User-defined packages
Built-in Packages
The following are some built-in Java packages:
java.util
java.io
java.lang
java.time
java.math
To import the entire package, use the import keyword:
import java.util.* ;
import java.io.* ;
import java.lang.* ;
import java.time.* ;
import java.math.* ;
User-defined Package
Let us now learn how to create a user-defined package in Java.
How to declare a user-defined package in Java
Before beginning, let us see the syntax for package declaration in Java. The following must be the first line in the file:
package packageName;
How to import a user-defined package in Java
Use import packageName.ClassName; to access classes from other packages.
Example
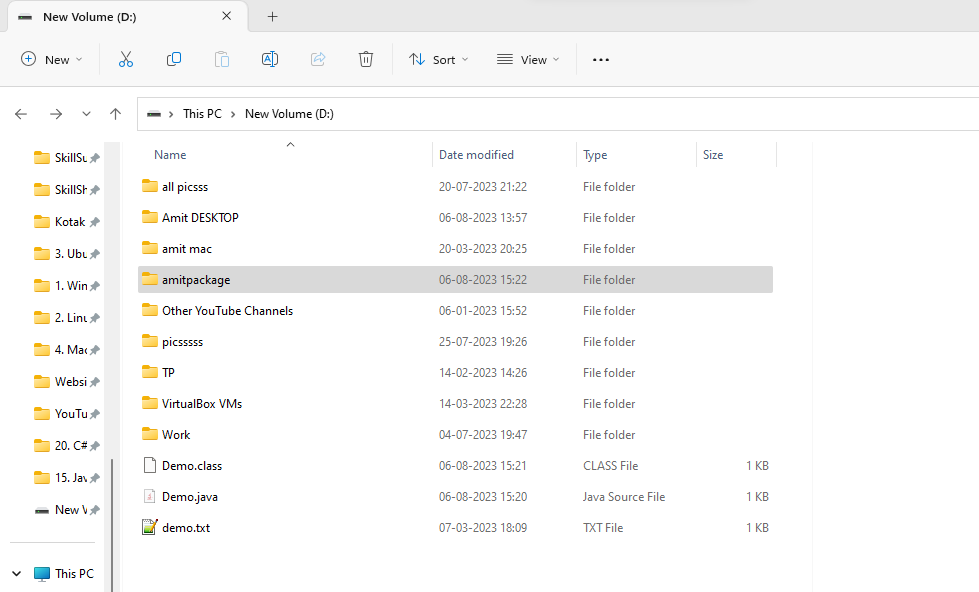
Create a file in the D: drive:
The package keyword will be used in our Java program to use the package:
package amitpackage;
Let us create Demo.java:
package amitpackage;

class Demo {
  public static void main(String[] args) {
    System.out.println("Our Demo class...");
  }
}
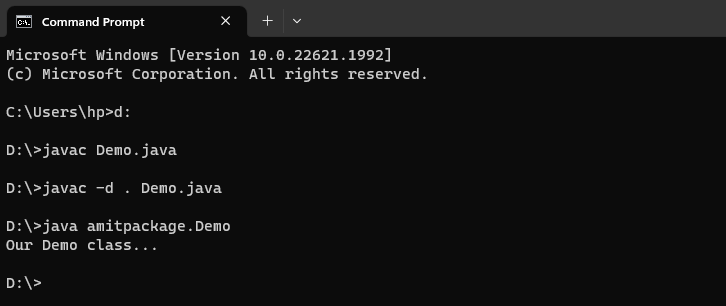
Now, compile the file Demo.java:
D:\ > javac Demo.java
Compile the package:
D:\ > javac -d . Demo.java
The screenshot displays the same command:

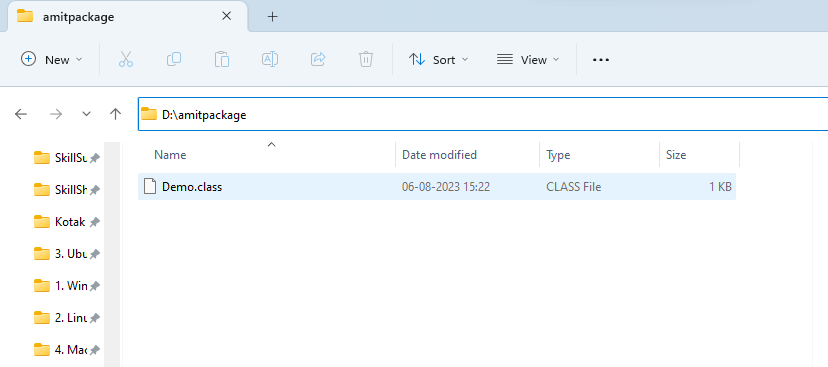
Now, a new folder amitpackage will get created. Here’s the screenshot:
Run the Demo.java:
D:\ > java amitpackage.Demo
The above file will run successfully and now a class file will be visible in the amitpackage:
Also, the output “Our Demo class” will be visible on cmd:
Steps to Create User-Defined Packages in Java (IntelliJ IDEA)
1. Create a New Project
- Open IntelliJ IDEA → File → New → Project.
- Select Java and configure the JDK.
- Name your project (e.g.,
PackageDemo).
2. Create a Package
- In the Project tool window, right-click on the
srcfolder. - Select New → Package.
- Enter a name (e.g.,
mypackage).IntelliJ will create a foldersrc/mypackage.
3. Add a Class to the Package
- Right-click on the package → New → Java Class.
- Name it (e.g.,
HelloWorld). - At the top of the file, IntelliJ automatically adds:
package mypackage;

public class HelloWorld {
    public void displayMessage() {
        System.out.println("Hello from mypackage!");
    }
}
4. Use the Package in Another Class
- Create another class in the
srcfolder (outside the package or in another package). - Import the class:
import mypackage.HelloWorld;

public class Main {
    public static void main(String[] args) {
        HelloWorld obj = new HelloWorld();
        obj.displayMessage();
    }
}
5. Run the Program
- Right-click on
Main.java→ Run ‘Main.main()’. - Output:
Hello from mypackage!
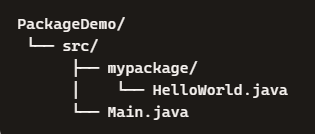
6. Folder Structure in IntelliJ
If you liked the tutorial, spread the word and share the link and our website, Studyopedia, with others.
For Videos, Join Our YouTube Channel: Join Now
No Comments