13 Sep PrestaShop Installation on localhost using XAMPP
In the previous lesson, we learned about PrestaShop and its features. Let us now learn about PrestaShop Installation. To install PrestaShop on your local machine, you need to follow some steps, which can be seen below,
What you need for Installation
For starting working on PrestaShop to create an online store, you need the following software/ tools on localhost:
- PrestaShop: It is a free and open source Ecommerce solution, written in PHP and supported by MySQL database. Develop Ecommerce store using PrestaShop with ease.
- XAMPP: It is a cross platform open source web solution package, that fulfills your need of,
- Web Server
- MySQL
- PHP
Installing PrestaShop on XAMPP Server Localhost in Windows
We’re learning PrestaShop installation from scratch, so first we need to install it on localhost.
Here are the steps,
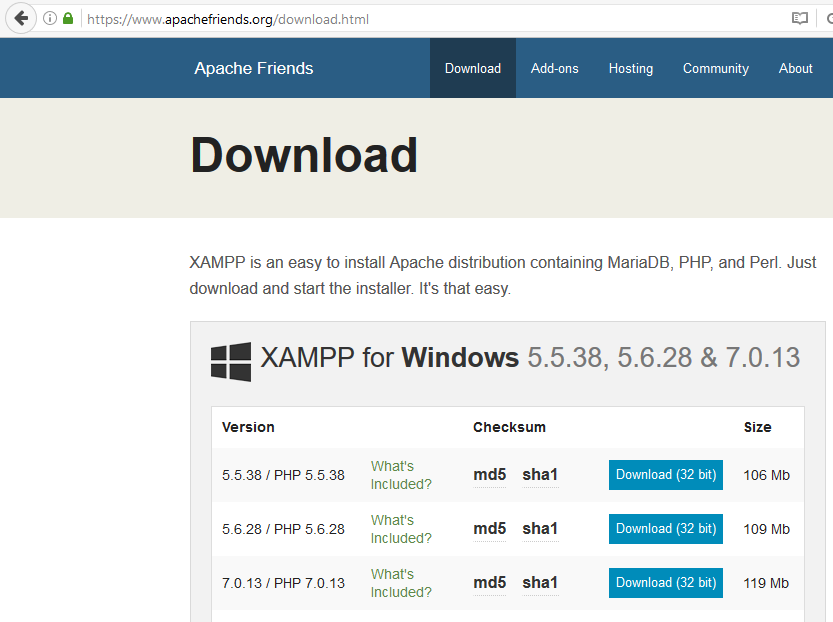
Step– Go to the XAMPP official website and download XAMPP,
Step– Install XAMPP at any location. We’re installing in C: Drive as shown below,

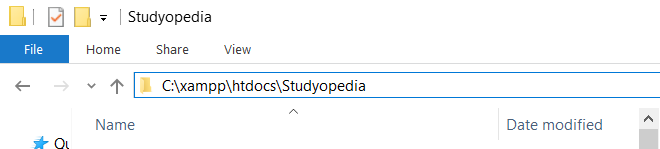
Step– Create project folder in the following htdocs directory,
C:\xampp\htdocs\
We’re done with installation of XAMPP.
Now, we will learn how to install PrestaShop.
Download PrestaShop
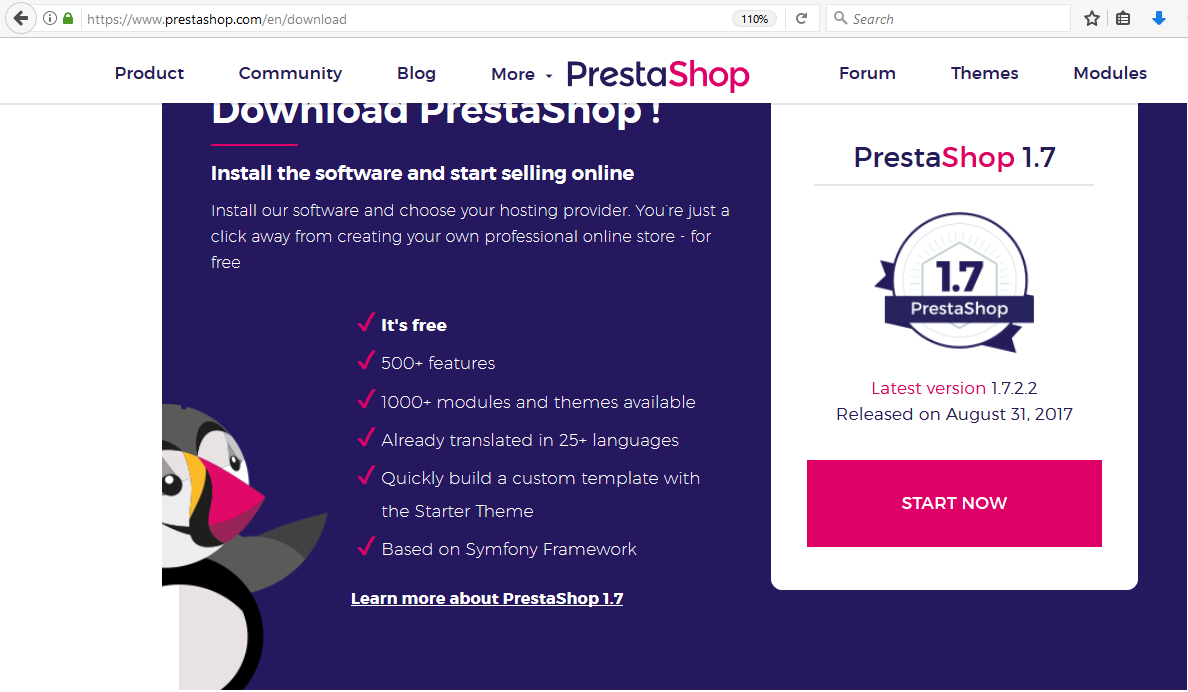
Step- Go to the official website of PrestaShop and download it.
Before downloading, you need to enter your email-id and why you want to use PrestaShop.
After that, PrestaShop v1.7.2.2 download will start,
Step- Now, move the zip file to the new folder you created for your project,
C://XAMPP/htdocs/studyopedia/
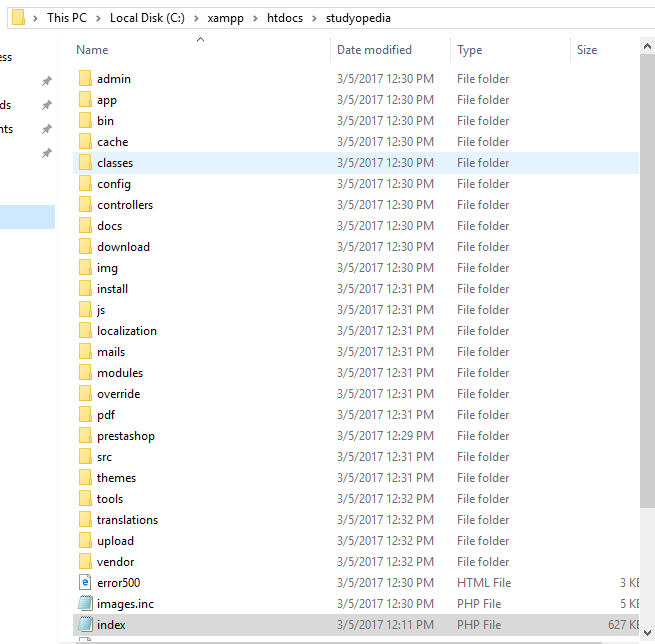
Step- After moving unzip the files under the PrestaShop zip file.
Now your folder directory will look like the following,
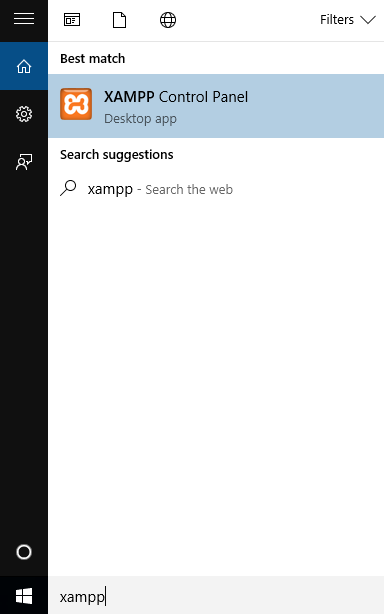
Step- Start XAMPP from XAMPP Control Panel.
Firstly, go to XAMPP Control Panel as shown below,
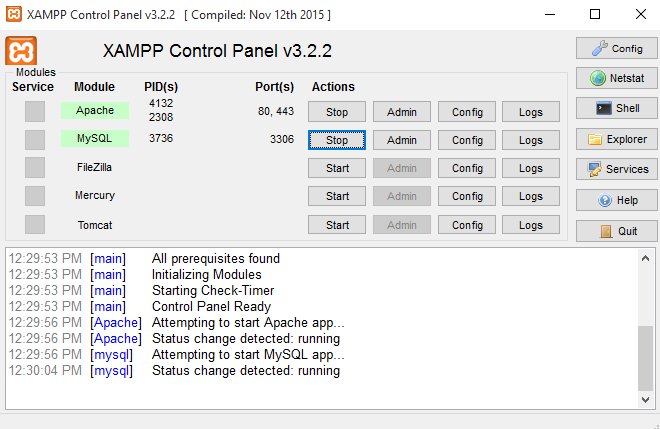
Now, start Apache and MySQL as shown below,
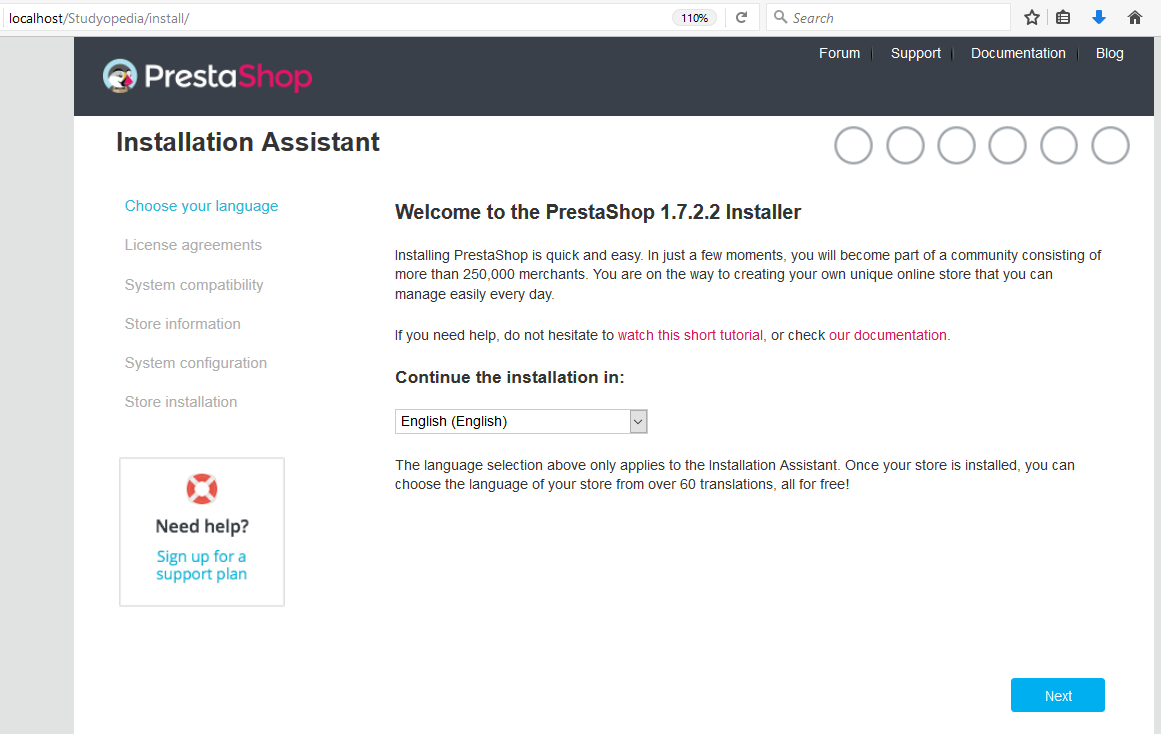
Step- Now, go to the browser, type the following and press enter,
localhost/studyopedia
Step- Choose language for PrestaShop 1.7.2.2 installation.
After that click Next,
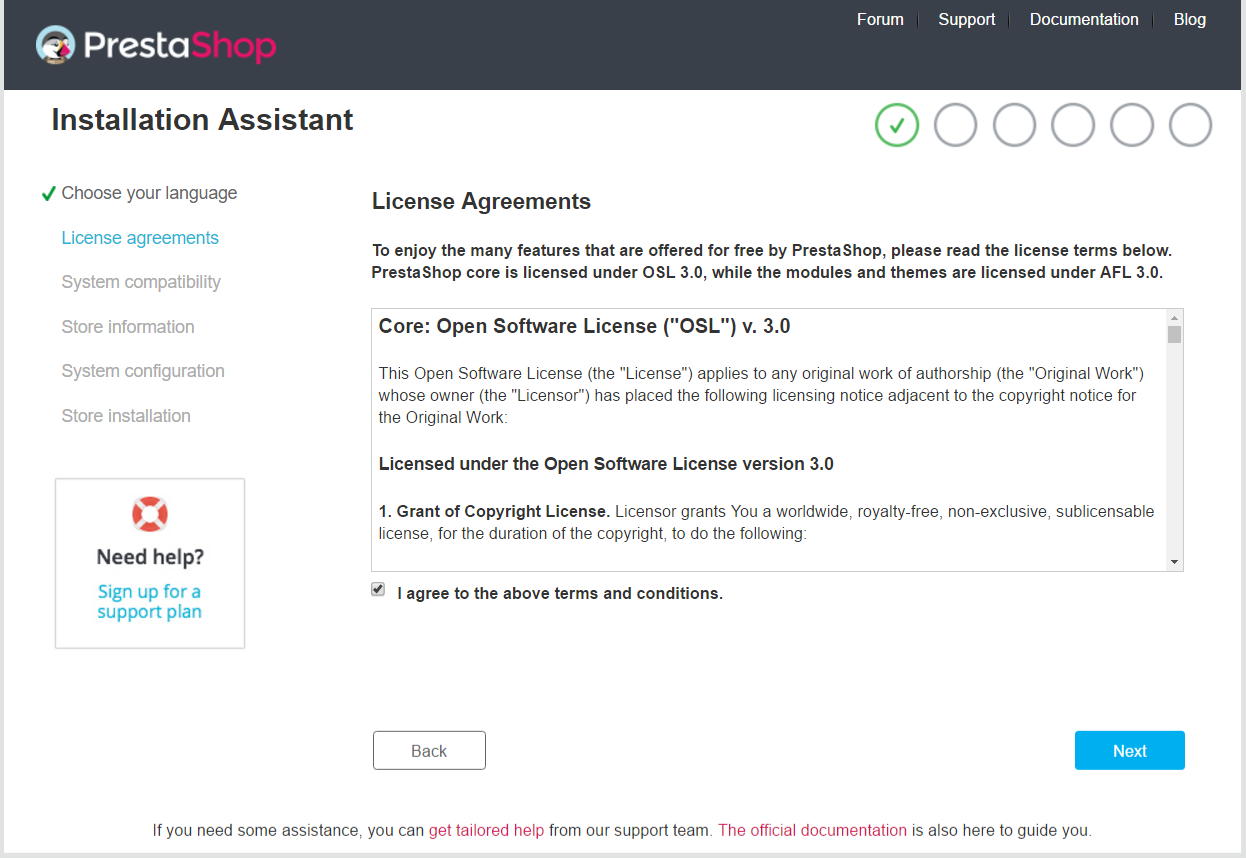
Step- Read the License Agreement now and check I agree to the above terms and conditions as shown below.
After that click Next,
Step- Now, we’ve reached the System Compatibility check for PrestaShop Installation

Above you can see the compatibility has been verified successfully. Click Next
Step- Now, add the Store Information.
Here, add the following information about the store,
| Field | Value | Description |
|---|---|---|
| Shop Name | Our Online Shop | Add the store name |
| Main Activity | Fashion and Accessories | Mention main activity of the store |
| Country | India | The country of the store |
| Your Account | ||
| First Name | Learner | Enter first name |
| Last Name | One | Enter last name |
| Email Address | Enter email-id | |
| Shop Password | Enter the password | |
| Re-type to confirm | Confirm the password |
Here’s the screenshot,
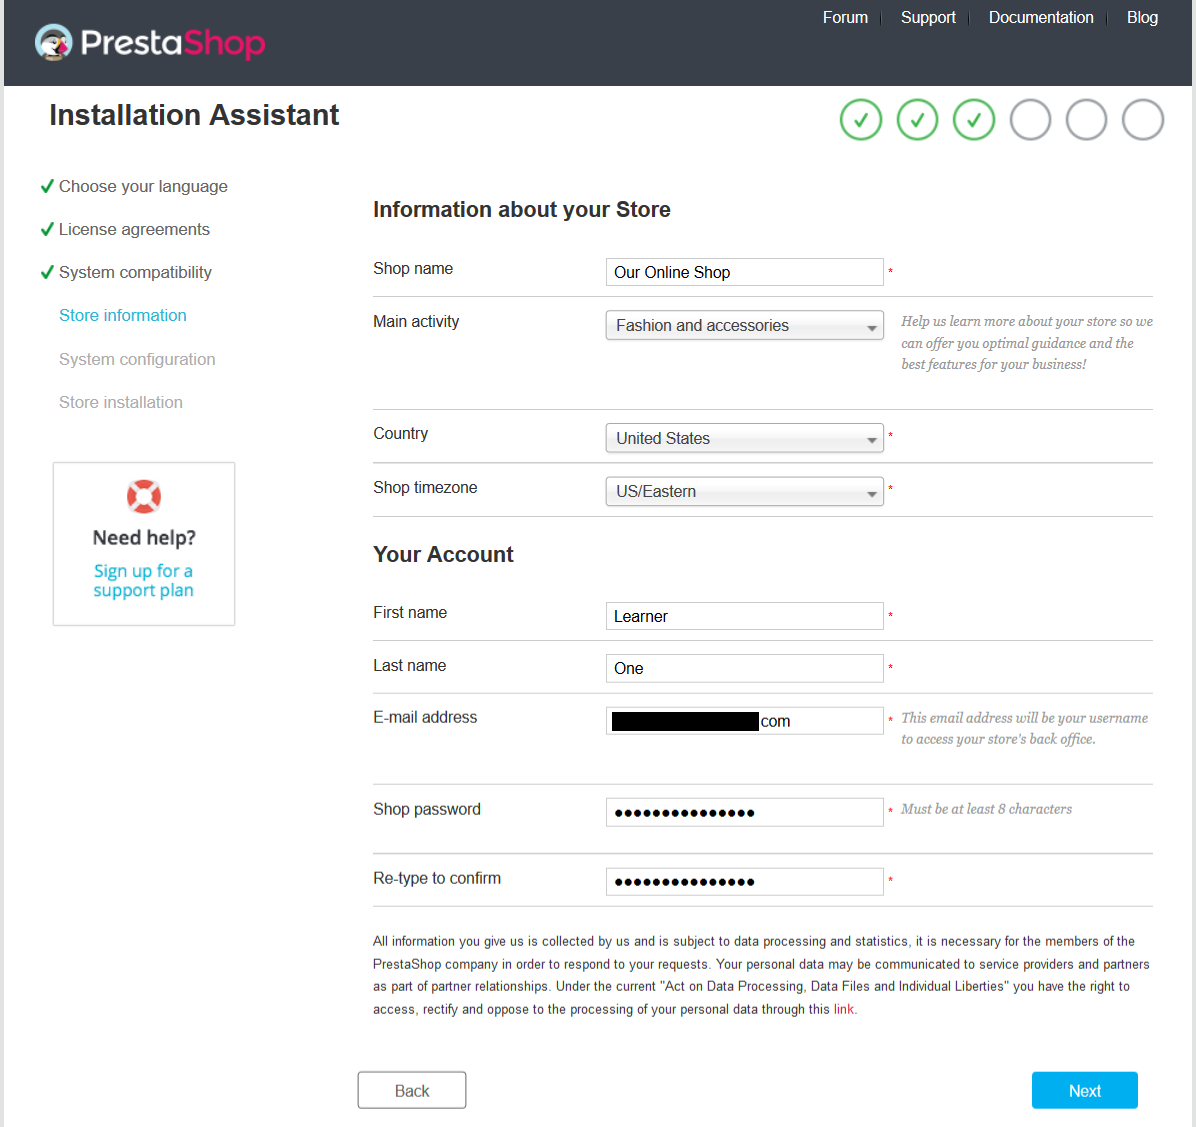
Add the store information and click Next
Step- Now, under System Configuration section, you need to configure the database.
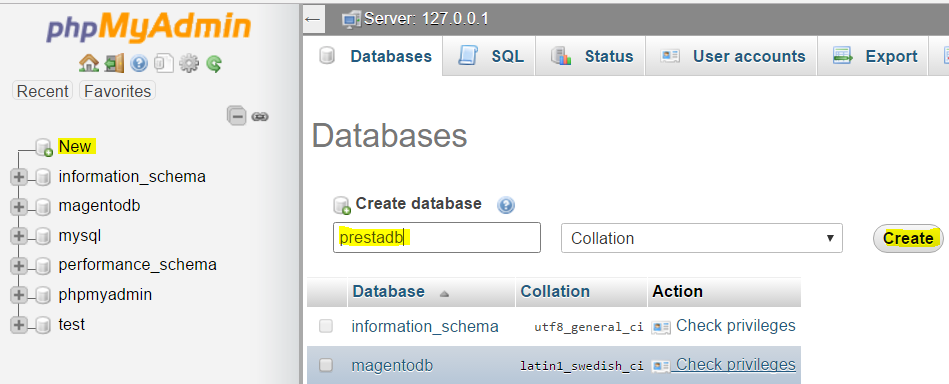
Create Database
Let’s create a database by going through the following link,
localhost/phpmyadmin
After reaching phpmyadmin, create a new database prestadb.
Click New, then add a database name and click Create as shown below,
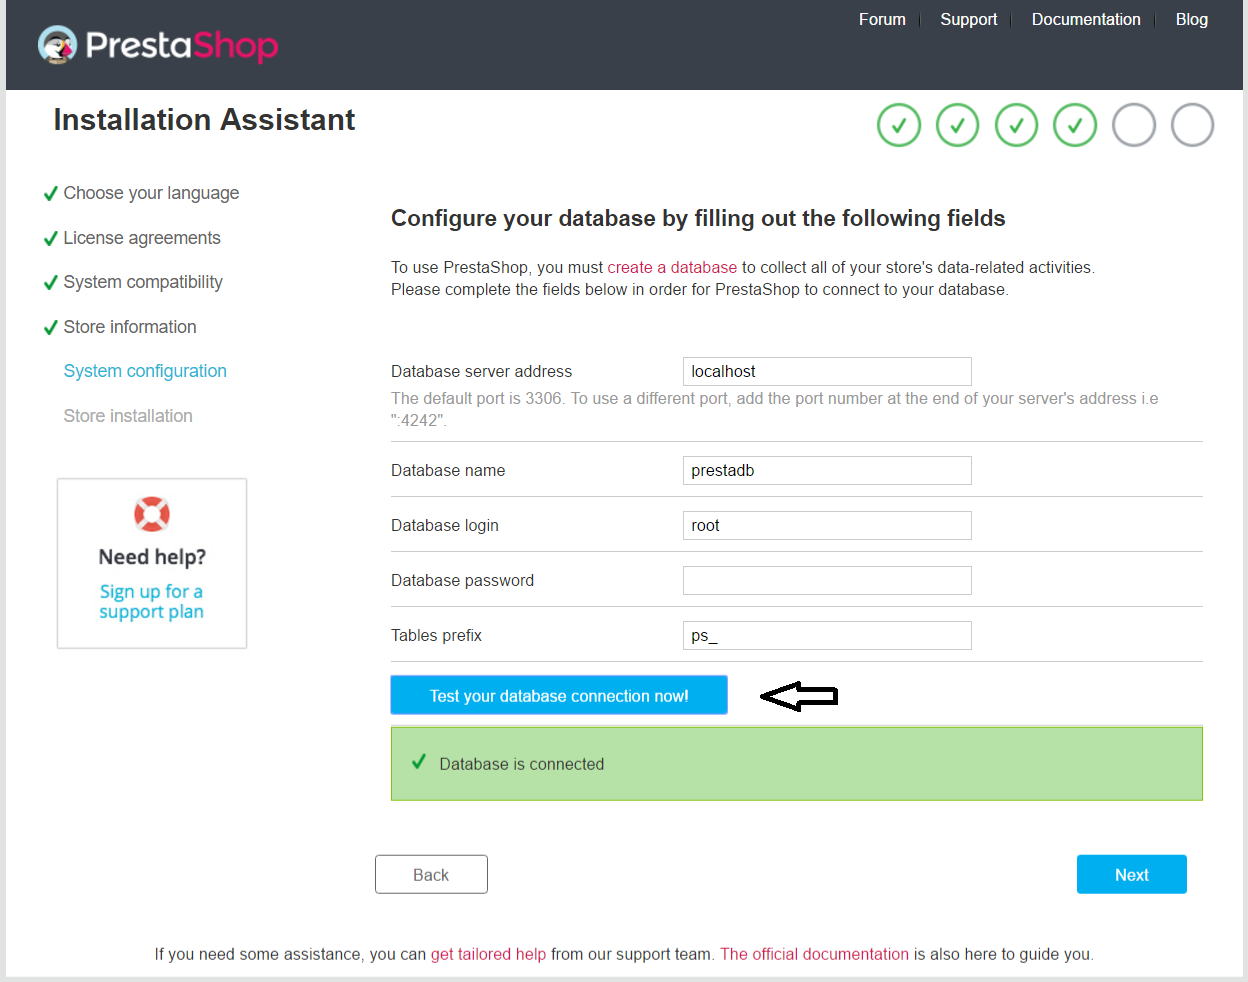
 Now, add the database information, with database name, and the following information,
| Field | Value | Description |
|---|---|---|
| Database server address | localhost | Add the server address |
| Database name | prestadb | Add database name |
| Database login | root | Add database login |
| Database password | Add database password | |
| Tables Prefix | ps_ | Here, add the prefix you want for your database tables. |
Before moving to the next step and clicking Next, we need to click Test you database connection now! as shown below,
After that click Next and you can see the store final installation started.
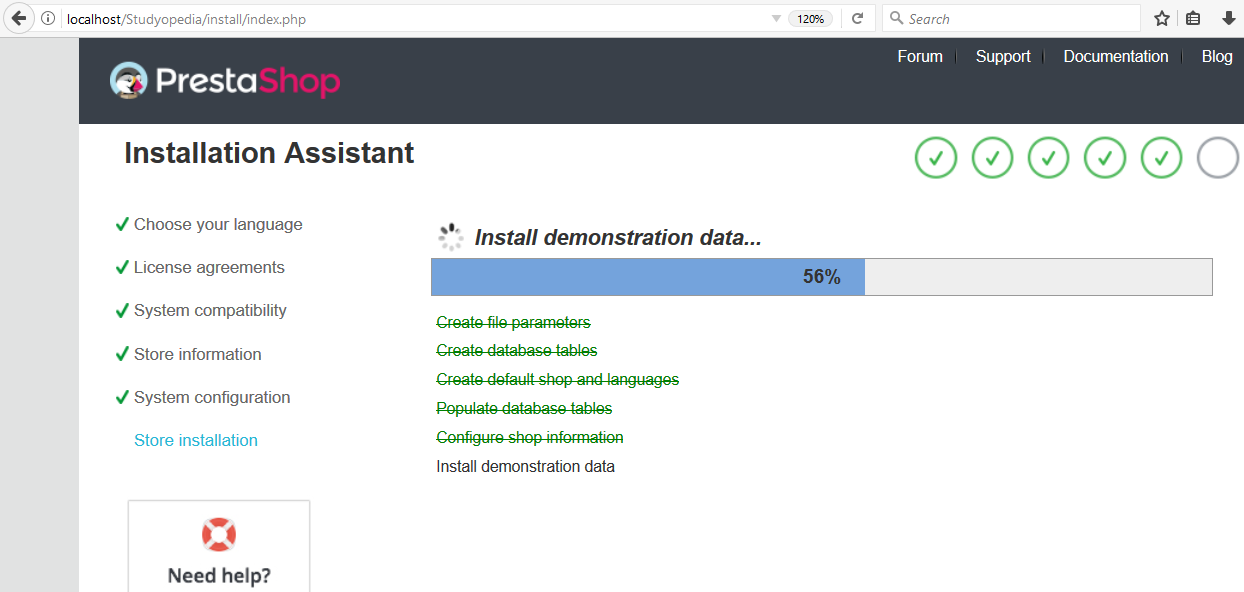
While installation, you can see the theme is installing.
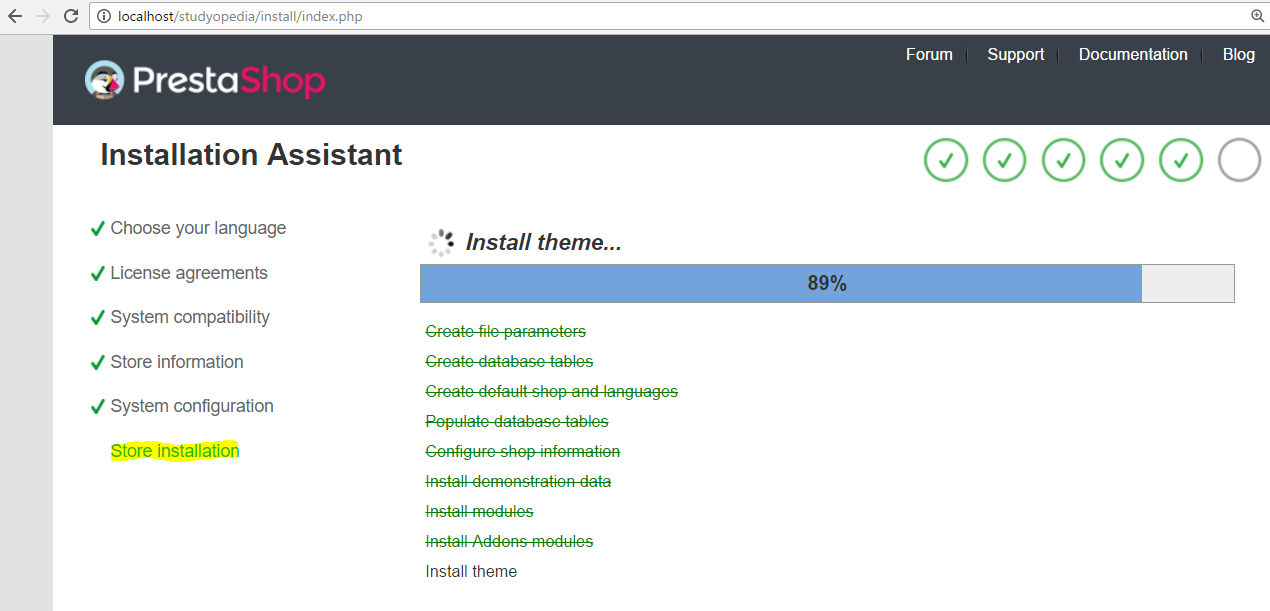
The installation completed successfully as you can see below.
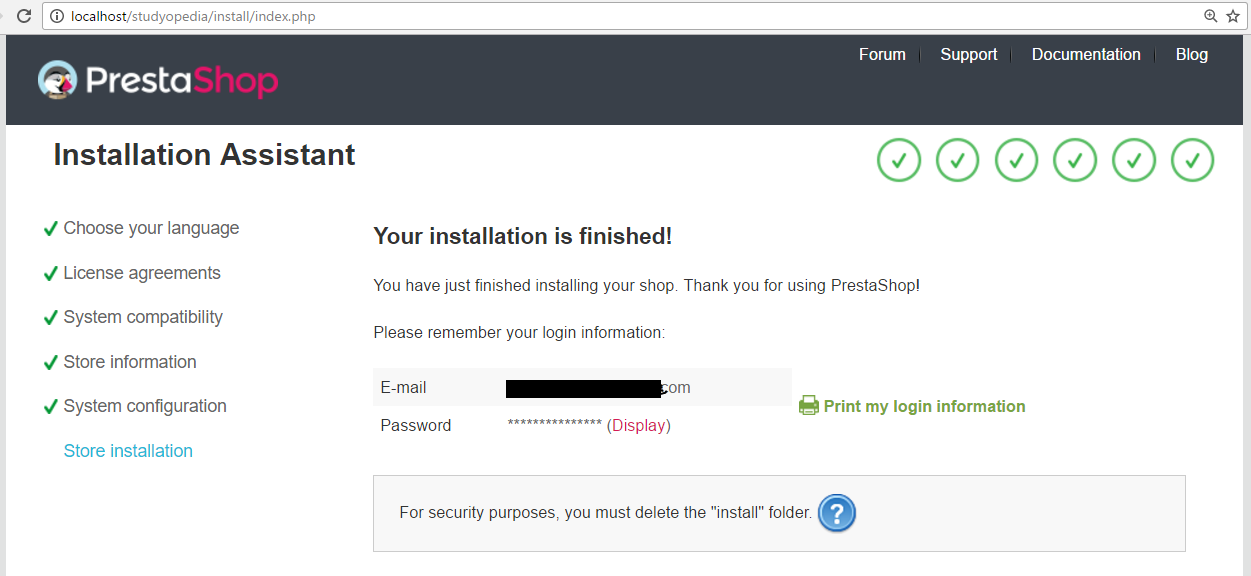
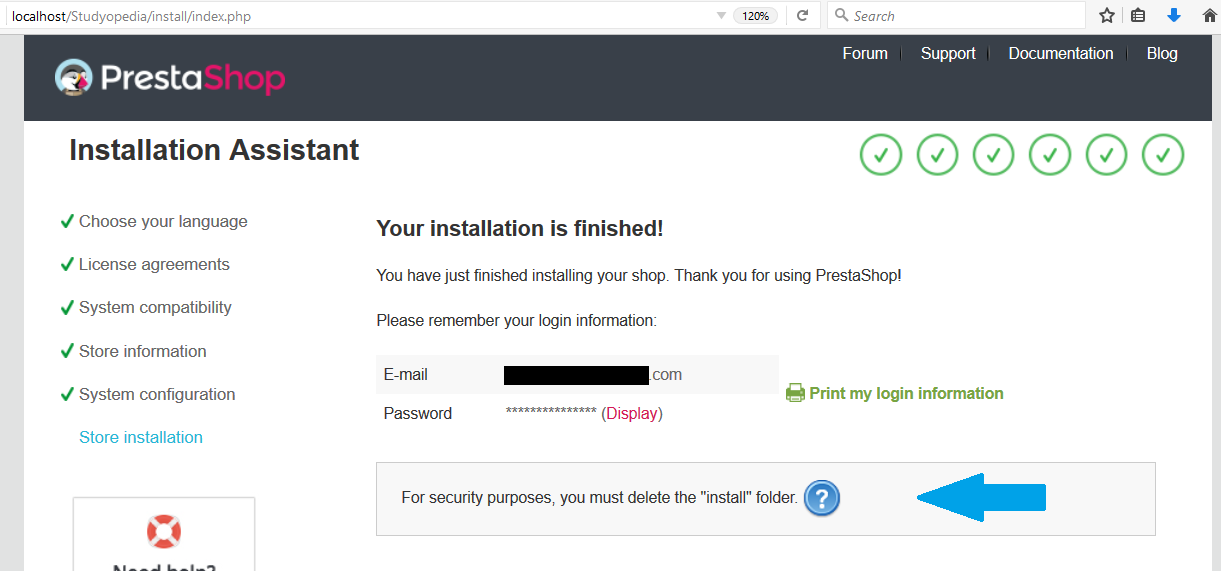
Here, you can see a message, to delete the install folder for security purpose.
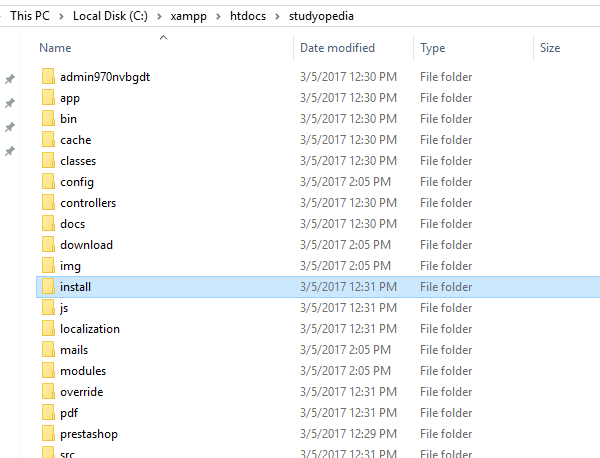
Now, go to the project directory and delete the install folder as shown below,
In the next lesson, we will learn how to visit the PrestaShop Store Home Page after installing PrestaShop correctly. A default store gets created and you can check it by visiting the home page.
No Comments