28 Jun How to install Android Studio on Windows 11 and run your first Android Application
To create, run, and test Android Applications on your Windows, Mac, and Linux Operating System, you need to install Android Studio IDE. Android Studio is an open source IDE, developed by Google and JetBrains to run Android applications. It was introduced by Google in 2013.
Learn via a video
Here’s the YouTube video for the steps we saw above to install Android Studio on Windows 11:
In this lesson, we will see how to setup and install Android Studio. We don’t need to install Java JDK, since Android Studio comes pre-installed with Java. After that, we will also see how to create a new project/ Android application in Android Studio and run it. We will also create an Android Virtual Device (AVD) to run and test our apps. Listing the steps:
- Step 1: Download and Install Android Studio
- Step 2: Android Studio Setup initiates
- Step 3: Create a new project/ Android application
- Step 4: Create AVD (Android Virtual Device)
- Step 5: Run first project/ Android application
Let’s begin with the installation of Android on Windows:
Download and Install Android Studio
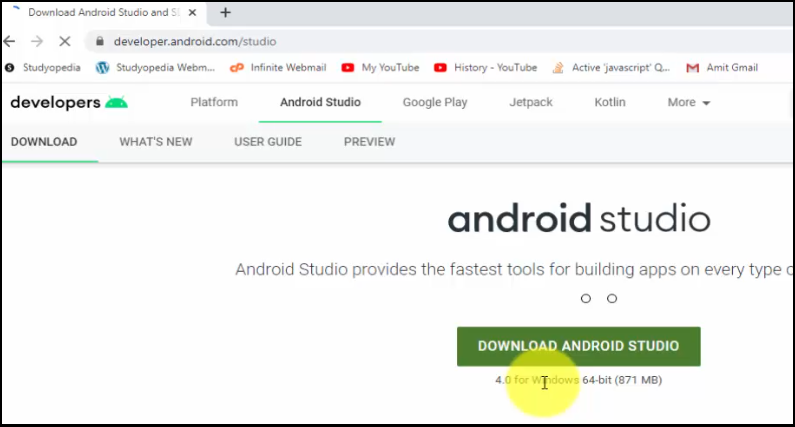
To download and install Android Studio on 64-bit Windows 10 OS, at first, visit the Android Developer’s official website. Here, click Download Android Studio as in the below screenshot:
After clicking, you will be shown the terms and conditions, read it and Accept. On clicking, a new button Download Android Studio for Windows, is visible:
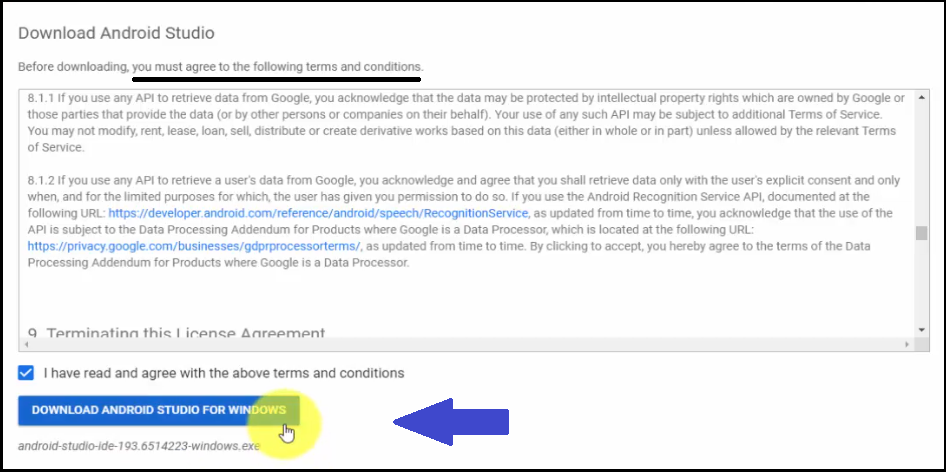
Click on it and the exe file for Android Studio android-studio-ide-193.6514223-windows.exe will generate and begin downloading:
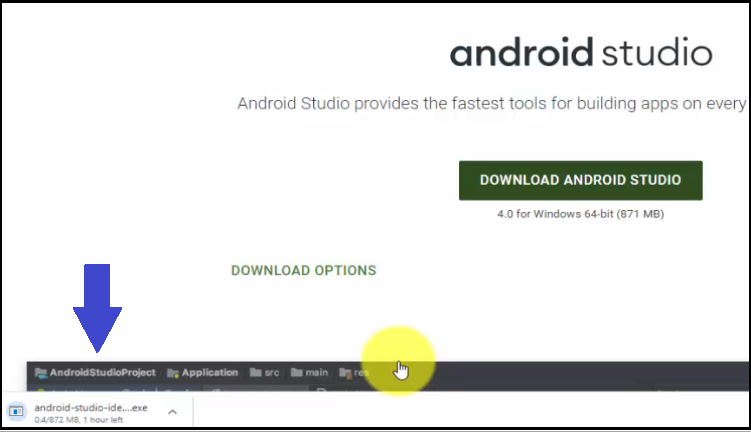
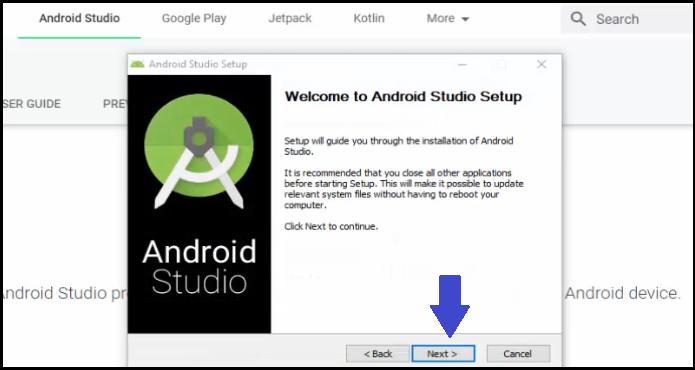
After completing the download, double-click on the exe file and the installation begins as in the below screenshot:
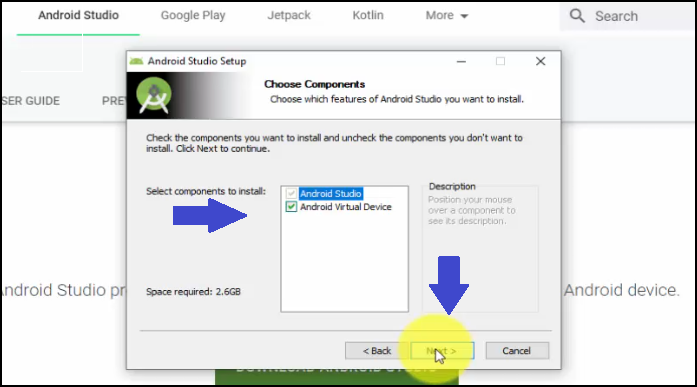
Click Next, and now Choose Components. Keep as it is i.e. Android Studio and Android Virtual Device and click Next:
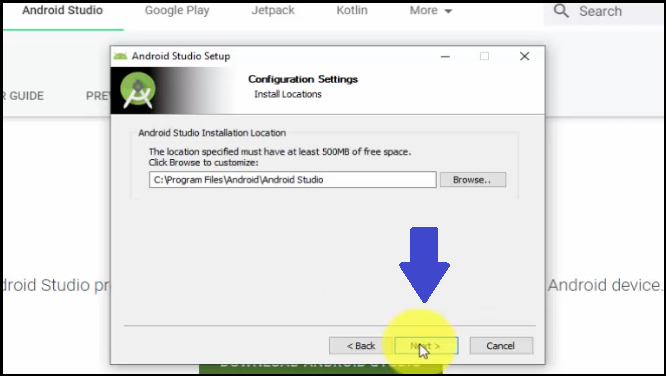
Now, set the Install Location i.e. where the Android Studio will get installed. Keep as it “C:\Program Files\Android\Android Studio” and click Next:
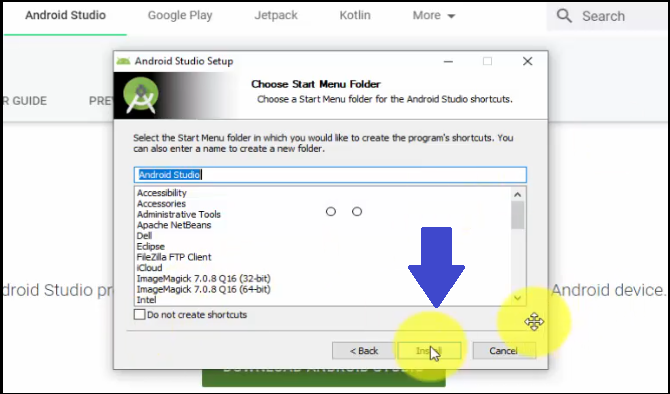
Now, a Start Menu settings dialog box will be visible. This is for Android Studio’s shortcut. Keep the default and click Install as in the below screenshot:
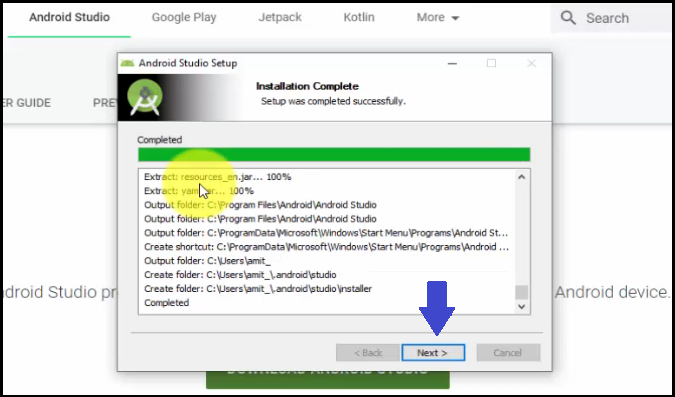
After clicking Install above, the installation begins. It will take some seconds/minutes based on the Internet speed. The Installation complete as shown in the below screenshot. Click Next:
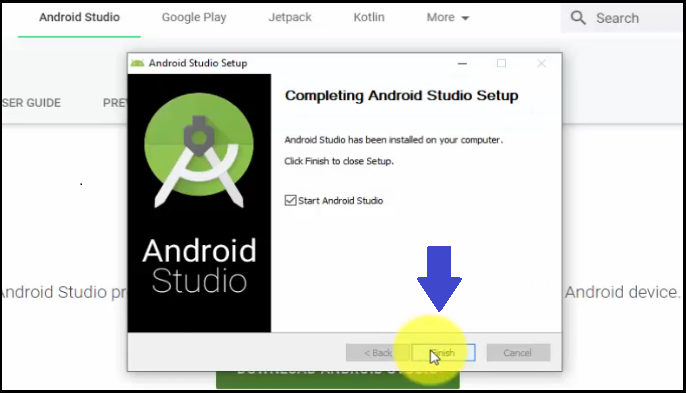
Android Studio installation completes. Click Finish. Since the Start Android Studio checkbox is by default checked, it will open immediately after clicking Finish:
Now, a new dialog box Import Android Studio Settings From… would be visible. Select “Do Not Import Settings”, since we do not have any previous installation of Android Studio on our system. Click OK:

Android Studio Setup Initiates
After completing installation of Android Studio, now we need to work through the setup wizard.
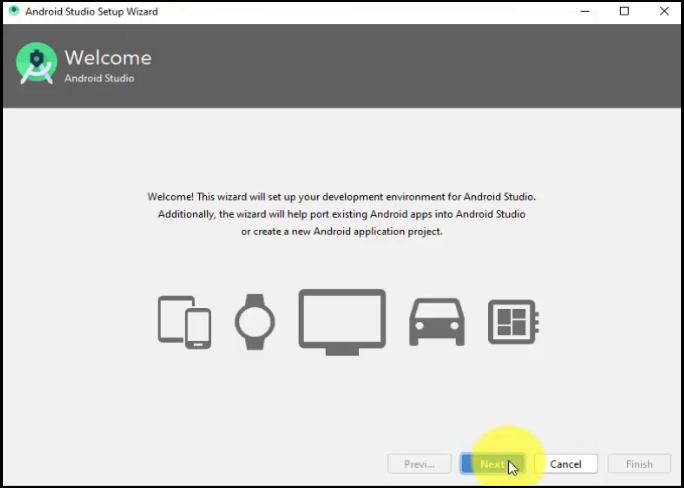
Now, after clicking OK above, the Android Studio Setup Wizard would be visible. This will set up your Development Environment for Android Studio.
Click Next:
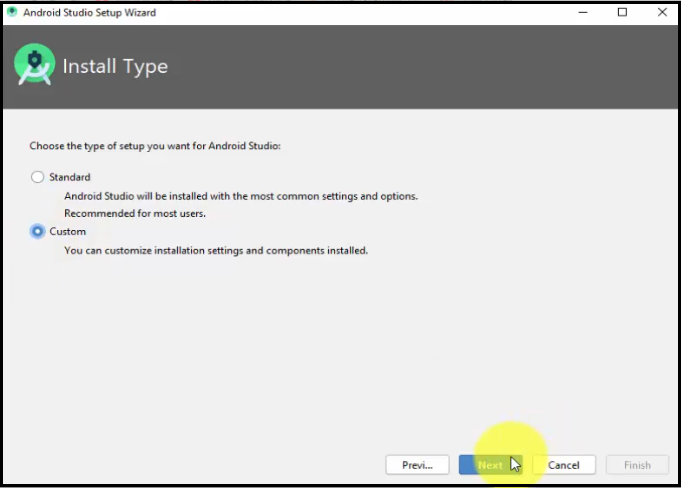
Now, choose the Install Type. We will select Custom and click Next:
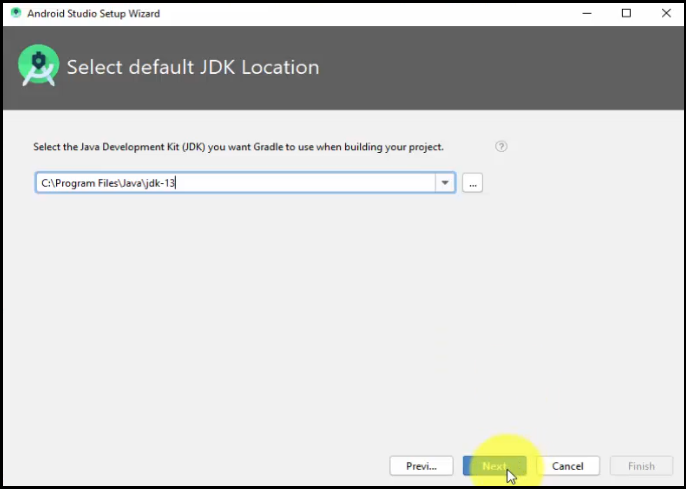
Select the default JDK location. Above, we saw where we installed JAVA JDK. We have to insert the same path here i.e.
C:\Program Files\Java\jdk-13
By clicking the … i.e. three dots, we have set the same Java JDK path:
Next, select the theme. We selected the Dracula dark them. Click Next.
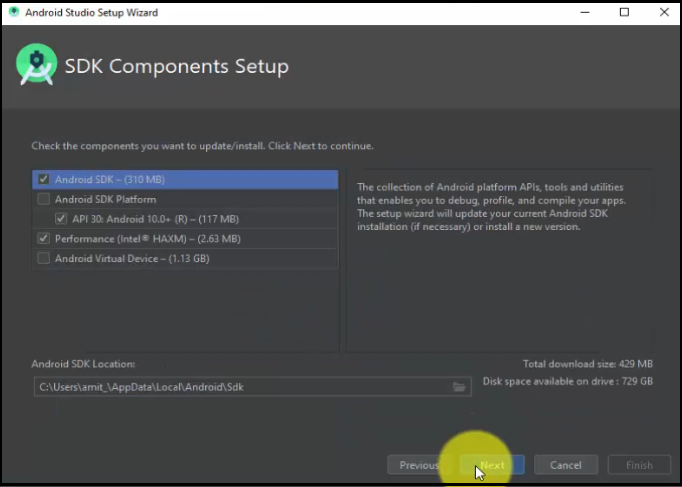
Now, select the SDK components. Keep the default i.e. Android SDK, AP30, Intel HAXM and click Next:
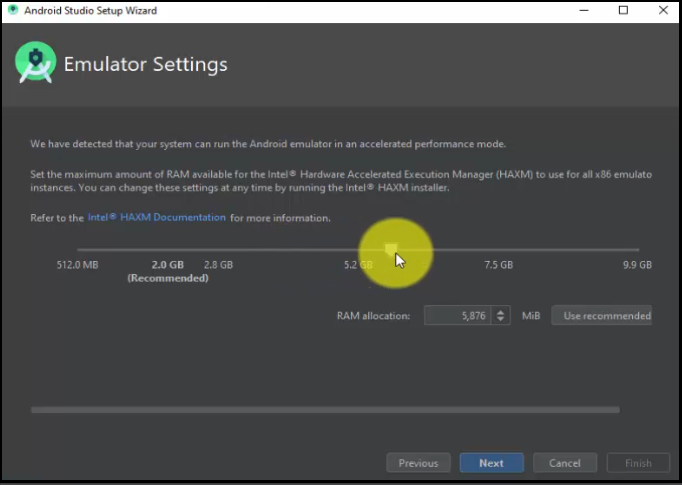
Set the RAM for Emulator. An emulator is a fast and powerful virtual device through which you can easily test your devices on different screen sizes. Without using a hardware device, you can deploy and test your app. The emulator works like your hardware device i.e. after installation of the app on emulator, you can uninstall it from there itself.
Click Next:
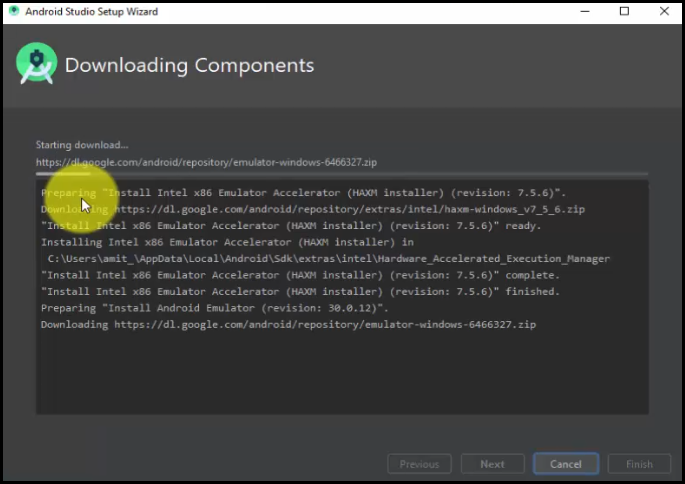
Now, the installation of the SDK components will begin:
Congrats! We have successfully installed Android Studio. Following Welcome to Android Studio window will be visible:
Now, let us create a new project.
Create a new project/ Android application
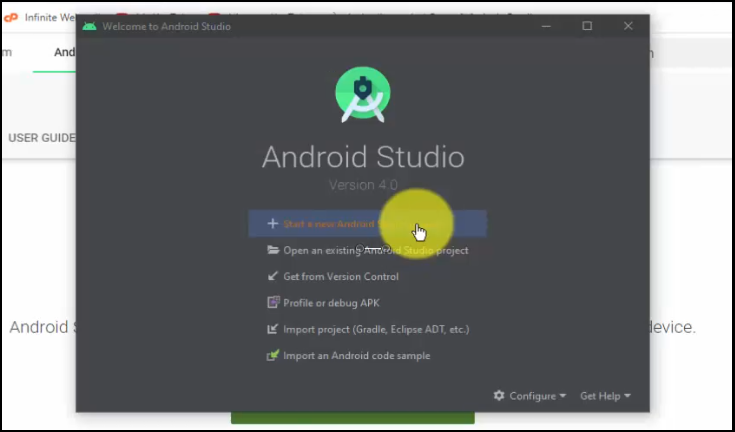
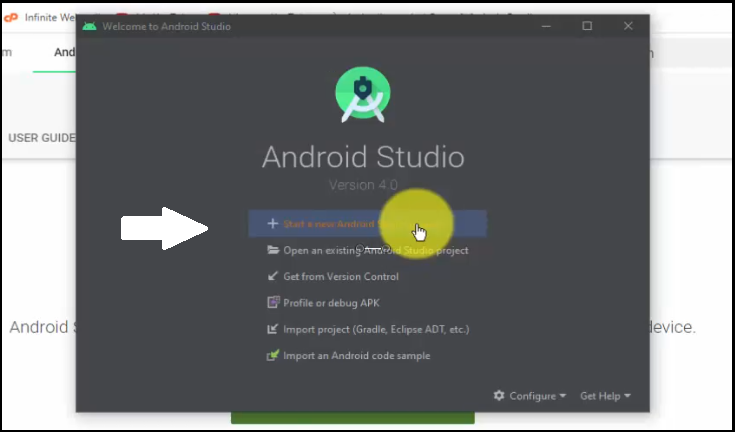
To create a new project, as you can see, we reached the dialog box displaying installation completed successfully. Let’s continue from here and click Start a new Android Studio Project:
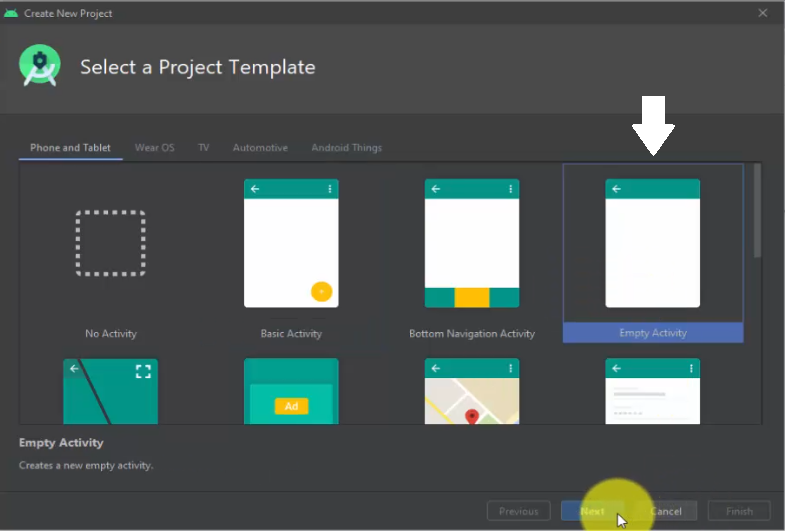
From here, you will reach the Select a Project Template section. Select Phones and Tablets tab, since we will be creating a Demo app. Under that, select Empty Activity and click Next:
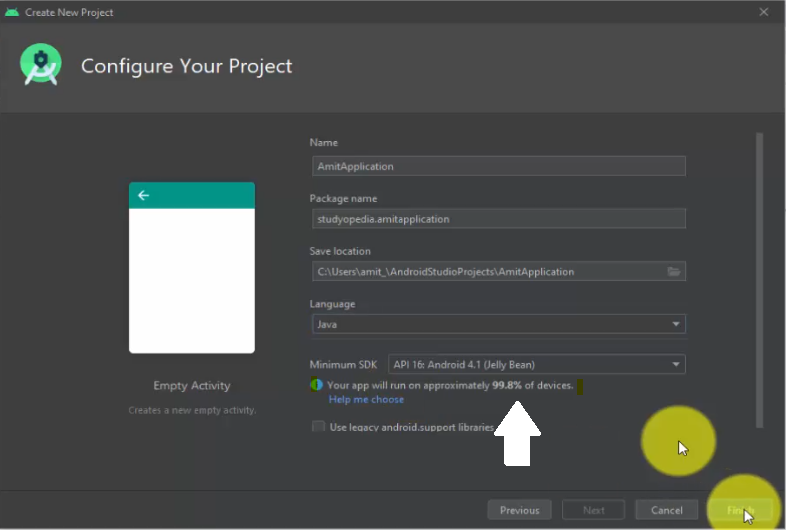
Now, configure your Android project. Set the project name, Package Name, Language, and set the Minimum SDK. We have set the following
- Name: AmitApplication
- Package Name: studyopedia.amitapplication
- Language: Java
- Minimum SDK: API 16: Android 4.1 (Jelly Bean)
Note: Minimum SDK is set by default, based on user’s convenience. You can change it from dropdown, but since the same API 16 will current run on 99.8% of devices, therefore, it is sensible to keep the Minimum SDK as it is as shown below:
Now, click Finish:
The AmitApplication project opens successfully. Now, to run the demo project, we need an AVD. Let’s create an Android Virtual Device (AVD).
Create AVD (Android Virtual Device)
Android Virtual Device (AVD) allows you to easily define the characteristics of multiple devices such as Android phone, Android Wear, tablet, and Android TV device. These are the devices which simulate in the Android Emulator.
An emulator is a fast and powerful virtual device through which you can easily test your devices on different screen sizes. Without using a hardware device, you can deploy and test your app. The emulator works like your hardware device i.e. after installation of the app on emulator, you can uninstall it from there itself.
Let’s see how we can reach the AVD and create a new one, to run our first Android application, AmitApplication.
Go to Tool > SDK Manager:

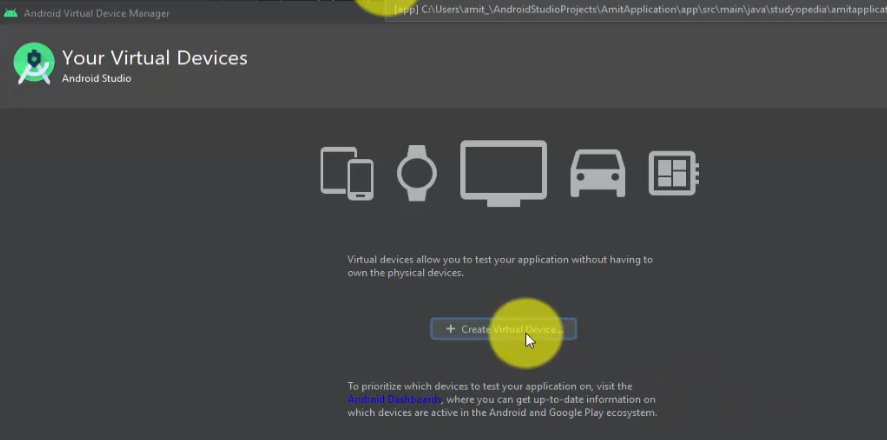
Now, under Android Virtual Device Manager, click Create Virtual Device to create a new Virtual Device:
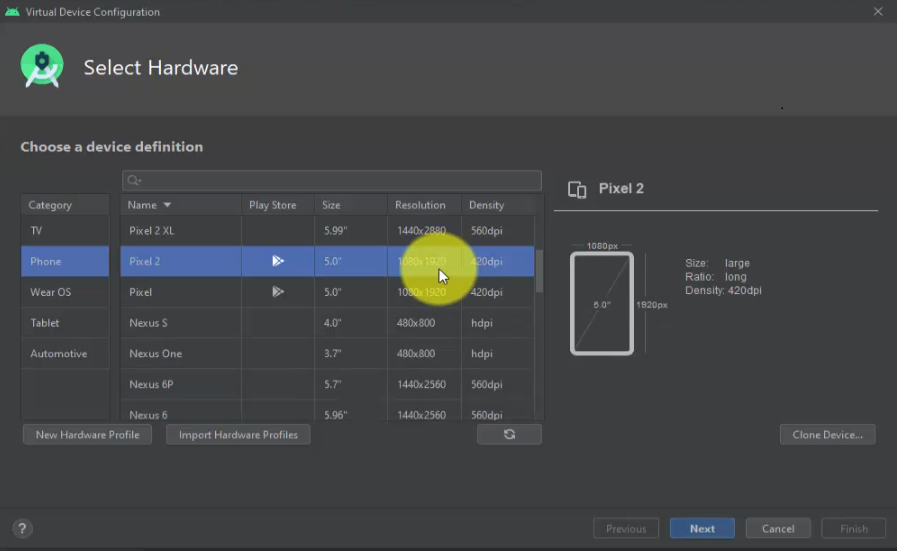
Select Hardware by Choosing a Device Definition.
From the Phone tab on the left, select any device for creating a Virtual Device, running and testing the app. We selected Pixel 2. Click Next:
We have reached the System Image section. Under Recommended, select any image. We will select the Q Download with API Level 29.
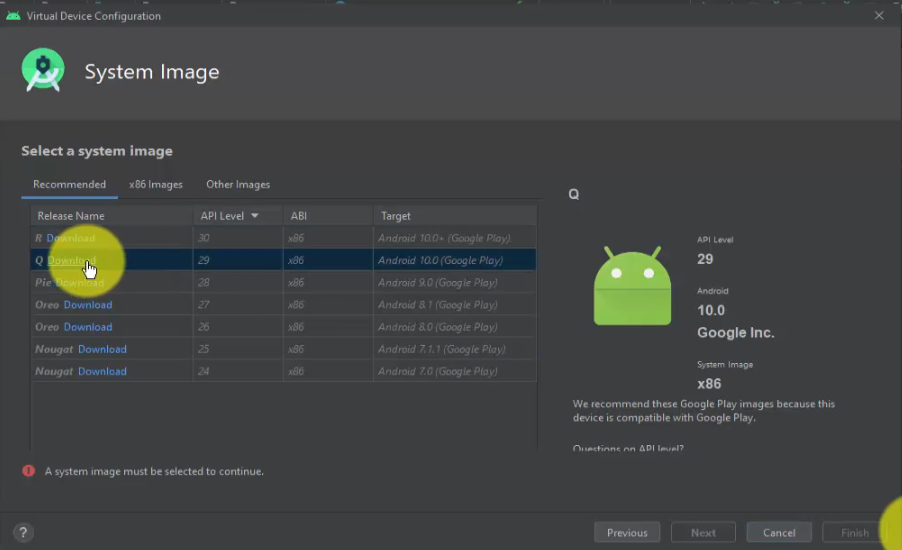
On clicking, the installation of System Image for Q begins. After downloading, click Finish:

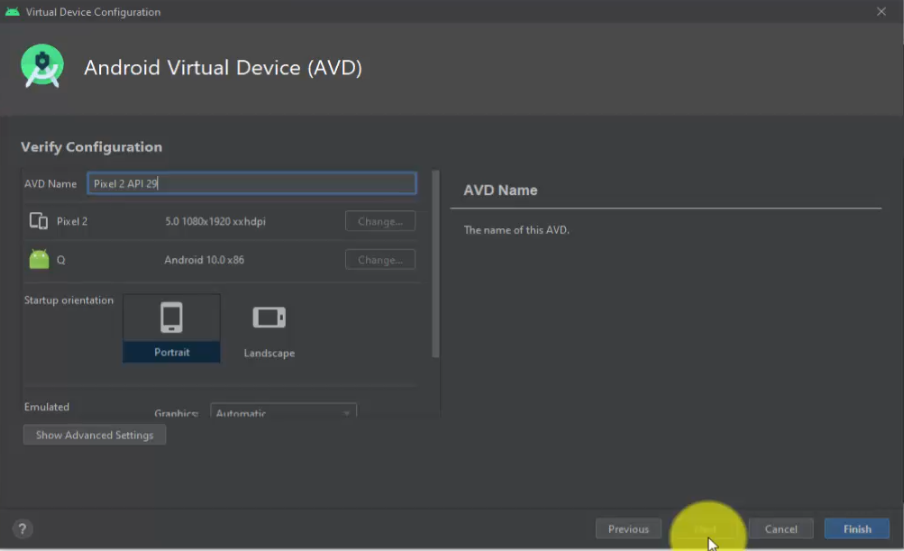
Now, you will reach the Verify Configuration section for Android Virtual Device for Pixel 2, we set above. Check the configuration and click Finish:
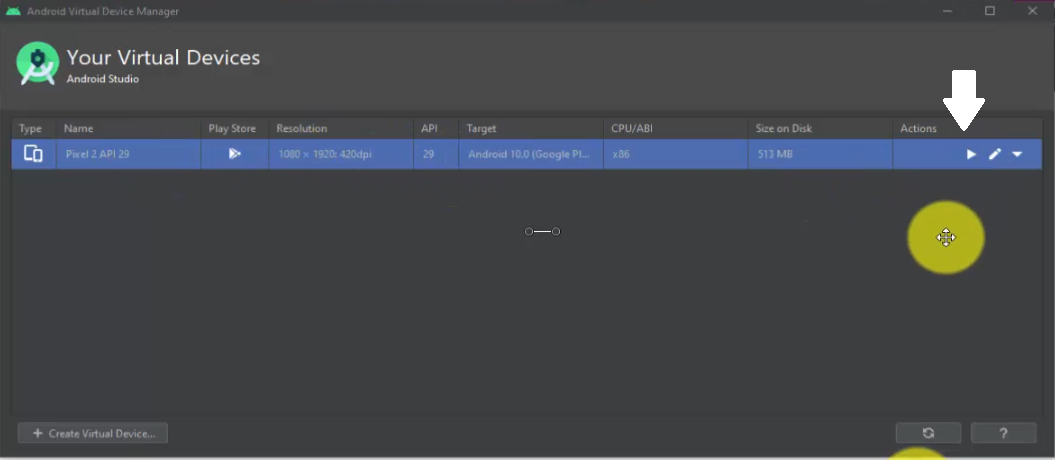
Android Virtual Device (AVD) created successfully, Pixel 2 API 29.
Click on the play button to Launch:
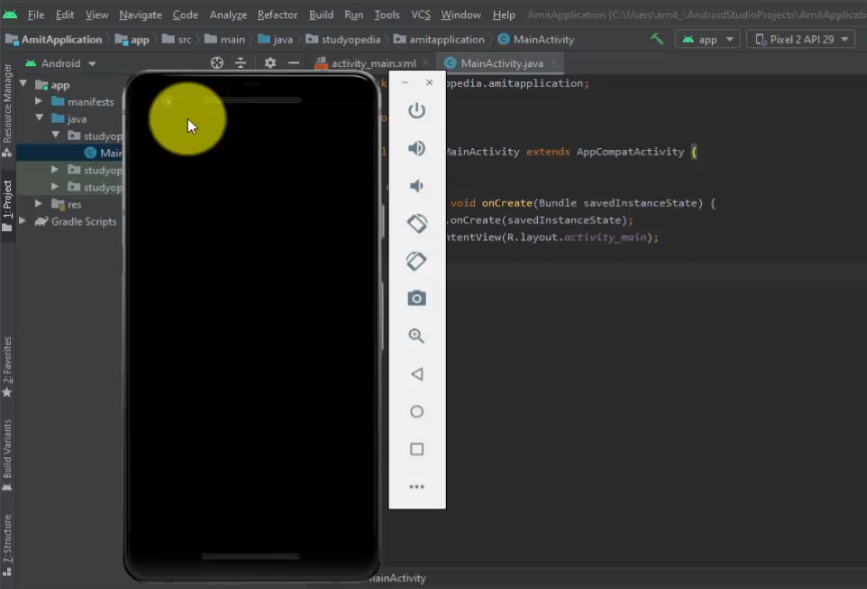
On clicking the play button, our Pixel 2 AVD launched successfully:
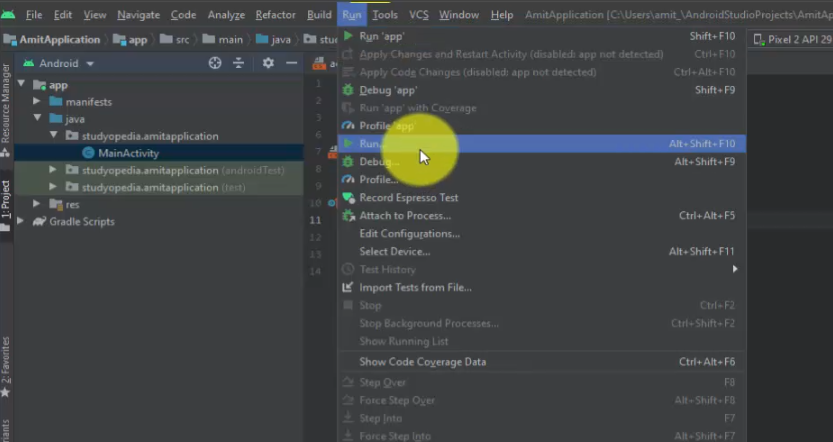
Run first project/ Android application
Go to Run menu and click Run to run the AmitApplication:
On clicking RUN, the GRADLE runs successfully. The AmitApplicaion project ran successfully and the output of the app is visible. The title AmitApplication is also visible, with the demo text Hello World
If you liked the tutorial, spread the word and share the link and our website Studyopedia with others.
For Videos, Join Our YouTube Channel: Join Now
Read More:
- Install WordPress on localhost in Windows 10
- Install Drupal on localhost in Windows 10
- Install Joomla on localhost in Windows 10
- Install Python on Windows 10
- Install jQuery on localhost in Windows 10
- Install Eclipse in Windows 10
- Install Java 13 on Windows 10
Alex Diaz
Posted at 00:21h, 15 JulyCreated AVD as well with this tutorial.
Superb! Started with my Android App Dev journey.