22 Jul Install Android Studio 2 on Windows 10
This tutorial is for those users who are still working on Android Studio 2 and haven’t moved to Android Studio 4 App development.
Note: We are displaying Android Studio 2 installation in this tutorial. For Android Studio 4 installation, refer Setup Android Studio 4 on Windows 10.
To setup Android environment, firstly download Android Studio 3 and install it on your system. After that install Android SDK. Here are step by step instructions to setup Android Environment in Android Studio 2,
-
- Step 1: Download Android Studio 2
- Step 2: Install Android Studio 2
- Step 3: Start a new project
- Step 4: Create new AVD
- Step 5: Open AVD Manager
- Step 6: Launch Emulator
- Step 7: Run Project
Let’s begin!
Firstly, start with downloading Android Studio.
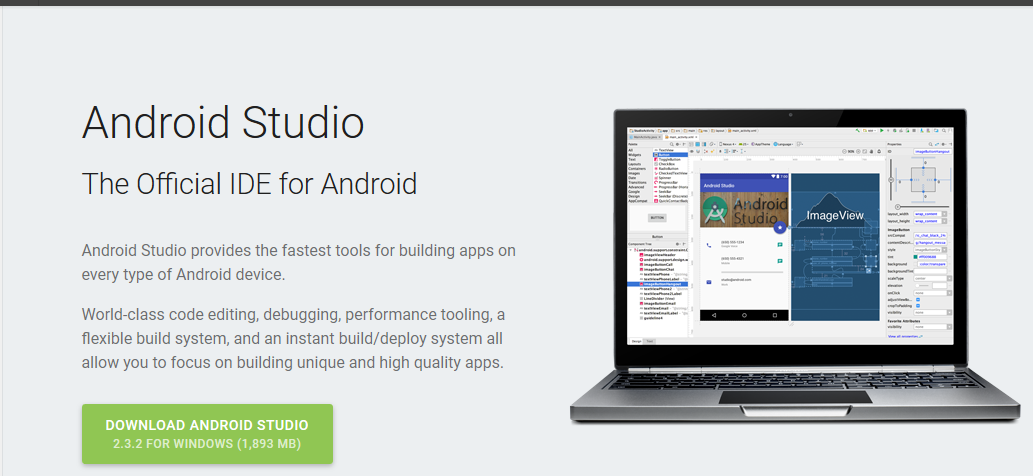
Step 1: Download Android Studio
Go to the official website of Android and download Android Studio 2.3.2. We will be downloading the bundle for Windows OS.
Android Studio is the official IDE for Android for developing Android applications.
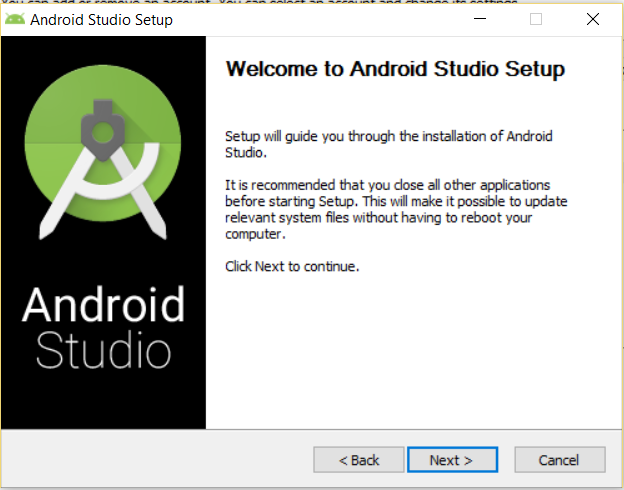
Step2: Install Android Studio
After downloading the Android bundle file, click on it for installation.
Now the setup begins installation.
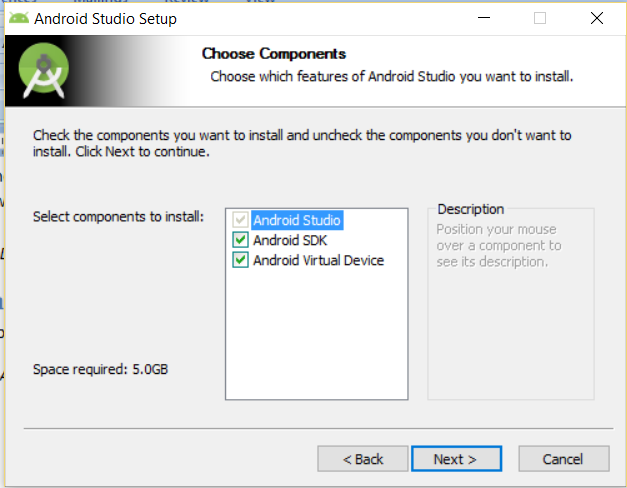
It asks for the components to install: Android SDK and Android Virtual Device (AVD). Keep it as it is,
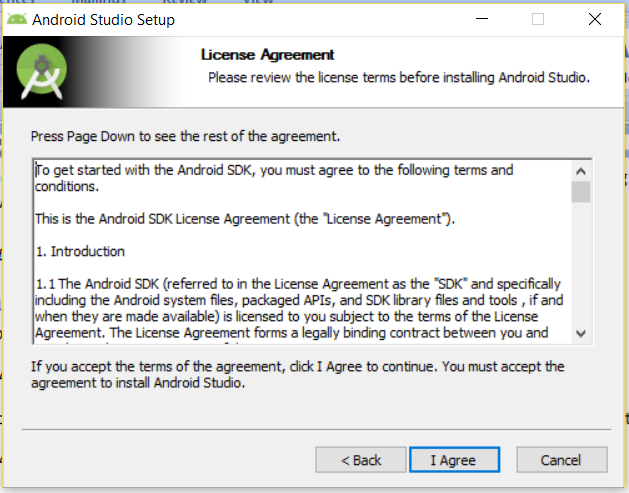
Now, you will be asked to read the license agreement. To accept the terms of agreement, click I Agree,
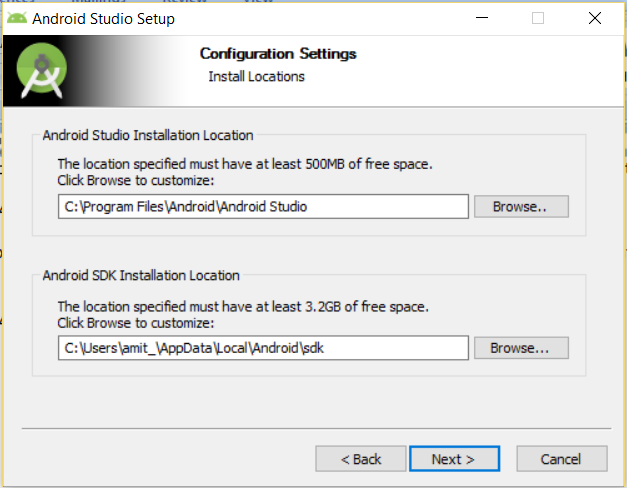
Set the Android SDK and Android Studio locations as shown below. You can add any location, but if you’re not sure, keep the default,
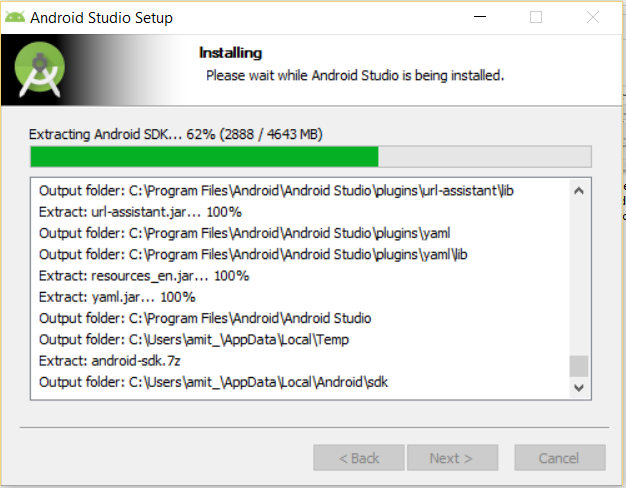
After clicking Next above, the installation starts as shown below,
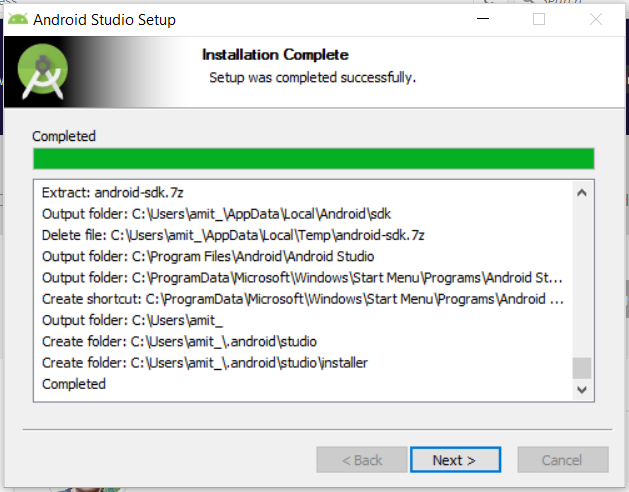
The installation of Android Studio completed successfully and now you can see Installation Complete message as shown below,
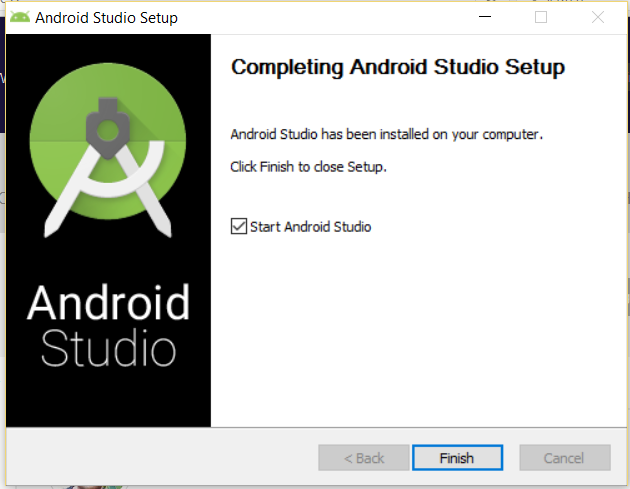
Click Next and you can see the default checkbox says to Start Android Studio. Keep as it and click Finish to finish installation and start Android Studio,
Android Studio starts working,
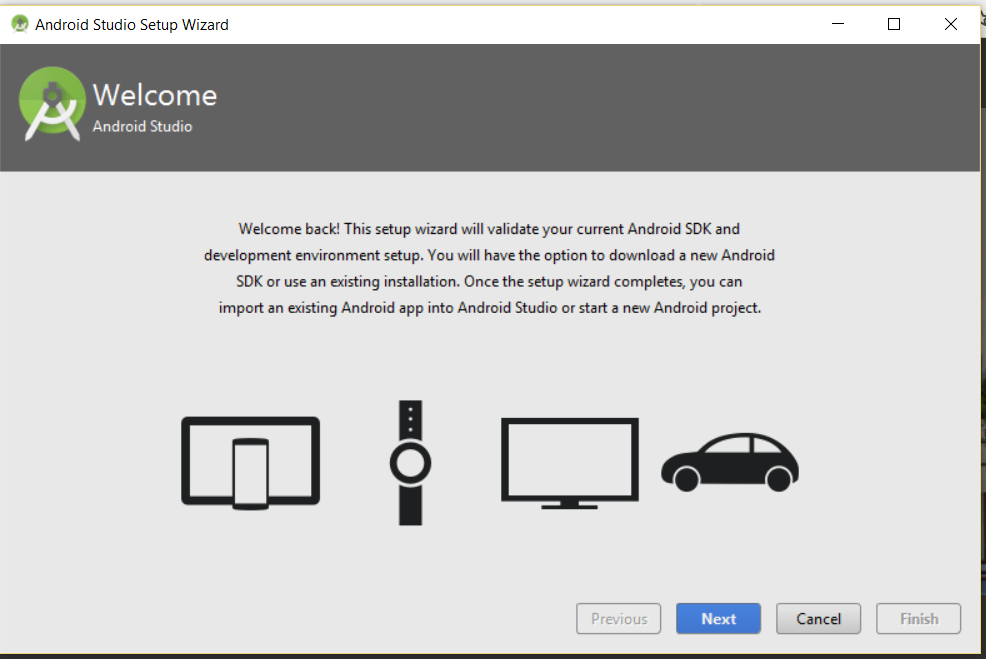
Now, the following section is visible, wherein it shows the Android Studio setup wizard i.e. the setup wizard to validate your current Android SDK and development. Click Next,
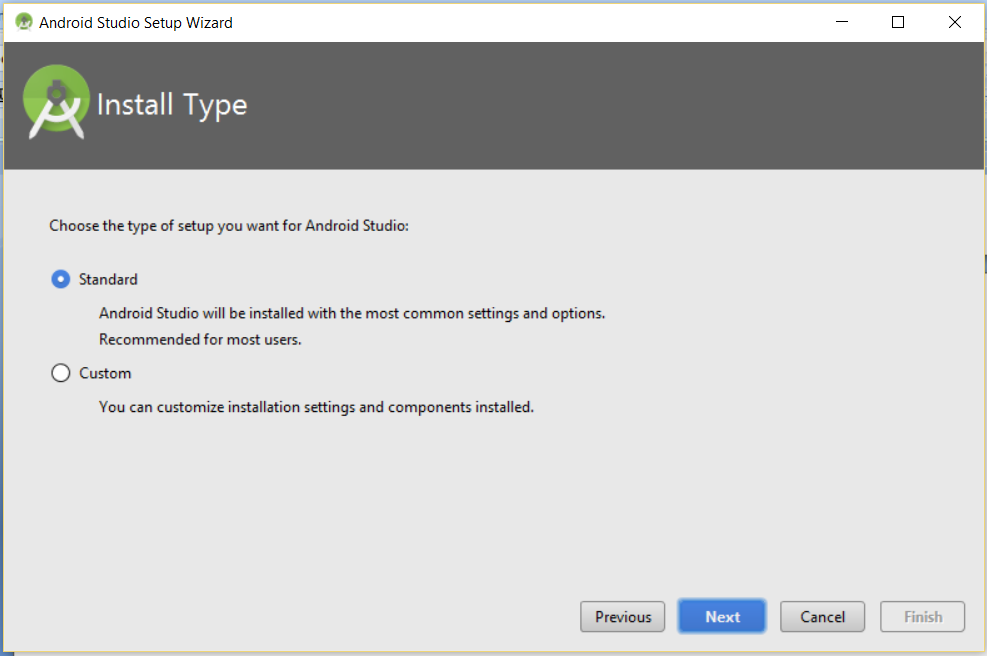
A section now appears to select the type of setup for Android.
Here, select Standard for standard installation.
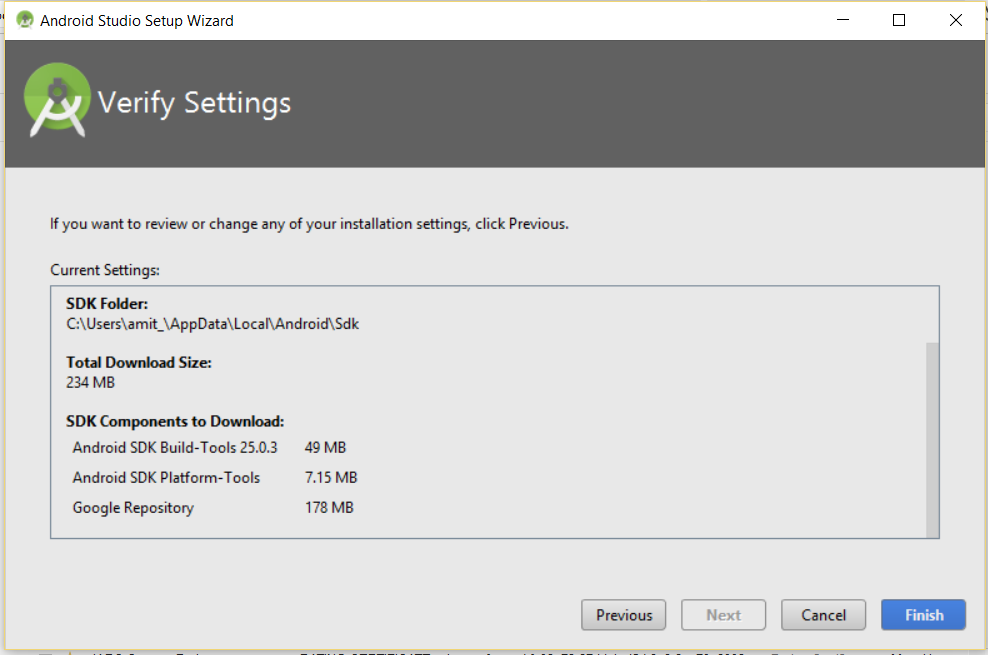
The above will install Android SDK Build Tools, Android SDK Platform-Tools and Google Repository. Click Finish,
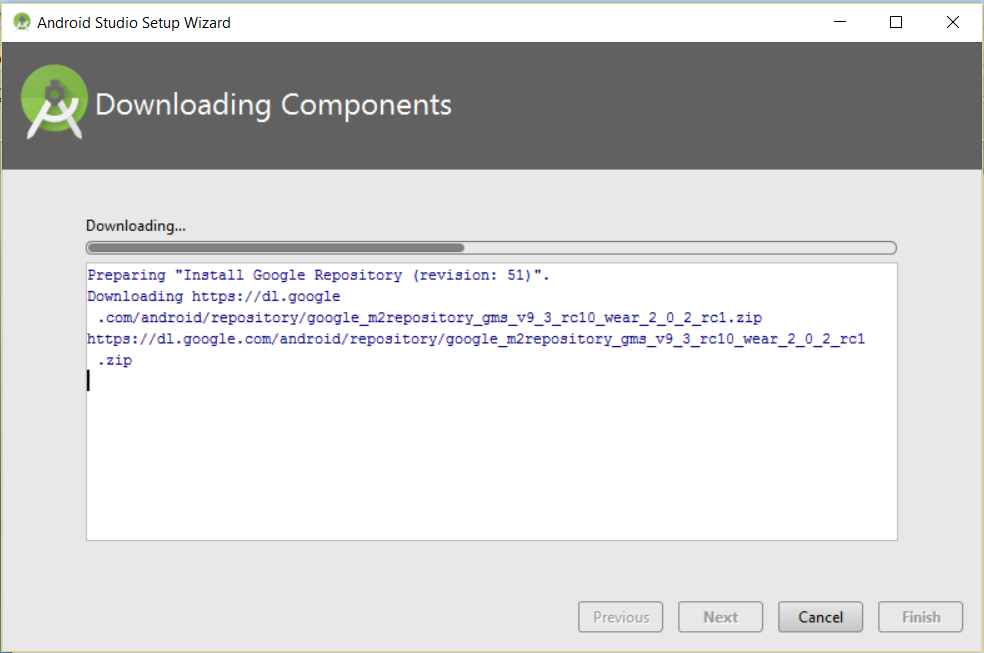
Google Repository is a local Maven Repository for Support Libraries. Here, the installation of Google Repository begins,
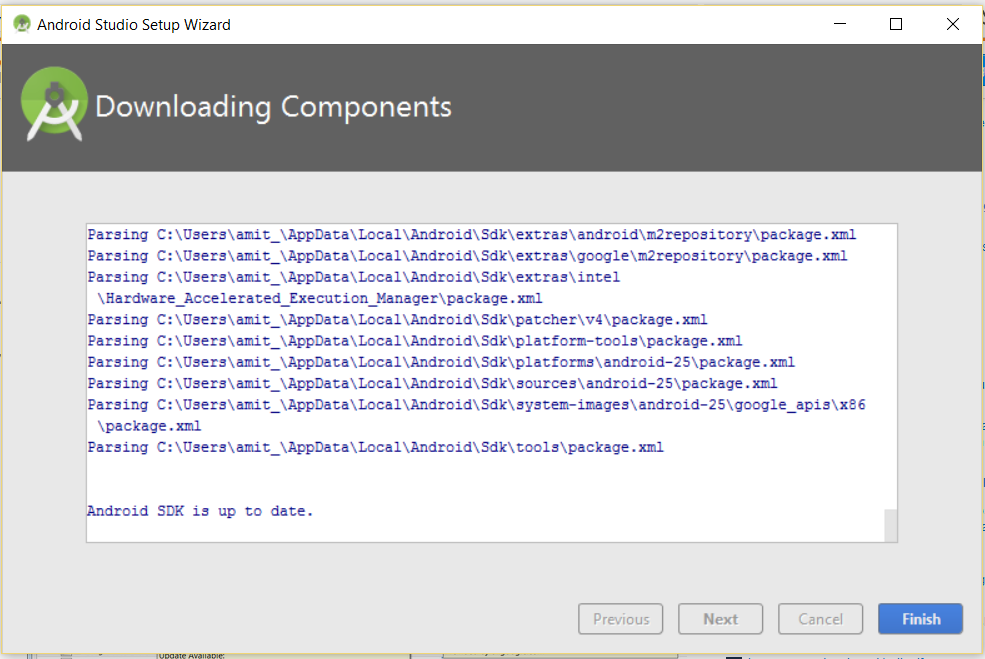
It shows the Android SDK is up to date as shown below. Click Finish,
Step 3: Start a new project
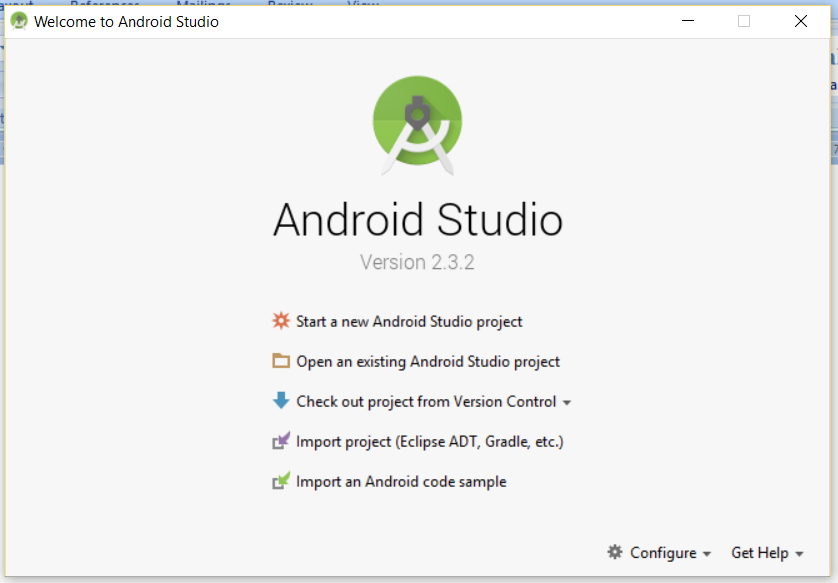
Now, after the above steps complete and you click Finish, the following is visible to add a new project. Click Start a new Android Studio Project,
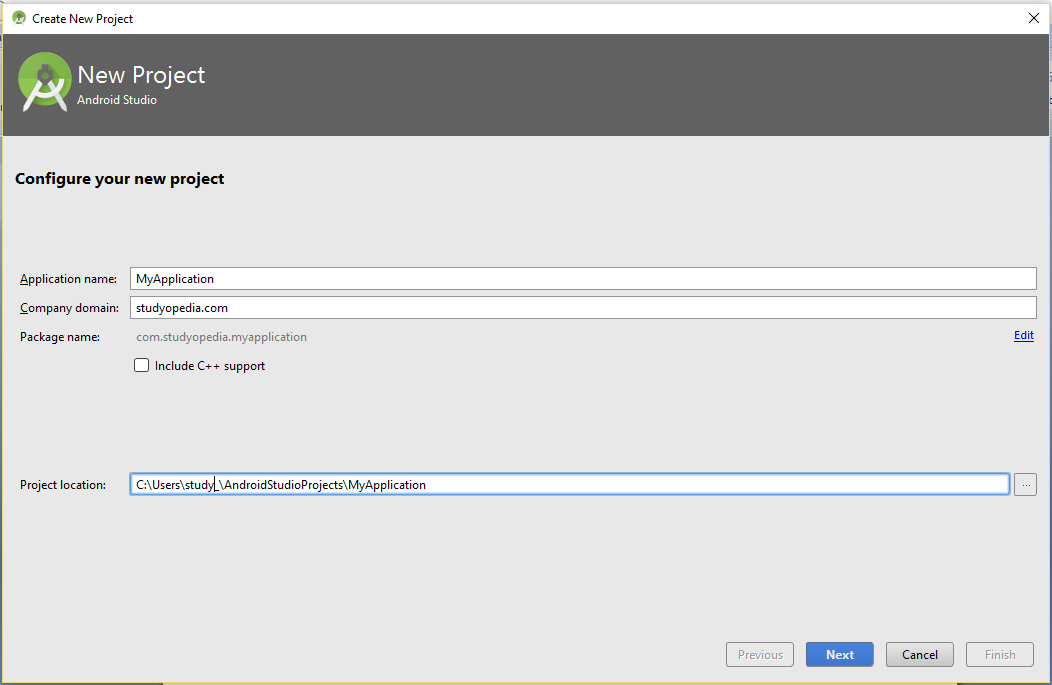
Add the application name and package name. Here, we added Application name as MyApplication and Package name as com.studyopedia.myapplication. After adding, click Next,
Here, you need to select the minimum SDK API levels as well as what devices you want your app to run i.e. Android Phone & Tablets, Android Wear, Android TV and Android Auto. You can select multiple options also. We selected Minimum SDK as API 15 and later, so that our app works on 97.4% of the devices that are active on the Google Play Store,

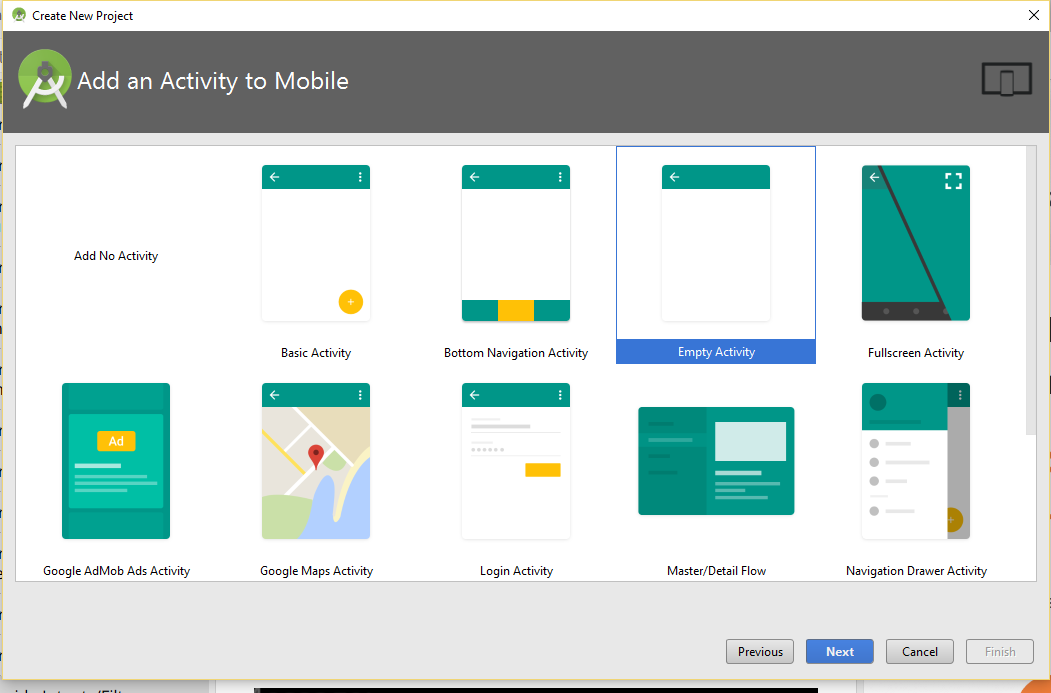
After selecting above, click Next. Now, it will ask you to add a new activity. The following options are available, select any or keep it the default i.e. Empty Application, since this is our first Android application,
- Basic Activity
- Bottom Navigation Activity
- Empty Activity
- Fullscreen Activity
- Google AdMob Ads Activity
- Google Maps Activity
- Login Activity
- Master/Detail Flow
- Navigation Drawer Activity
- Scrolling Activity
- Settings Activity
- Tabbed Activity
Select Empty Activity and click Next,
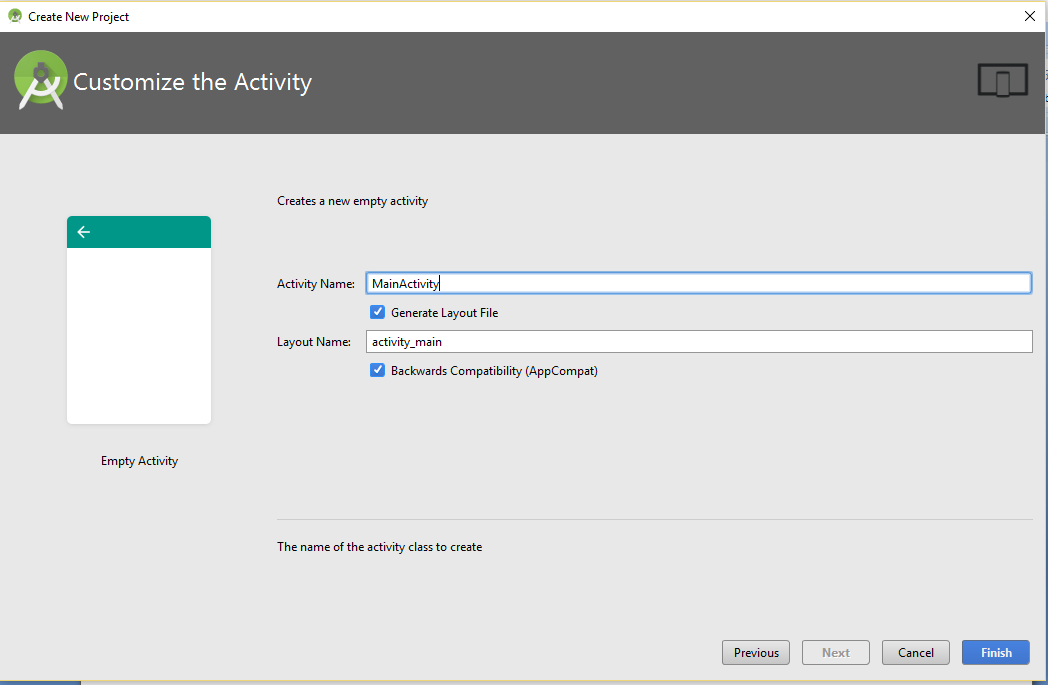
Now, add Activity Name and Layout Name, before clicking Next. We will keep them as default, and click Finish,
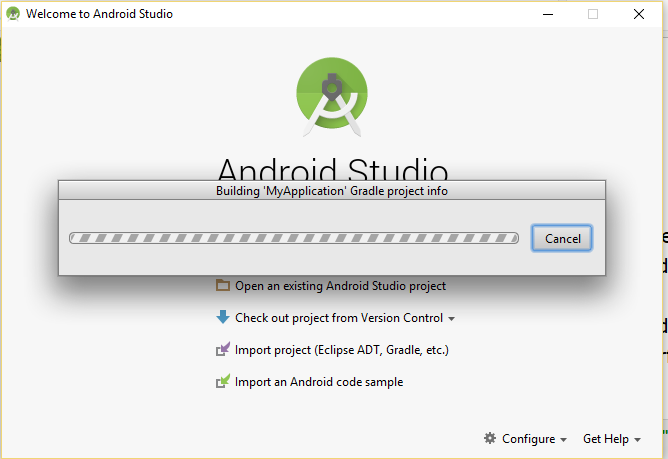
The project building,
The project created successfully and all the files are visible under Project Directory,
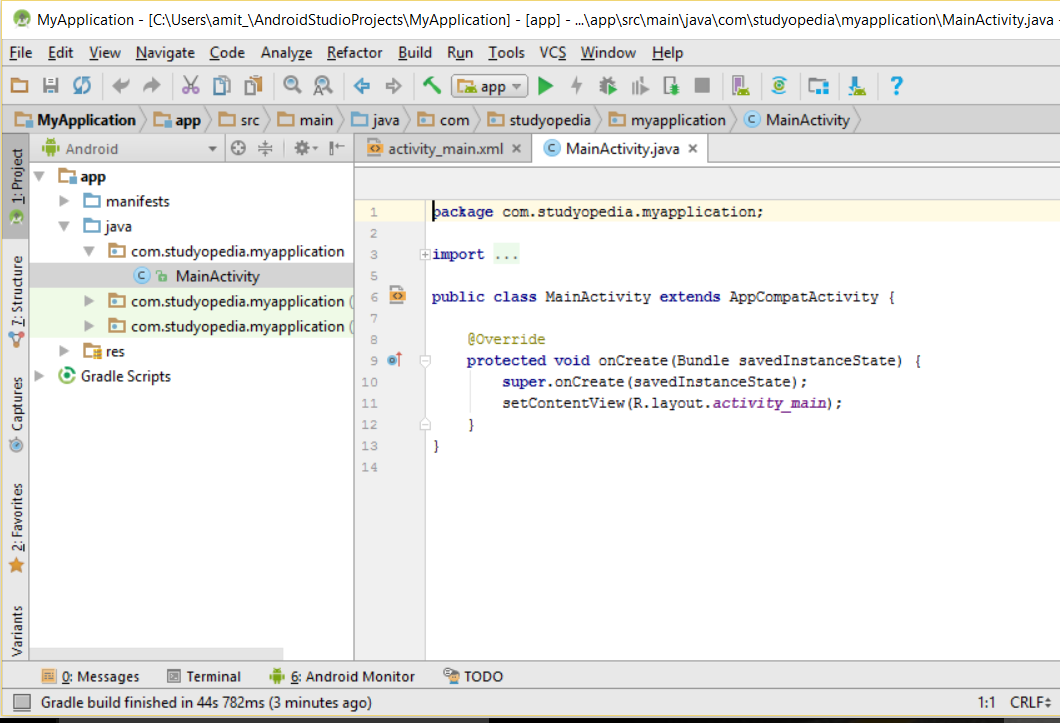
Above, the Java and XML files are visible, with the package com.studyopedia.myapplication;
Now, to run the app you need to first create a AVD i.e. Android Virtual Device.
Let’s learn how to create one.
Step4: Create new AVD
Android Virtual Device (AVD) allows you to easily define the characteristics of multiple devices such as Android phone, Android Wear, tablet, and Android TV device. These are the devices which simulate in the Android Emulator.
An emulator is a fast and powerful virtual device through which you can easily test your devices on different screen sizes. Without using a hardware device, you can deploy and test your app. The emulator works like your hardware device i.e. after installation of the app on emulator, you can uninstall it from there itself.
Easily manage AVDs with the AVD Manager. Create multiple AVDs with the AVD Manager and edit then whenever you want.
Let’s see how we can reach the AVD and create a new one, to run our first Android application, MyApplication.
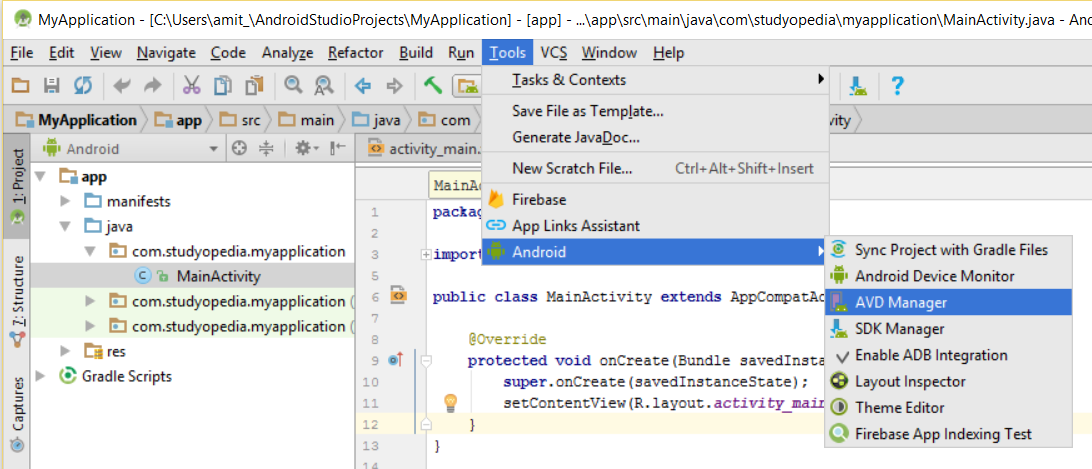
Step 5: Open AVD Manager
AVD is a one place destination to view all the AVDs created. Right now we need an AVD to run the project, MyApplication we created before.
Go to Tools, then Android and click AVD Manager,
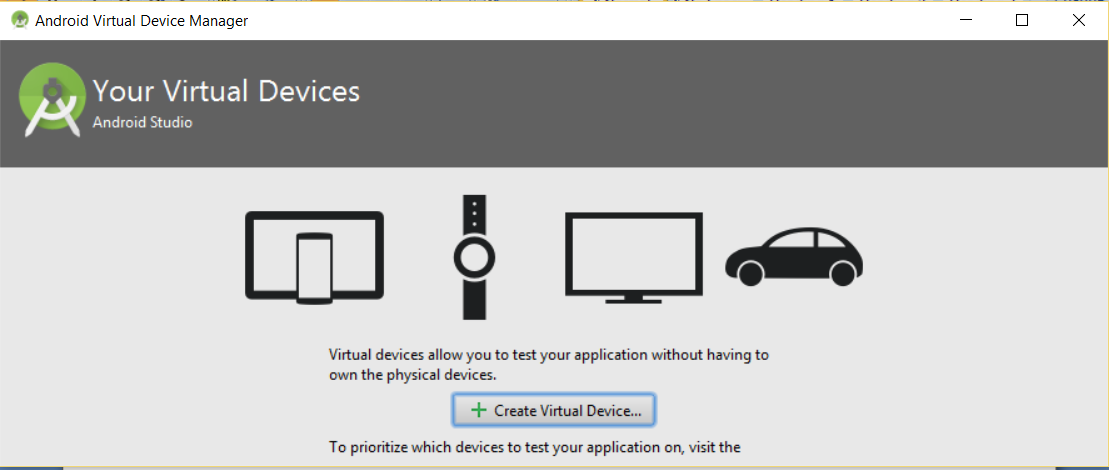
Here’s our AVD Manager. Right now, you can see no device is visible, since we haven’t added any. It’s asking to create one, click Create Virtual Device,
Now we’ve reached the Select Hardware and Device Definitions section for our AVD. We want an AVD for Phone, so select Category as Phone and then select the screen size.
Here, we will be selecting screen size 5.2”, you can select any. After doing the needful changes, click Next. After that you will reach a section to select system image and download it,
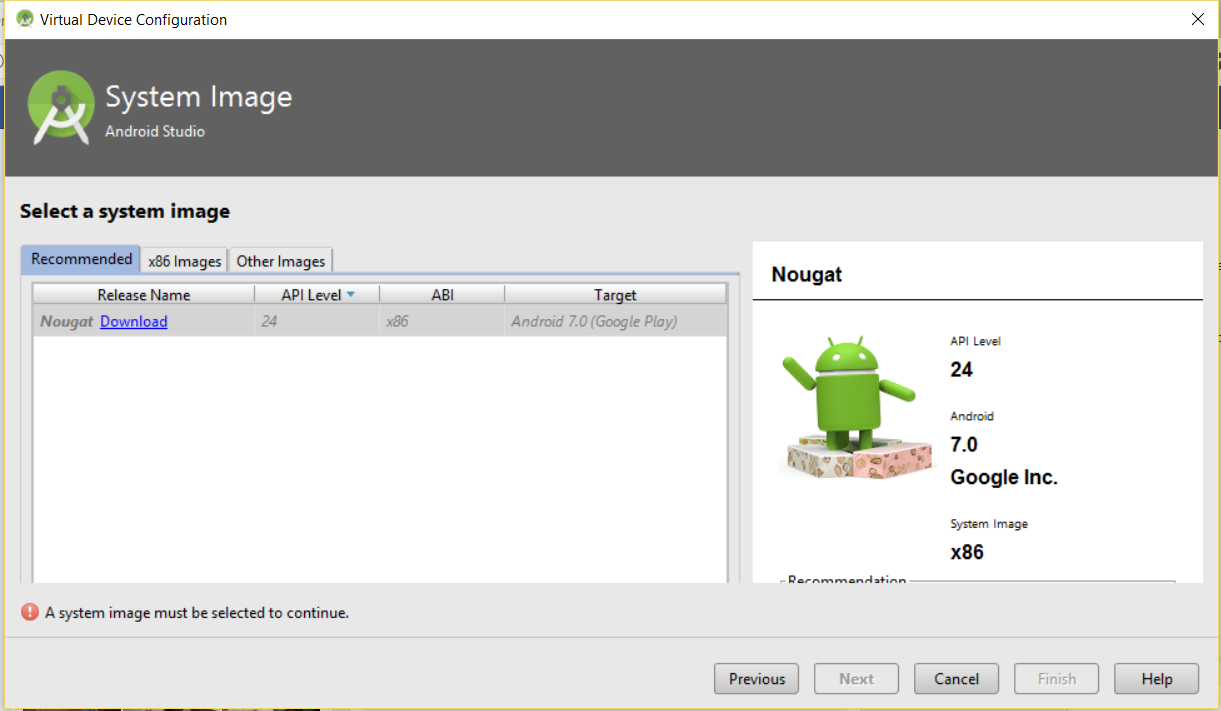
Now, click Download above to download the image,
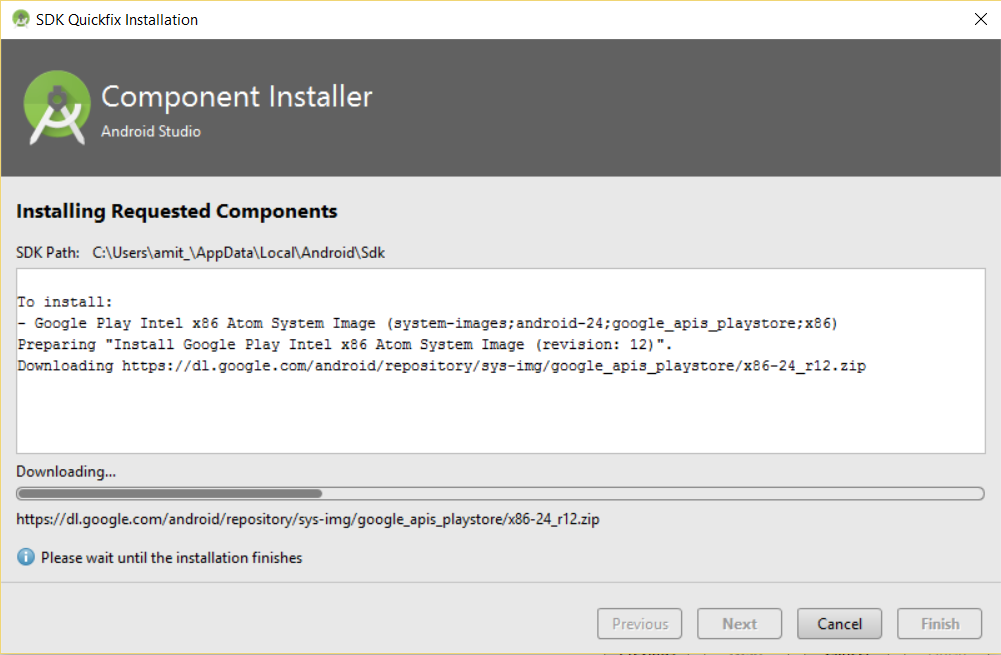
When the above gets downloaded, click Finish. After that click Next. Now, you will reach the Verify Configuration section. Here, you can change the orientation of your AVD name of AVD, etc. Click Advanced Settings to change Memory and Storage values, enabling Keyboard input, etc.
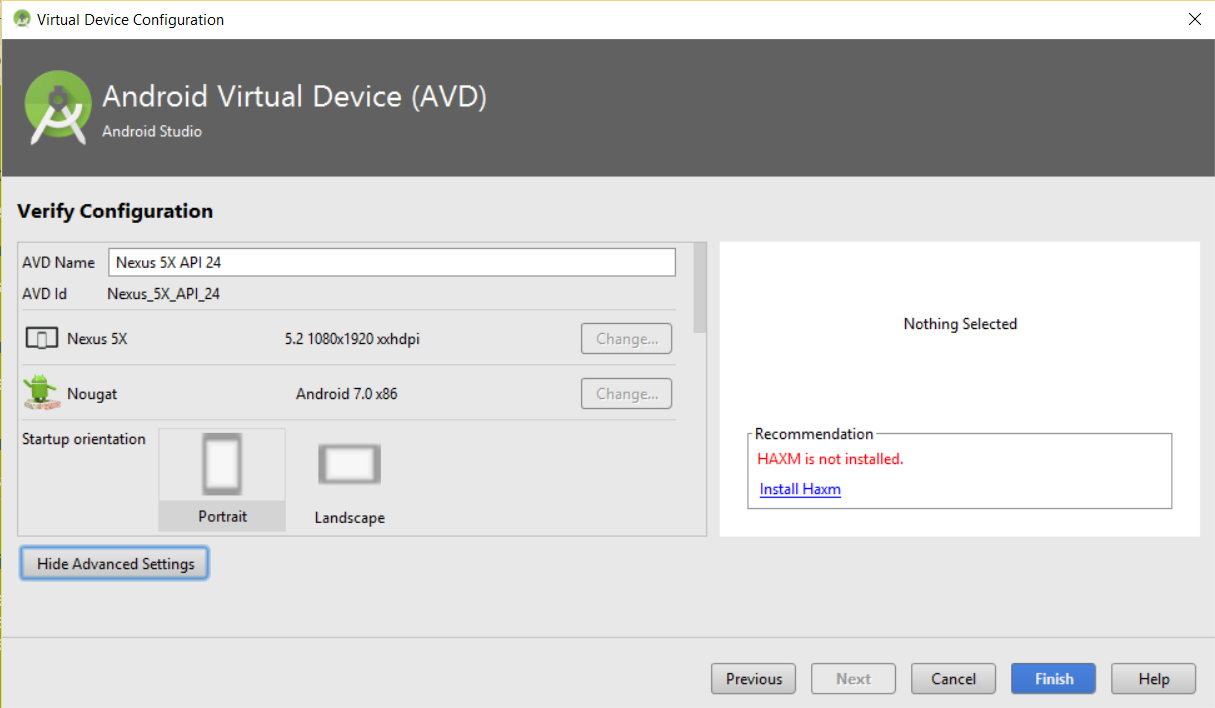
Here, you can see it is showing to install Haxm, so install it,
Install HAXM
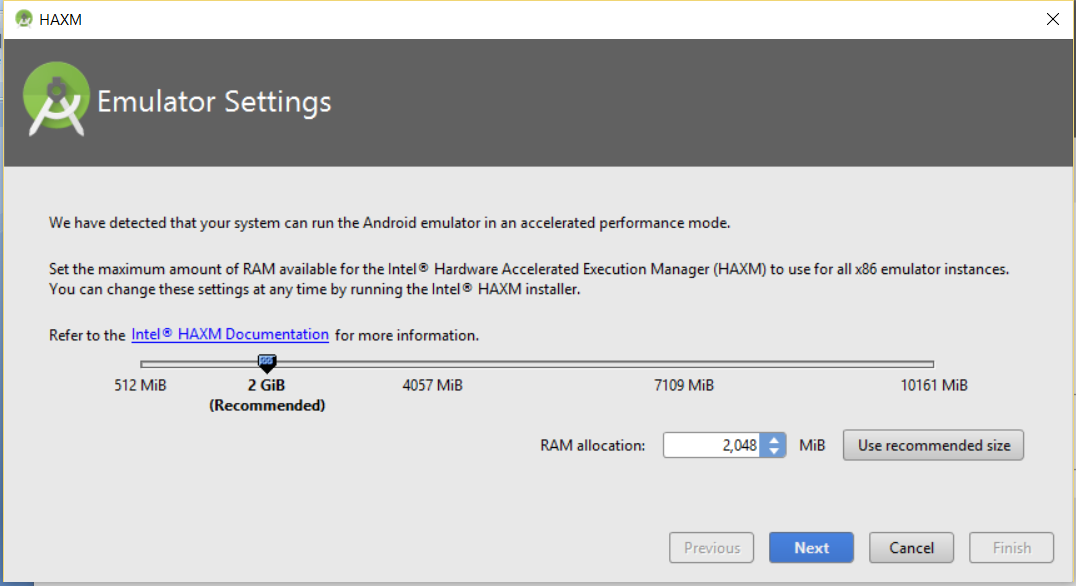
After clicking Install Haxm above, you can see a section is visible, where you can set the RAM allocation size. We will keep the default value and click Next,
Here, the HAXM installed successfully,
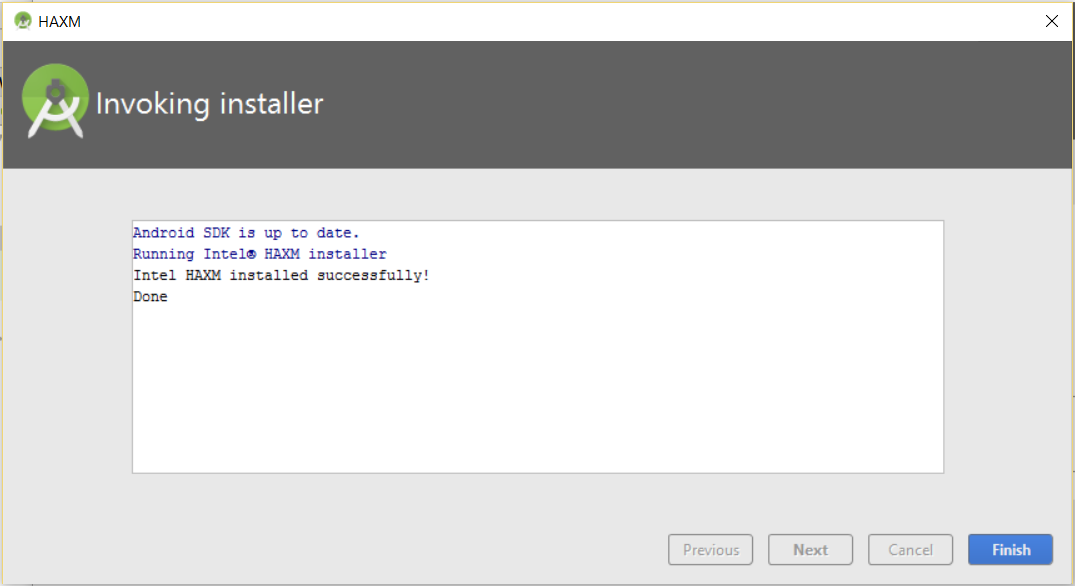
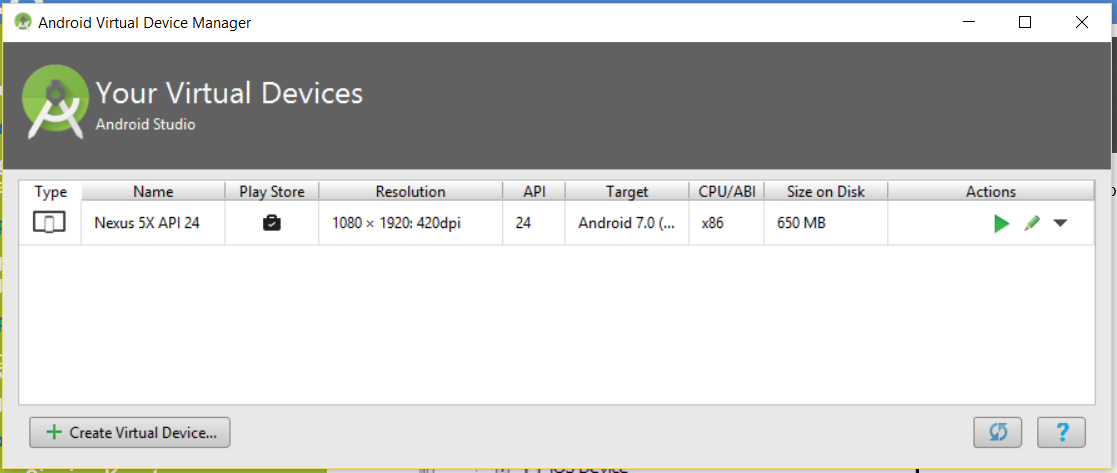
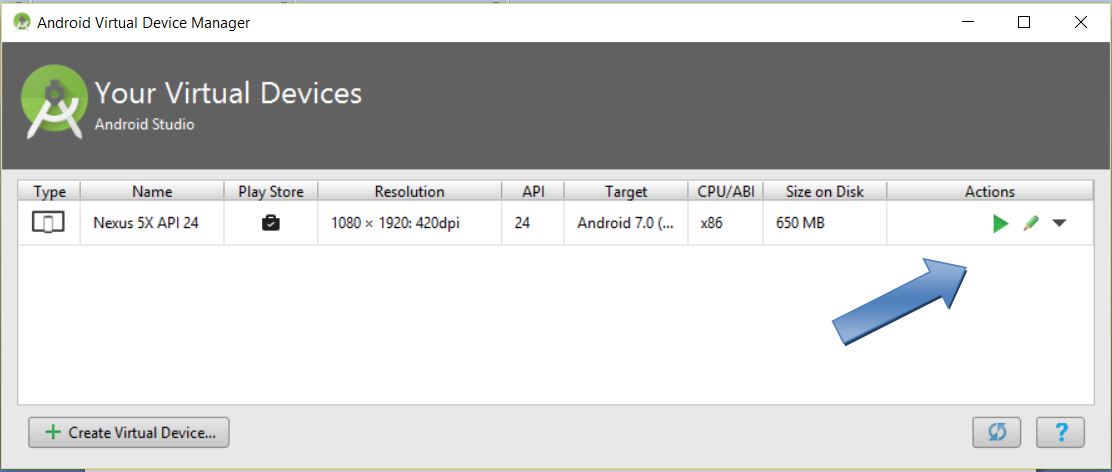
The installation of HAXM completes, click Finish. Now, as shown below, our first AVD is visible, i.e Nexus 5X API24,
Step 6: Launch Emulator
To launch the newly created emulator, click on the start icon as shown below,
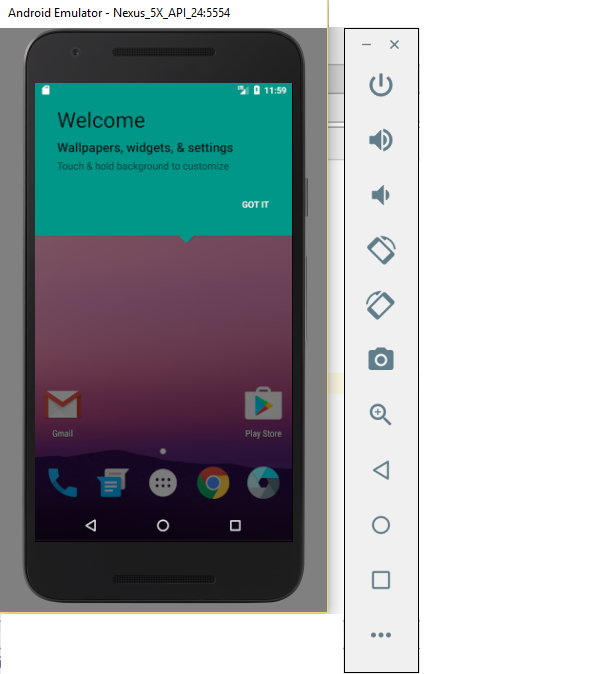
On clicking the start icon above, the emulator will launch.
Step 7: Run project
To run your Android project, you need to first set an AVD for it. We created an AVD above, so here we will learn how to work with it and run our demo project.
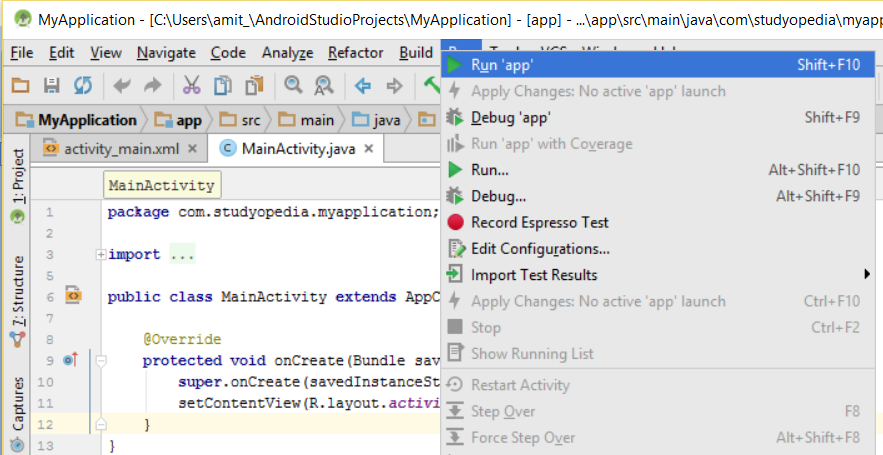
Reach your project and click Run menu, then Run app,
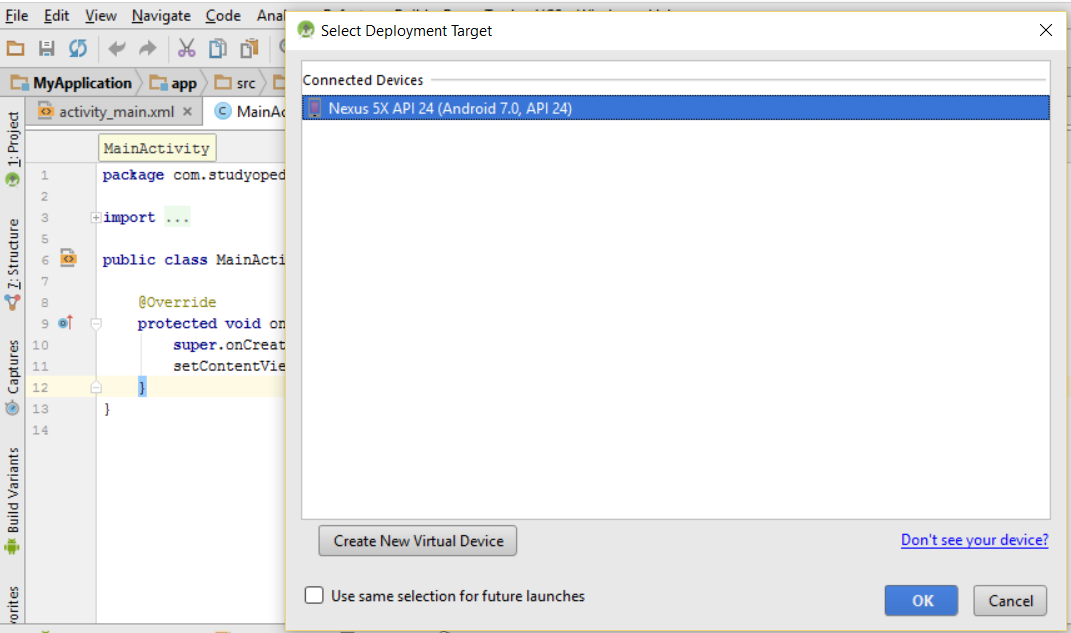
On clicking Run app, you will reach a section wherein you need to select the deployment target i.e. the AVD. We have created only a single AVD till now, so we will click on it as shown below. After selecting, click OK,
Step 8: Install Android SDK
Now, it will ask to install the components before running the app. Select Install and Continue to install the SDK.
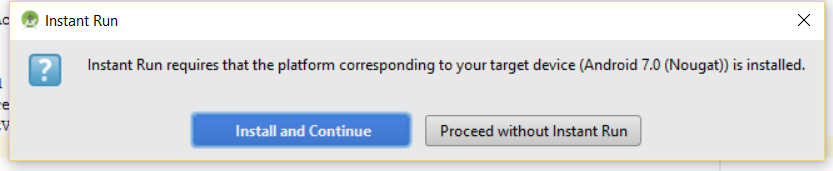
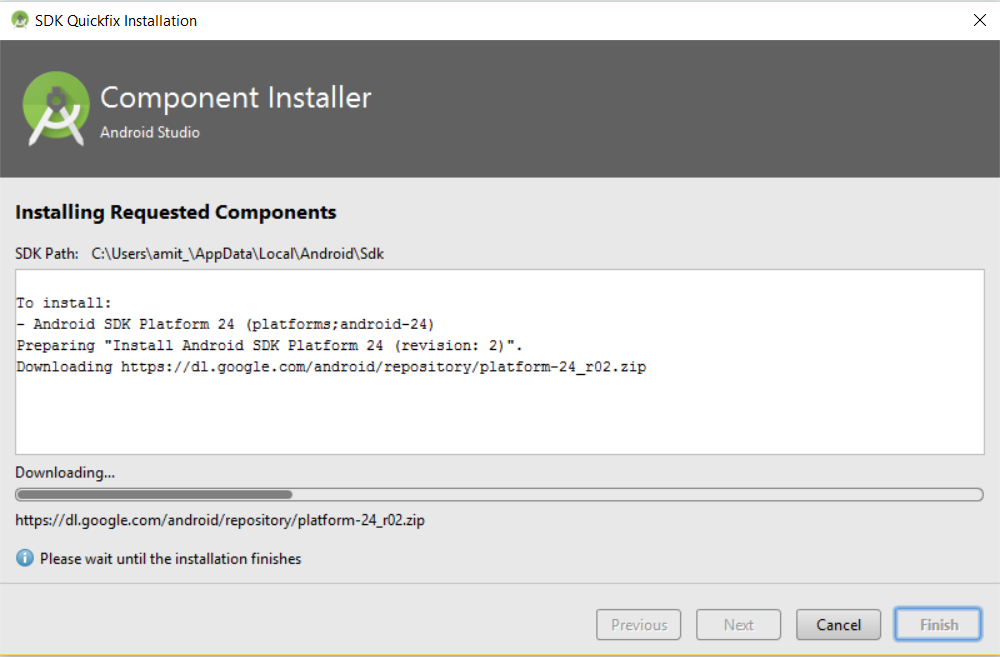
The installation of Android SDK platform 24 started, since our AVD has API Level 24 i.e. Android 7.0.
When the installation completes, click Finish,
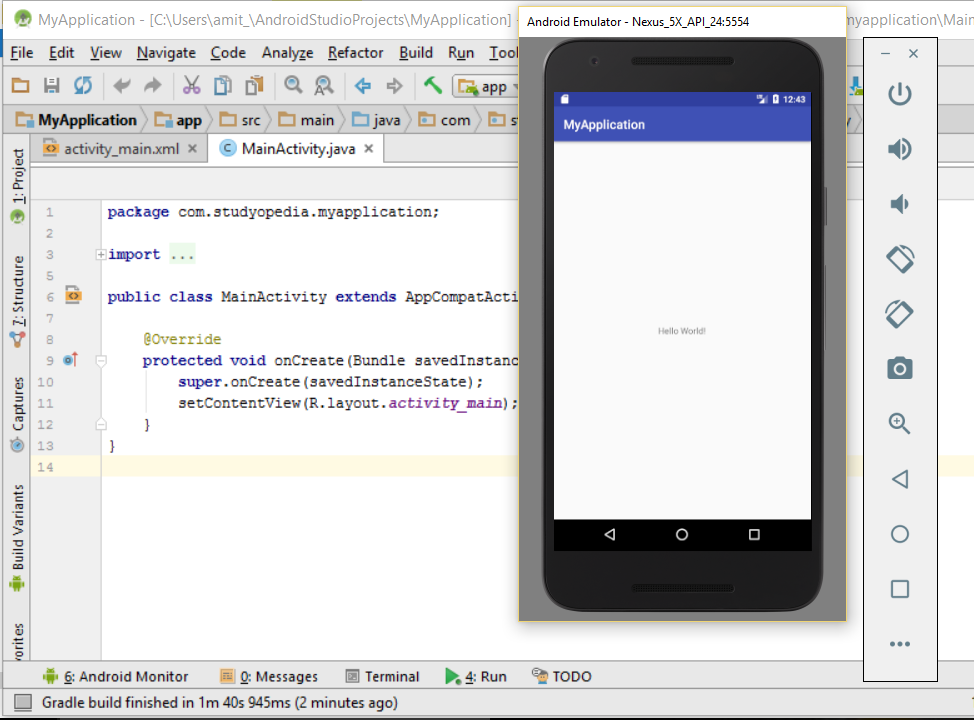
After Gradle run, the emulator will launch, showing the output of our demo project MyApplication, with package com.studyopedia.myapplication, and output text, Hello World
Android Studio 4.0 launched on May 28, 2020. Learn how to setup Environment for Android Studio 4 and run your first Android app on it.
If you liked the tutorial, spread the word and share the link and our website Studyopedia with others.
For Videos, Join Our YouTube Channel: Join Now
No Comments