16 Aug Android Gravity
For creating amazing user interface in Android, you need to have excellent knowledge about Android Padding, Android Margins. With that, you also need to know how to work with Android Gravity and Android Layout Gravity. Here, we will learn how to work with Android Gravity and use some demo apps for better explanation of the concept.
What is Android Gravity
Android Gravity is an attribute, used for child elements of the view and arranges the content inside the view. It controls gravity of all child views of a container. Gravity in Android places an object within a larger container. It sets the gravity of the content of the View its used on. Views are Button, TextView, EditText, etc.
android:gravity has the following values: top, bottom, left, right, center, center_vertical, center_horizontal etc.
It is the gravity, which is inside of the view and The android:gravity specifies how an object should position its content on both X and Y axis.
Note: Do not use android:gravity with a RelativeLayout.
Constants
With android:gravity, use the following constant values:
bottom: Pushes the object to the bottom of its container.
center: Pushes the object to the center of its container; both horizontal; and vertical axis.
center_horizontal: Pushes the object in the horizontal center of its container.
center_vertical: Pushes the object in the vertical center of its container.
end: Pushes the object to x-axis position at the end of its container.
left: Pushes the object to the left of its container.
right: Pushes the object to the right of its container.
start: Pushes the object to x-axis position at the start of its container.
top: Pushes the object to the top of its container.
Android Gravity Example
To learn how to work with the android:gravity attribute, let’s take the following example of a button. Button is a view in Android. With this, set button within LinearLayout and the button’s content label within the button.
android:gravity set alignment to the content of a view i.e. Button here. The alignment will only work if the size of Button is bigger than the Button’s content.
Here’s the code of button, which we will be including in our screenshot with emulator screenshots.
Note: If you’re beginning with Android, then learn how to run your first Android app in Android Studio.
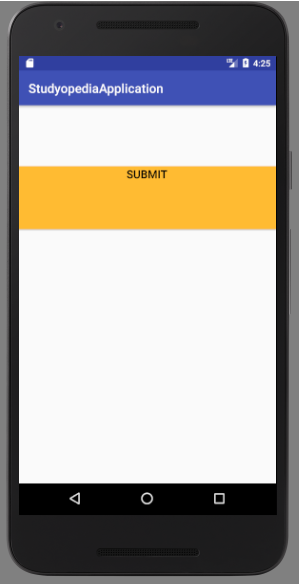
This is the XML layout code, without using android:gravity,
<LinearLayout xmlns:android="http://schemas.android.com/apk/res/android"
    xmlns:tools="http://schemas.android.com/tools"
    android:layout_width="match_parent"
    android:layout_height="match_parent"
    tools:context=".MainActivity"
    android:orientation="vertical"
    >

    <Button
        android:id="@+id/btDetails"
        android:layout_width="match_parent"
        android:layout_height="100dp"
        android:layout_marginTop="97dp"
        android:background="#FFBB32"
        android:text="@string/detail"
        android:textColor="#000000"
        android:textSize="18sp" />

</LinearLayout>
Here’s the screenshot,
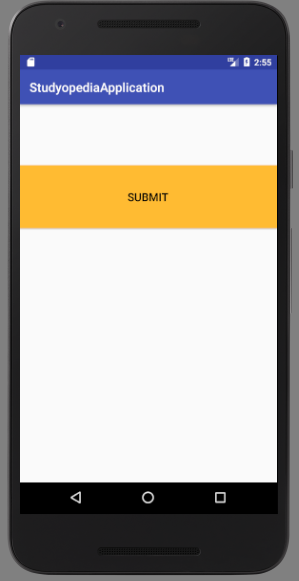
Now, let’s add gravity attribute to the Button view and see what happens.
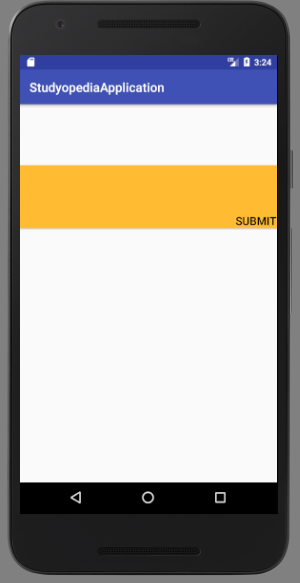
Add gravity attribute with bottom|end value and see what happens,
android:gravity=“bottom|end”
The view content i.e. button text will appear in bottom|end of the view i.e. bottom end of the button.
Note: We’re using end instead of right to ensure correct behavior in right-to-left locales.
Here’s the screenshot:
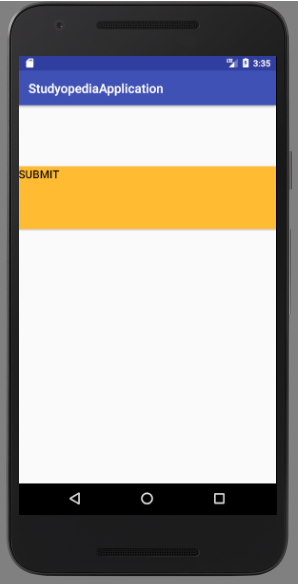
Let’s add gravity attribute to the Button view, with top|start value and see what happens,
android:gravity=“top|start”
The view content i.e. button text will appear in top|start of the view i.e. bottom end of the button.
Note: We’re using start instead of left to ensure correct behavior in right-to-left locales.
Here’s the screenshot:
Let’s add gravity attribute to the Button view, with bottom|center value and see what happens,
android:gravity="bottom|center"
The view content i.e. button text will appear in bottom|center of the view i.e. bottom center of the button.
Here’s the screenshot:
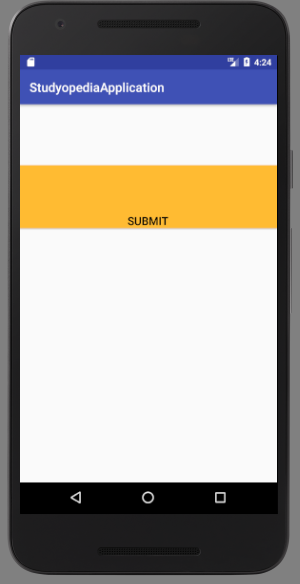
Let’s add gravity attribute to the Button view, with top|center value and see what happens,
android:gravity="top|center"
The view content i.e. button text will appear in top|center of the view i.e. top center of the button.
Here’s the screenshot:
In the next lesson, we will learn about Android Layout Gravity attribute.
If you liked the tutorial, spread the word and share the link and our website Studyopedia with others.
For Videos, Join Our YouTube Channel: Join Now
No Comments