22 Jul First Android Program
Begin your journey of developing Android apps, with coding your first Android program in Android Studio. Following the below steps, easily create a basic demo app.
Learn how to setup Android Studio for Android app development.
Let’s begin the step by step procedure, to work with our first Android program,
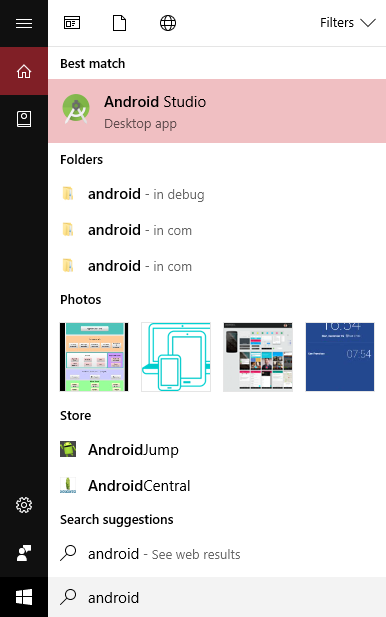
Step– Go to Start and type Android Studio, search and click on it as shown below,
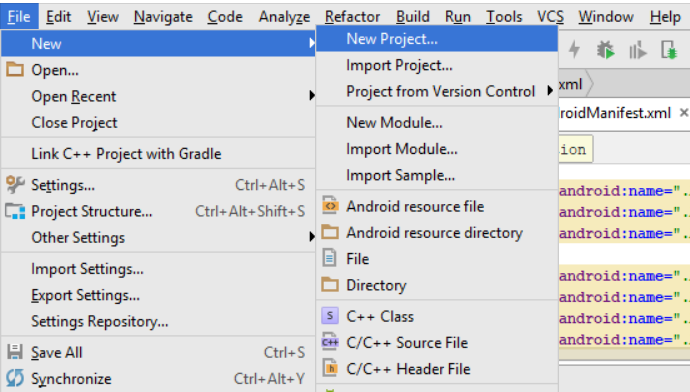
Step- After clicking, Android Studio will open. Now, you need to click on File > New > New Project,
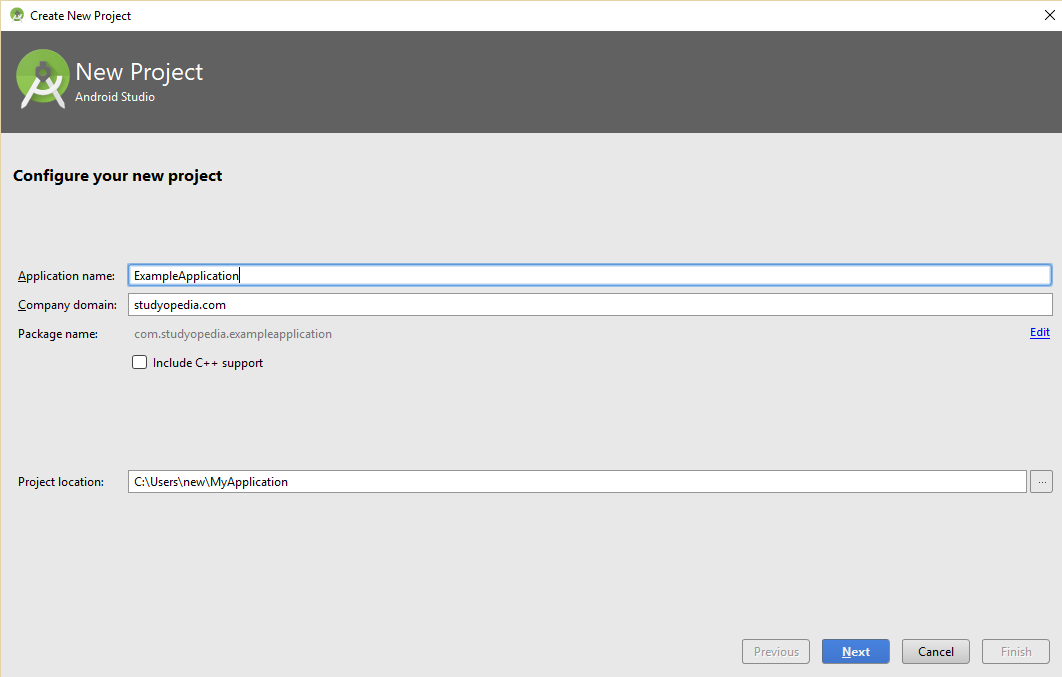
Step- A new dialog box opens up, here add the project name, package and the following information about the app,
- Application name: Enter the application name here
- Package name: Enter the package name here
- Project Location: The project location i.e. path
We added ExampleApplication as Application name and Package name as com.studyopedia.exampleapplication,
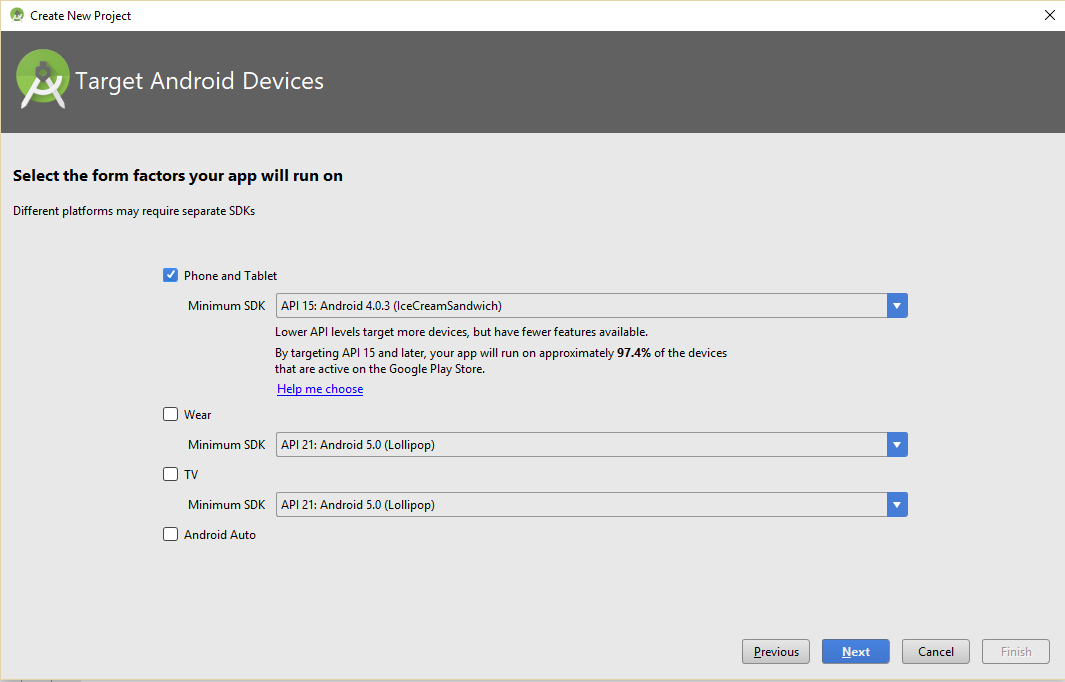
Step- After clicking Next above, you will reach the following section, wherein set the Minimum SDK. Here also set the SDK for multiple devices such as Phone and Tablet, Wear, TV, and Android Auto. We will be only selecting SDK for Phone and Tablet,
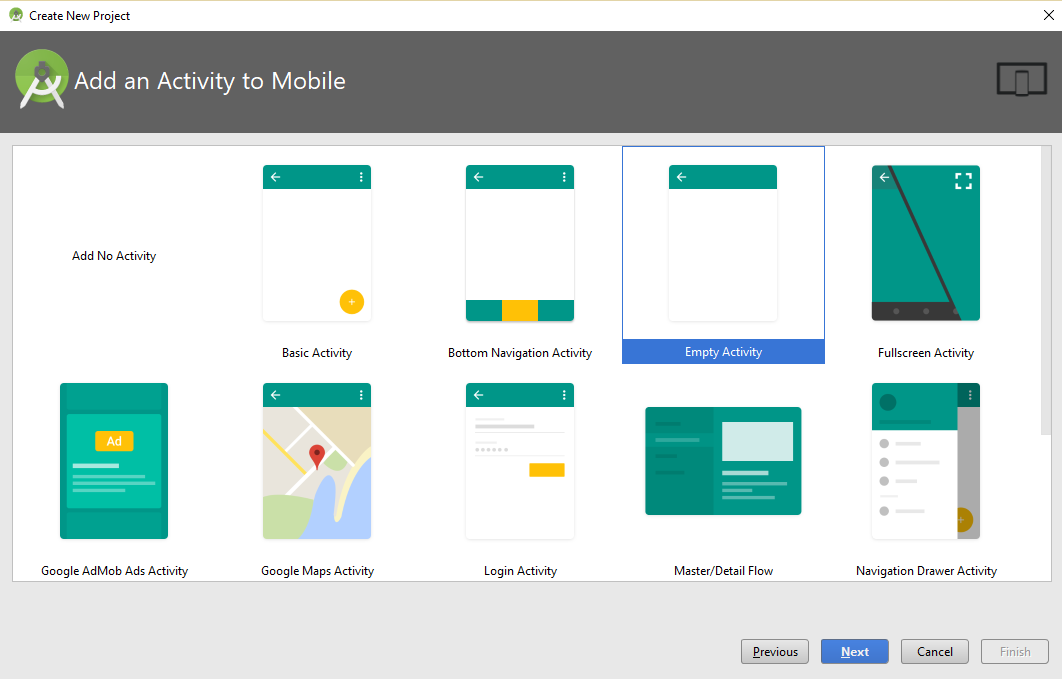
Step- After clicking Next above, you need to select the activity type. We’re creating a simple demo application, so we’ll go for Empty Activity,
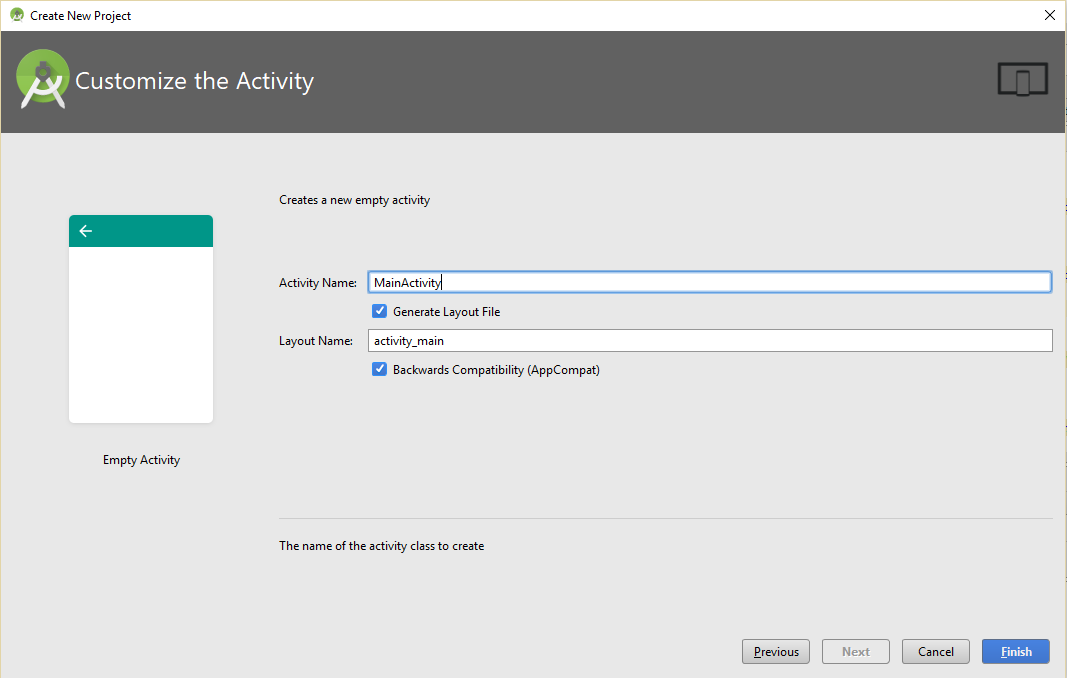
Step- Add the activity as well as the layout name. Here, we’re keeping it the default, Activity Name as MainActivity and Layout Name as activity_main.
After that click Finish,
Wait for some time to load the newly create project. This created the project and updates the Gradle Build Information.
The project directory is visible with MainActivity.java, activity_main.xml, and other files.
Here’s the code for both the files,
MainActivity.java
The src\main\java\com\studyopedia\studyopediaapplication\MainActivity.java is a java class which sets the views. Here we will set the View to be displayed with the setContentView.
Through this, Set the main layout as your main content view,
package com.studyopedia.exampleapplication;

import android.support.v7.app.AppCompatActivity;
import android.os.Bundle;

public class MainActivity extends AppCompatActivity {

    @Override
    protected void onCreate(Bundle savedInstanceState) {
        super.onCreate(savedInstanceState);
        setContentView(R.layout.activity_main);
    }
}
activity_main.xml
For src\main\res\layout\activity_main.xml,
Here, we have added a text, and hardcoded the string as done in the Android Project Directory lesson, under strings resources,
<?xml version="1.0" encoding="utf-8"?>
<android.support.constraint.ConstraintLayout xmlns:android="http://schemas.android.com/apk/res/android"
    xmlns:app="http://schemas.android.com/apk/res-auto"
    xmlns:tools="http://schemas.android.com/tools"
    android:layout_width="match_parent"
    android:layout_height="match_parent"
    tools:context="com.studyopedia.exampleapplication.MainActivity">

    <TextView
        android:layout_width="wrap_content"
        android:layout_height="wrap_content"
        android:text="@string/title”

        android:textSize="18sp"
        app:layout_constraintBottom_toBottomOf="parent"
        app:layout_constraintLeft_toLeftOf="parent"
        app:layout_constraintRight_toRightOf="parent"
        app:layout_constraintTop_toTopOf="parent" />

</android.support.constraint.ConstraintLayout>
strings.xml
<resources>
    <string name="app_name">ExampleApplication</string>
    <string name="title">Studyopedia Demo App</string>
</resources>
AndroidManifest.xml
The content of \src\main\AndroidManifest.xml, provides key information of your app to the system. The system needs this to run your code,
<?xml version="1.0" encoding="utf-8"?>
<manifest xmlns:android="http://schemas.android.com/apk/res/android"
    package="com.studyopedia.exampleapplication">

    <application
        android:allowBackup="true"
        android:icon="@mipmap/ic_launcher"
        android:label="@string/app_name"
        android:roundIcon="@mipmap/ic_launcher_round"
        android:supportsRtl="true"
        android:theme="@style/AppTheme">
        <activity android:name=".MainActivity">
            <intent-filter>
                <action android:name="android.intent.action.MAIN" />

                <category android:name="android.intent.category.LAUNCHER" />
            </intent-filter>
        </activity>
    </application>

</manifest>
We created an AVD in the Setup Android Environment lesson, so now we will run our project using the same AVD on Emulator.
Here are the steps,
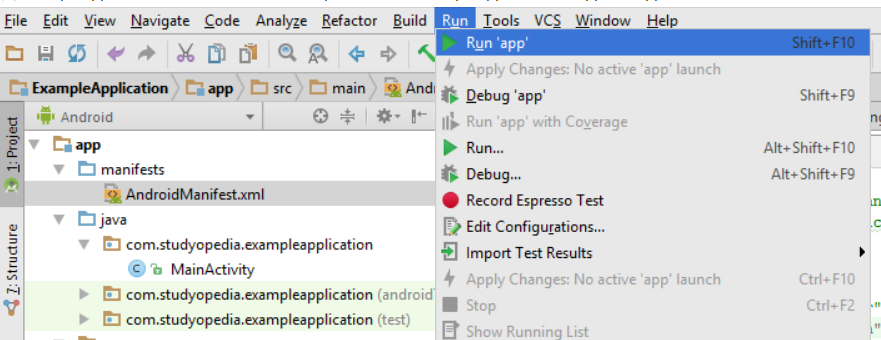
Step: Go to Run > Run app
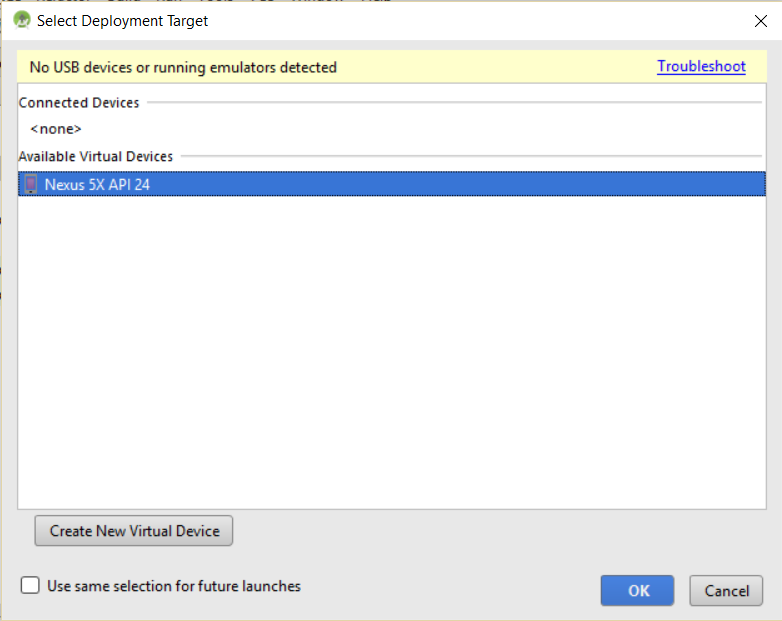
Step: Now, the list of Available Virtual Devices will be visible. Right now we have only a single device, so click on it and press OK,
The AVD will start and the emulator is now visible with the output.
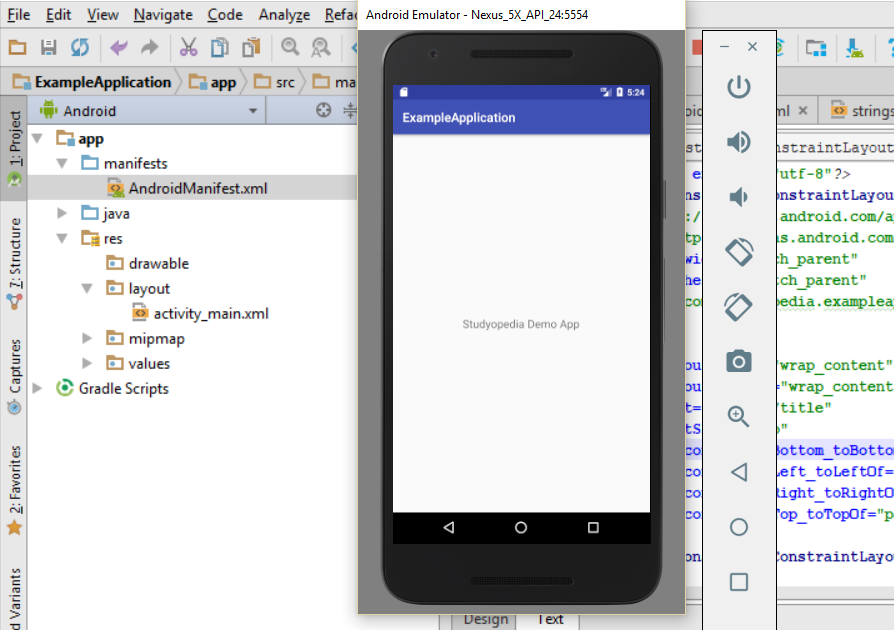
If you liked the tutorial, spread the word and share the link and our website Studyopedia with others.
For Videos, Join Our YouTube Channel: Join Now
No Comments