16 Sep HTML5 SVG (Scalable Vector Graphics)
SVG stands for Scalable Vector Graphics and is a W3C recommendation. HTML5 SVG is used in HTML to create 2D graphics. It was introduced in HTML5 and is quite useful to add graphics. We saw HTML5 Canvas before to create a circle, rectangle, line, and other graphics. Now let us see how to work with SVG.
Add SVG on web page
If you’re having a file with .svg extension, then you need to use any of the following elements to add it to web page: <img> <object>, <embed>.
If you’re not having an SVG file, then add SVG to your web page. Add it using HTML5 <svg> element. Let’s see how,
For a demo, we will be creating a rectangle using SVG.
HTML5 SVG Rectangle
For creating a rectangle, you need to add <rect> element inside the <svg> element. Do not forget to set the height and width of the rectangle.
|
1 2 3 4 5 6 7 8 9 10 11 12 13 14 15 16 |
<!DOCTYPE html> <html> <head> <title>HTML5 SVG</title> </head> <body> <h2>Studyopedia HTML5 Tutorial</h2> <h3>HTML5 SVG Rectangle</h3> <svg ID="mysvg" width="300" height="150"> <rect id="rectid" width="300" height="150" fill="orange" style="stroke-width:8;stroke:#EB4C29" /> </svg> </body> </html> |
We added a rectangle with orange color and red border.
Here’s the output,

HTML5 SVG Circle
For creating a circle, you need to add <circle> element inside the <svg> element. Set the cx and cy values, which are x and y coordinates respectively. You need to also set the r value, which is the radius.
|
1 2 3 4 5 6 7 8 9 10 11 12 13 14 15 16 |
<!DOCTYPE html> <html> <head> <title>HTML5 SVG Circle</title> </head> <body> <h2>Studyopedia HTML5 Tutorial</h2> <h3>HTML5 SVG Circle</h3> <svg ID="mysvg" width="300" height="150"> <circle id="circleid" cx="50" cy="50" r=40 fill="orange" style="stroke-width:5;stroke:#FF0000" /> </svg> </body> </html> |
We added an orange color circle with red border.
Here’s the output,

HTML5 SVG Line
For creating a line, you need to add <line> element inside the <svg> element. Do not forget to set the x1, y1, x2, and y2 coordinate values.
Here, x1 and y1 are start coordinates. The x2 and y2 coordinates are the end coordinates.
|
1 2 3 4 5 6 7 8 9 10 11 12 13 14 15 |
<!DOCTYPE html> <html> <head> <title>HTML5 SVG Line</title> </head> <body> <h2>Studyopedia HTML5 Tutorial</h2> <h3>HTML5 SVG Line</h3> <svg ID="mysvg" width="400" height="250"> <line x1="10" y1="0" x2="150" y2="100" style="stroke-width:1;stroke:#EB4C29" /> </svg> </body> </html> |
We added a line above.
Here’s the output,

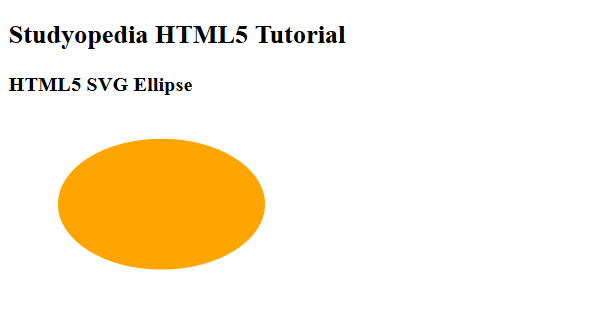
HTML5 SVG Ellipse
For creating an Ellipse, you need to add <ellipse> element inside the <svg> element. Do not forget to set the cx, cy, rx and ry values.
Here are the values,
cx = x coordinate
cy = y coordinate
rx = horizontal radius
ry = vertical radius
|
1 2 3 4 5 6 7 8 9 10 11 12 13 14 15 16 |
<!DOCTYPE html> <!DOCTYPE html> <html> <head> <title>HTML5 SVG</title> </head> <body> <h2>Studyopedia HTML5 Tutorial</h2> <h3>HTML5 SVG Ellipse</h3> <svg ID="mysvg" width="300" height="150"> <ellipse cx="140" cy="80" rx="95" ry="60" fill="orange" /> </svg> </body> </html> |
We added an ellipse with orange color.
Here’s the output,
HTML5 SVG Polygon
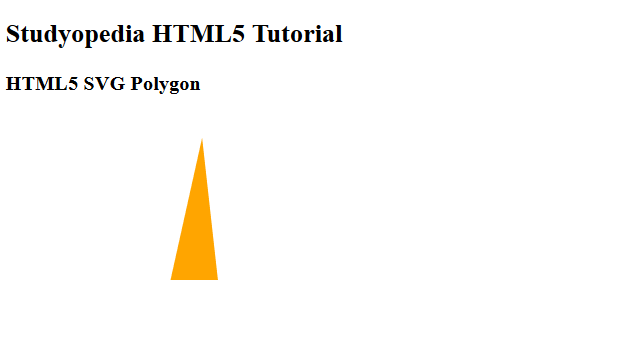
For creating a polygon, you need to add <polygon> element inside the <svg> element. Do not forget to set the points attribute value.
|
1 2 3 4 5 6 7 8 9 10 11 12 13 14 15 |
<!DOCTYPE html> <html> <head> <title>HTML5 SVG Polygon</title> </head> <body> <h2>Studyopedia HTML5 Tutorial</h2> <h3>HTML5 SVG Polygon</h3> <svg ID="mysvg" width="500" height="150"> <polygon points="180, 20 200,200 140,200" style="fill:orange;" /> </svg> </body> </html> |
We added a polygon with orange color.
Here’s the output,
HTML5 SVG Polyline
For creating a polyline, you need to add <polyline> element inside the <svg> element. Do not forget to set the point attribute for polyline.
|
1 2 3 4 5 6 7 8 9 10 11 12 13 14 15 |
<!DOCTYPE html> <html> <head> <title>HTML5 SVG Polyline</title> </head> <body> <h2>Studyopedia HTML5 Tutorial</h2> <h3>HTML5 SVG Polyline</h3> <svg ID="mysvg" width="500" height="150"> <polyline points="40,100 50,70 70,80 110,20" fill="blue" /> </svg> </body> </html> |
We added a polyline with blue color.
Here’s the output,

HTML5 SVG Rounded Rectangle
For creating a rectangle, you need to add <rect> element inside the <svg> element. Set the width and height attributes.
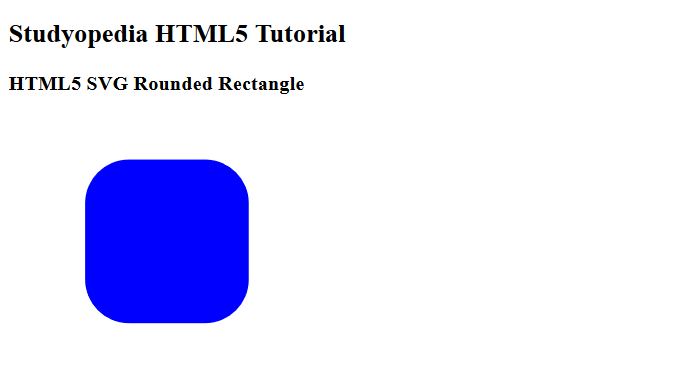
For creating a rounded rectangle, you need to add <rext> element inside the <svg> element. Set the following attributes:
x: x coordinate
y: y coordinate
rx: x corner coordinate
ry: y corner coordinate
width: width of the rectangle
height: height of the rectangle
|
1 2 3 4 5 6 7 8 9 10 11 12 13 14 15 |
<!DOCTYPE html> <html> <head> <title>HTML5 SVG Rounded Rectangle</title> </head> <body> <h2>Studyopedia HTML5 Tutorial</h2> <h3>HTML5 SVG Rounded Rectangle</h3> <svg ID="mysvg" width="500" height="250"> <rect x="70" y="40" rx="40" ry="40" width="150" height="150" style="fill:blue;/"> </svg> </body> </html> |
We added a rounded rectangle with blue color.
Here’s the output,
HTML5 Three Ellipses on top of each other
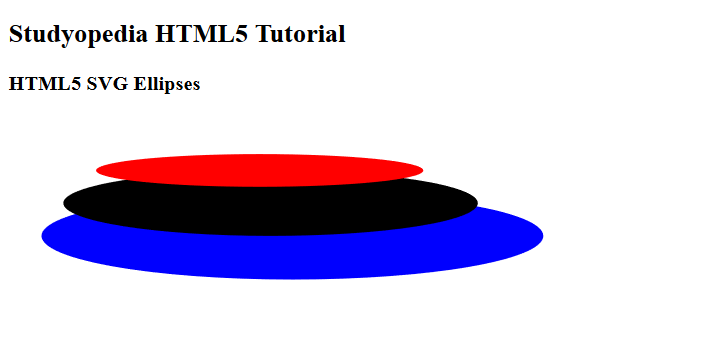
For creating an Ellipse, you need to add <ellipse> element inside the <svg> element. Do not forget to set the cx, cy, rx and ry values. Here, we will see how to create three ellipses on top of each other.
Here are the values,
- cx = x coordinate
- cy = y coordinate
- rx = horizontal radius
- ry = vertical radius
|
1 2 3 4 5 6 7 8 9 10 11 12 13 14 15 16 17 |
<!DOCTYPE html> <html> <head> <title>HTML5 SVG Ellipses</title> </head> <body> <h2>Studyopedia HTML5 Tutorial</h2> <h3>HTML5 SVG Ellipses</h3> <svg ID="mysvg" width="500" height="150"> <ellipse cx="260" cy="110" rx="230" ry="40" style="fill:blue" /> <ellipse cx="240" cy="80" rx="190" ry="30" style="fill:black" /> <ellipse cx="230" cy="50" rx="150" ry="15" style="fill:red" /> </svg> </body> </html> |
We added 3 ellipses on top of each other with blue, black and red color.
Here’s the output,


No Comments