21 Nov CSS – Padding
CSS Padding shows the space between the content of an element and its border. It has options such as padding-top, padding-bottom, padding-right, and padding-left to set margins for top, bottom, right, and left, respectively.
The figure below explains where margin, padding, and border get placed around the content:
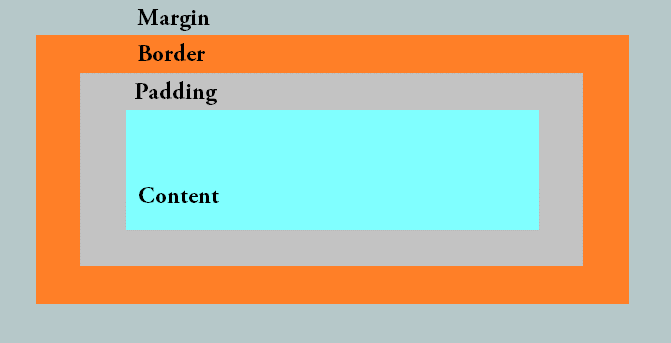
Let us see how to set padding on a web page around content.
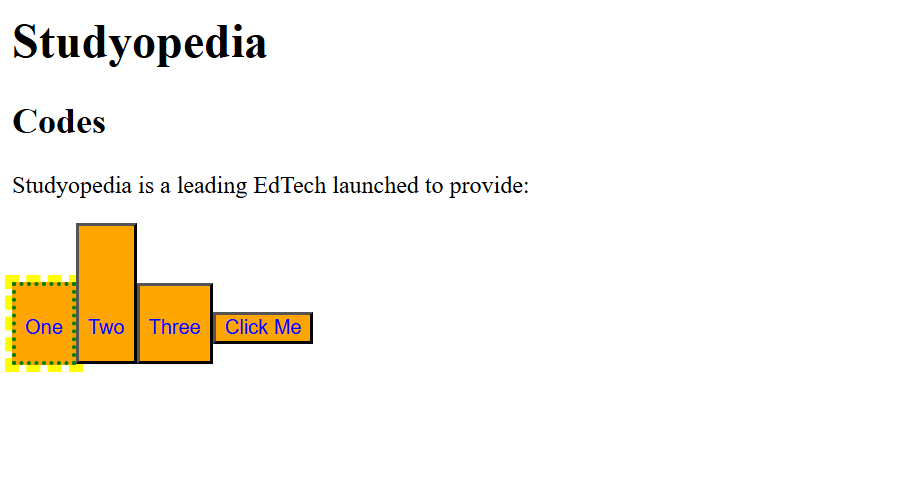
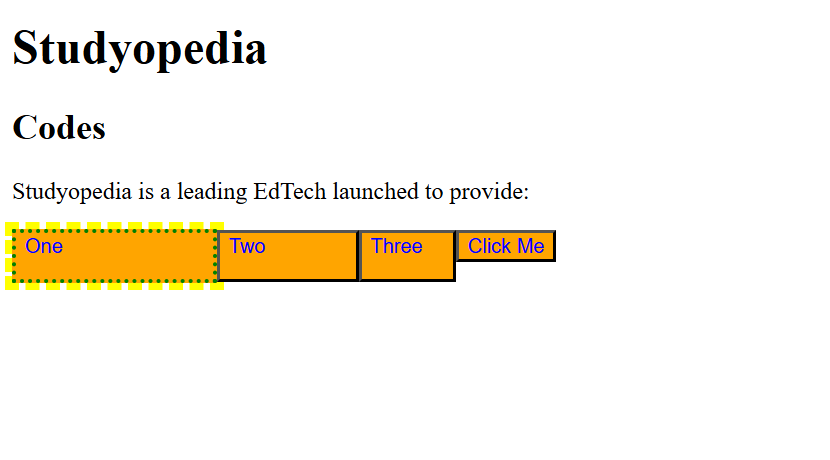
CSS padding-top property (Set Top Padding)
To set the top padding of an element on a web page, use the padding-top property in CSS. Let us see an example and set the top padding:
<!-- Set padding using CSS -->
<!-- padding-top property -->
 <!DOCTYPE html>
<html>
   <head>
       <title>HTML and CSS Example</title>
       <style>
        button {
            background-color: orange;
            color: blue;
         }
         button.one {
            outline: thick dashed yellow;
            border: 3px dotted green;
            padding-top: 20px;
            }
         button.two {
             padding-top: 60px;
         }
         button.three {
             padding-top: 20px;
         }

       </style>
   </head>
<body>
<h1>Studyopedia</h1>
<h2>Codes</h2>
<p>Studyopedia is a leading EdTech launched to provide:</p>
<button class="one">One</p>
<button class="two">Two</p>
<button class="three">Three</p>
<button>Click Me</button>
</body>
</html>
Output
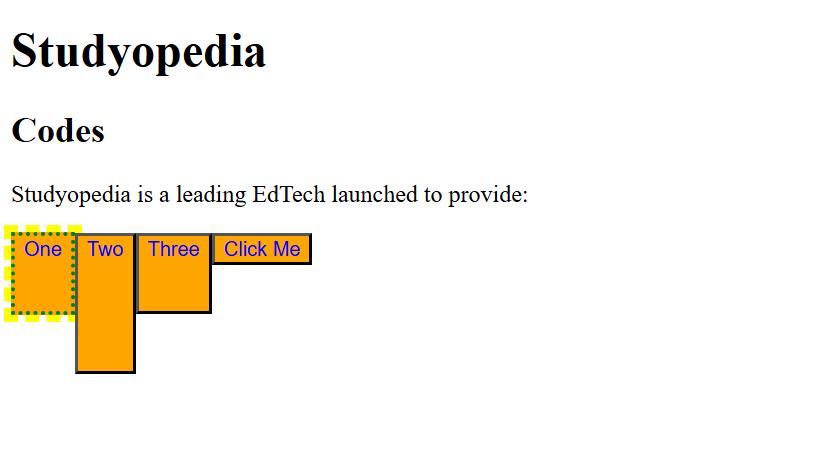
CSS padding-bottom property (Set Bottom Padding)
To set the bottom padding of an element on a web page, use the padding-bottom property in CSS. Let us see an example and set the bottom padding:
<!-- Set padding using CSS -->
<!-- padding-bottom property -->
 <!DOCTYPE html>
<html>
   <head>
       <title>HTML and CSS Example</title>
       <style>
        button {
            background-color: orange;
            color: blue;
         }
         button.one {
           outline: thick dashed yellow;
            border: 3px dotted green;
            padding-bottom: 20px;
         }
         button.two {
             padding-bottom: 60px;
         }
         button.three {
             padding-bottom: 20px;
         }

       </style>
   </head>
<body>
<h1>Studyopedia</h1>
<h2>Codes</h2>
<p>Studyopedia is a leading EdTech launched to provide:</p>
<button class="one">One</p>
<button class="two">Two</p>
<button class="three">Three</p>
<button>Click Me</button>
</body>
</html>
Output
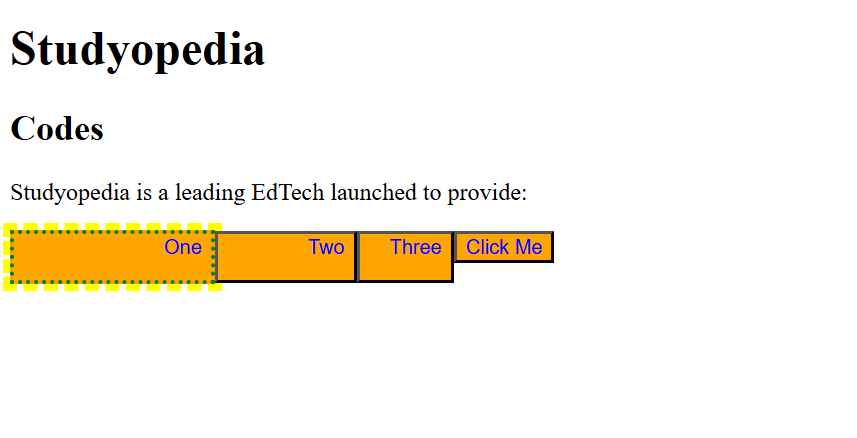
CSS padding-left property (Set Left Padding)
To set the left padding of an element on a web page, use the padding-left property in CSS. Let us see an example and set the left padding:
<!-- Set padding using CSS -->
<!-- padding-left property -->
 <!DOCTYPE html>
<html>
   <head>
       <title>HTML and CSS Example</title>
       <style>
        button {
            background-color: orange;
            color: blue;
         }
         button.one {
           outline: thick dashed yellow;
            border: 3px dotted green;
            padding-left: 100px;
         }
         button.two {
             padding-left: 60px;
         }
         button.three {
             padding-left: 20px;
         }

       </style>
   </head>
<body>
<h1>Studyopedia</h1>
<h2>Codes</h2>
<p>Studyopedia is a leading EdTech launched to provide:</p>
<button class="one">One</p>
<button class="two">Two</p>
<button class="three">Three</p>
<button>Click Me</button>
</body>
</html>
Output
CSS padding-right property (Set Right Padding)
To set the right padding of an element on a web page, use the padding-right property in CSS. To explain the concept, we have specified the right padding for the <p> to % of the width of the containing element.
Let us see an example and set the right padding:
<!-- Set padding using CSS -->
<!-- padding-right property -->
 <!DOCTYPE html>
<html>
   <head>
       <title>HTML and CSS Example</title>
       <style>
        button {
            background-color: orange;
            color: blue;
         }
         button.one {
           outline: thick dashed yellow;
            border: 3px dotted green;
            padding-right: 100px;
         }
         button.two {
             padding-right: 60px;
         }
         button.three {
             padding-right: 20px;
         }

       </style>
   </head>
<body>
<h1>Studyopedia</h1>
<h2>Codes</h2>
<p>Studyopedia is a leading EdTech launched to provide:</p>
<button class="one">One</p>
<button class="two">Two</p>
<button class="three">Three</p>
<button>Click Me</button>
</body>
</html>
Output
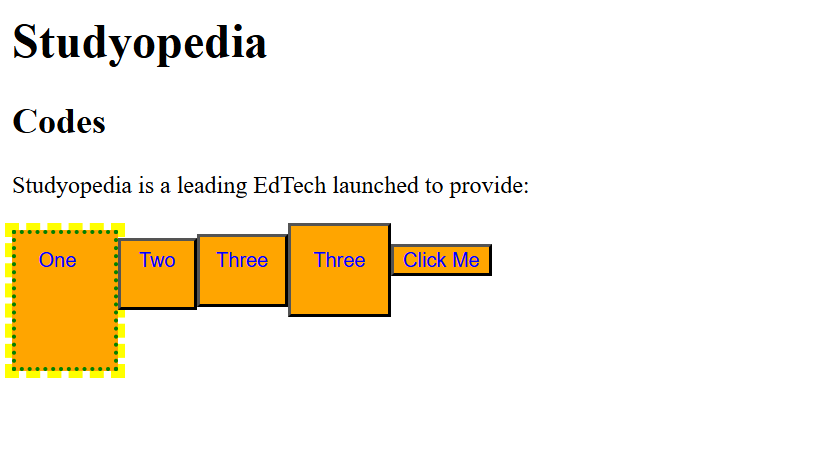
CSS padding shorthand property
In CSS, you can easily set all the paddings in a single line using the padding property itself. It allows you to set:
- Top Padding
- Bottom Padding
- Left Padding
- Right Padding
Let us see an example to set padding using the padding property. We have also shown how padding works when we set for all four, three, two, and even one direction:
<!-- Set padding using CSS -->
<!-- padding shorthand property -->
 <!DOCTYPE html>
<html>
   <head>
       <title>HTML and CSS Example</title>
       <style>
        button {
            background-color: orange;
            color: blue;
         }
         button.one {
           outline: thick dashed yellow;
            border: 3px dotted green;
            padding: 10px 25px 50px 15px; /* top right bottom left */
         }
         button.two {
             padding: 5px 12px 10px; /* top = 5 right = 12 left = 12 bottom = 10*/
         }
         button.three {
            padding: 8px 11px; /* top = 8 bottom = 8 right = 11 left = 11*/
         }
        button.four {
            padding: 15px; /* top = 15 bottom = 15 right = 15 left = 15*/
         }
       </style>
   </head>
<body>
<h1>Studyopedia</h1>
<h2>Codes</h2>
<p>Studyopedia is a leading EdTech launched to provide:</p>
<button class="one">One</p>
<button class="two">Two</p>
<button class="three">Three</p>
<button class="four">Four</p>
<button>Click Me</button>
</body>
</html>
Output
If you liked the tutorial, spread the word and share the link and our website, Studyopedia, with others.
Read More:
No Comments