11 Jul CSS Images
Images make your content look awesome. Style them properly with CSS, and make them more amazing. Now, let’s work on how to style CSS Images easily on our website.
Tip: Use optimized images for your website. Higher the size of images leads to slow loading of your website.
We have covered the following topics to style images:
- The border Property (Add border to an image)
- The border-radius Property (Add Image Border Radius)
- Responsive Image
- Opacity Property (Add Image Opacity)
CSS Image Border Property
Style CSS Images properly and add border to the image with the CSS border property. We will be adding 4px blue color border to our image as shown below. Let us see the example:
<!DOCTYPE html>
<html>
<head>
<style>
img {
    border: 4px solid blue;
}
</style>
</head>
<body>

<h1>Studyopedia</h1>
<img src="studyopedia_tagline.jpg" alt="Studyopedia" height="100px" width=
"300px">

</body>
</html>
Here’s the output,
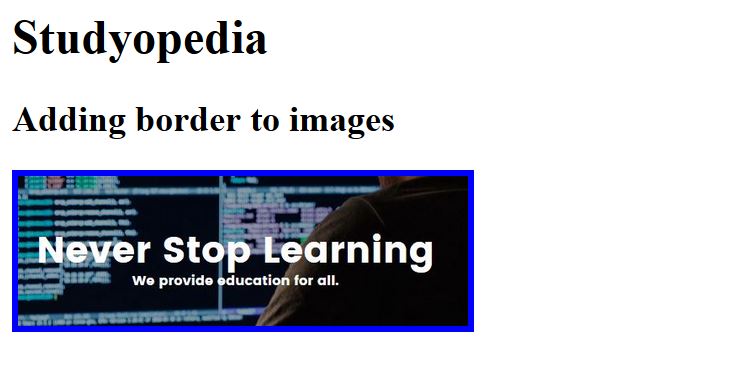
Above we learned how to add border to image.
Also Read: Learn how to add Background Image on a web page
Now, we will learn how to style images with border-radius property.
CSS border-radius Property (Image Border Radius)
With CSS, you can also workaround images and style it with the border-radius property. Through this, you can create awesome looking rounded images and rounded corners as shown below. Let us see the example:
<!DOCTYPE html>
<html>
<head>
<style>
img {
    border: 4px solid blue;
    border-radius: 20px;
}
</style>
</head>
<body>

<h1>Studyopedia</h1>

<img src="studyopedia_tagline.jpg" alt="Studyopedia" height="100px" width=
"300px">

</body>
</html>
Here’s the output,

Above, you can see now we have rounded corners.
CSS Responsive Image
Nowadays, we need to create websites which are responsive. Responsive website is a website which is created for multiple devices i.e. desktop, mobile, and tablet. In the same way, we need responsive images, so that it adjusts to fit the size of the screen.
Let us see an example:
<!DOCTYPE html>
<html>
<head>
<style>
img {
    max-width: 100%;
    height: auto;
    border: 4px solid blue;
    border-radius: 20px;
}
</style>
</head>
<body>

<h1>Studyopedia</h1>

<img src="studyopedia_tagline.jpg" alt="Studyopedia" height="100px" width=
"500px">

</body>
</html>
Above, you can see we have set max-width:100% and height:auto to make it responsive, Now it will work for multiple devices. Check it by resizing your web browser. We have shown the same below,

Now, we will see our image after resizing the browser to check its responsiveness,

CSS Image Opacity Property
Here, we will set the image opacity with CSS. Use the property opacity to make the image transparent.
Set the value from 0.0 – 1.0 for opacity. We’ll set 0.3 and let’s see what happens. The image will now be 30% transparent.
Let us see an example:
<!DOCTYPE html>
<html>
<head>
<style>
img {
    max-width: 100%;
    height: auto;
    opacity: 0.3;
}
</style>
</head>
<body>

<h1>Studyopedia</h1>

<img src="studyopedia_tagline.jpg" alt="Studyopedia" height="100px" width=
"500px">

</body>
</html>
Here’s the output,

In this lesson, we learned how to work with CSS Images to add border, set border radius, create responsive image and add image opacity.
No Comments