14 Sep Create New Java Project in Eclipse
Develop applications in Java using Eclipse. Some steps are to be followed for creating a Java project in Eclipse. For creating a Java application, you need to first create new Java project. In the previous lesson, we learned how to create a new project in Eclipse. In this lesson, we will learn how to create a new Java project.
To create a new Java project in Eclipse is quite easy. For creating a Java application, you need to first create new Java project.
Launce Eclipse and go to the File Menu, then
File > New > Java Project

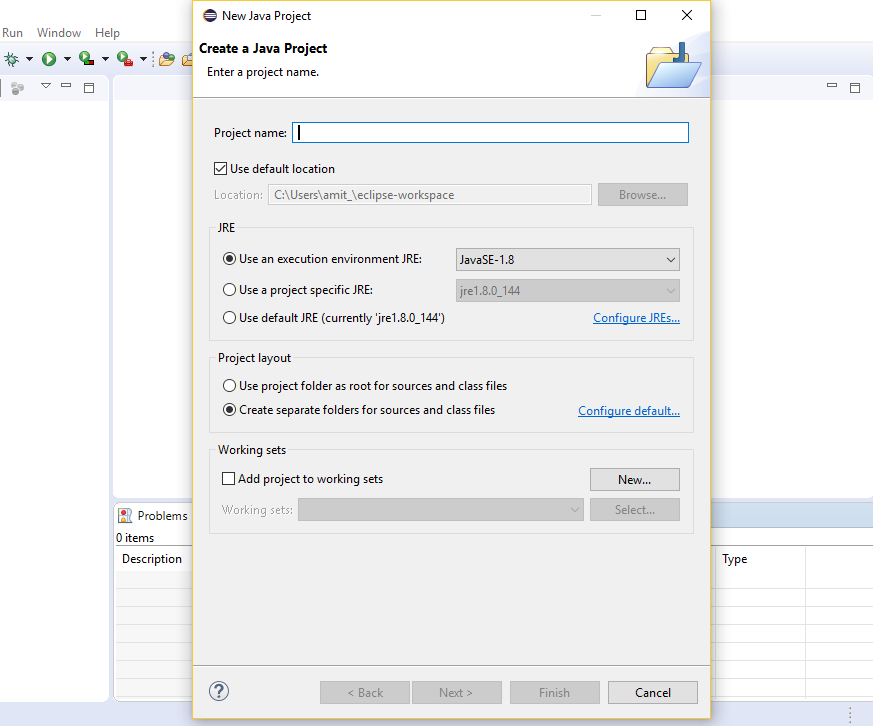
Now, a new dialog box opens up, which has some options to add while creating new Java project.

Add the details and work on the below option.
Here are some of the options provided by the New Java Project wizard,
Project name
The name of the Java Project
Location
To set the location of the Java Project in the drive.
JRE
It provides some options to select JRE i.e. Java Runtime Environment:
- User default JRE: If this is selected, the New Java project wizard creates a Java project, which use the workspace default JRE.
- Use project specific JRE: If the project specific JRE is selected, then you need to specify the JRE to be used for your new Java project.
- Use an execution environment JRE: If this is selected, you need to mention an execution environment for your new Java project.
Project Layout
It provides the following two options:
- Use project folder as root for sources and class files: If this is selected, then the project folder is used for source as well as an output folder for class files.
- Create separate folders for sources and class files: If this is selected, then separate folders are used for source and output folder for class files.
Working Sets
Set the working sets or select from the Working Sets drop sown field.
After filling the details above, click Next to edit the Java build settings. You can also click Finish to create the Java project. The Java build path has entries for source, library and project.
Demo Java Project in Eclipse
For demo, we will be creating a Java project.
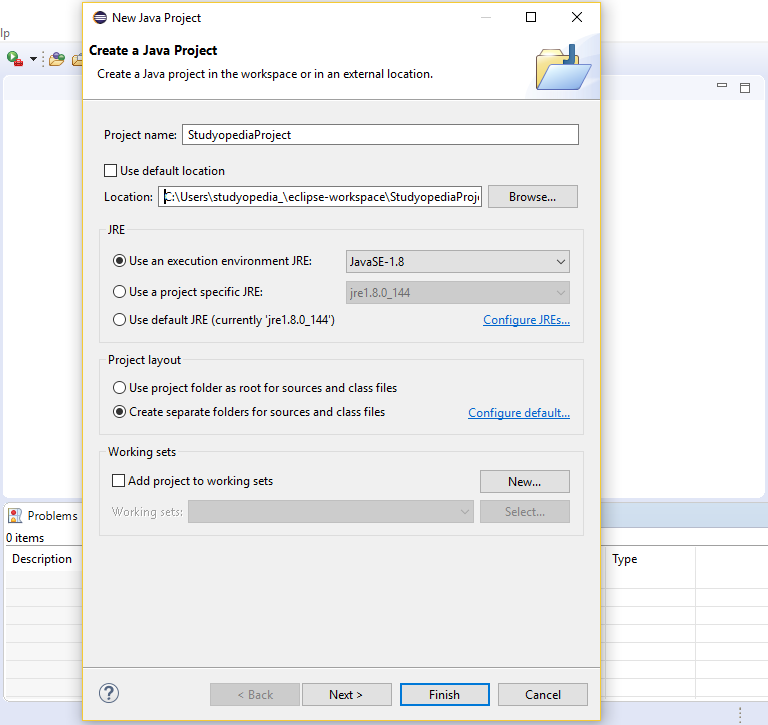
Go to File > New > Java Project and fill the details for the new Java package,

The name of our project is StudyopediaProject and saved at the following location:
|
1 2 3 |
C:\Users\studyopedia_\eclipse-workspace\StudyopediaProject |
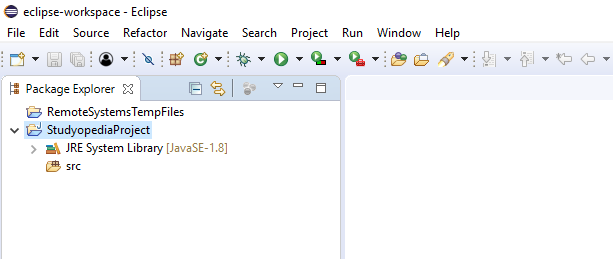
After clicking Next above, the project gets created successfully as shown below,

Support Studyopedia: DONATE
In the next lesson, we will learn how to create a new Java Package in Eclipse.


No Comments