03 Mar Text to Image using Hugging Face Diffusers
Let’s dive into a Text-to-Image example using Hugging Face’s diffusers library. This example will use the Stable Diffusion model, which is one of the most popular text-to-image models available in the diffusers library.
Before moving further, we’ve prepared a video tutorial to implement Text-to-Image with Hugging Face:
What is the diffusers library
The Diffusers library is an open-source Python library developed by Hugging Face that focuses on diffusion models for generating images, audio, and other types of data. Diffusion models are a class of generative models that have gained significant popularity for their ability to produce high-quality, realistic outputs, particularly in image generation.
What is Stable Diffusion
Stable Diffusion is a state-of-the-art latent diffusion model designed for high-quality image generation. It is particularly known for its ability to generate realistic and detailed images from text prompts (text-to-image synthesis). Stable Diffusion was developed by CompVis, Stability AI, and Runway ML, and it has become one of the most popular generative models due to its efficiency, flexibility, and open-source nature.
Text-to-Image – Coding Example
The following is a step-by-step guide on how to use the Hugging Face Transformers library for text-to-image:
Step 1: Install Required Libraries
First, install the necessary libraries. On Google Colab, use the following command to install:
!pip install diffusers transformers torch accelerate
Step 2: Load the Stable Diffusion Pipeline
The diffusers library provides a StableDiffusionPipeline that makes it easy to generate images from text prompts.
from diffusers import StableDiffusionPipeline
import torch

# Load the Stable Diffusion model
model_id = "CompVis/stable-diffusion-v1-4"  # Pre-trained Stable Diffusion model
pipe = StableDiffusionPipeline.from_pretrained(model_id, torch_dtype=torch.float16)

# Move the model to GPU if available
device = "cuda" if torch.cuda.is_available() else "cpu"
pipe = pipe.to(device)
Step 3: Generate an Image from a Text Prompt
Now, you can generate an image by passing a text prompt to the pipeline.
# Define your text prompt
prompt = "Flying cars soar over a futuristic cityscape at sunset."

# Generate the image
with torch.autocast("cuda"):  # Use autocast for mixed precision (faster on GPU)
    image = pipe(prompt).images[0]

# Save the image
image.save("generated_image.png")
print("Image saved as generated_image.png")
The generated image will be saved as generated_image.png in your working directory.
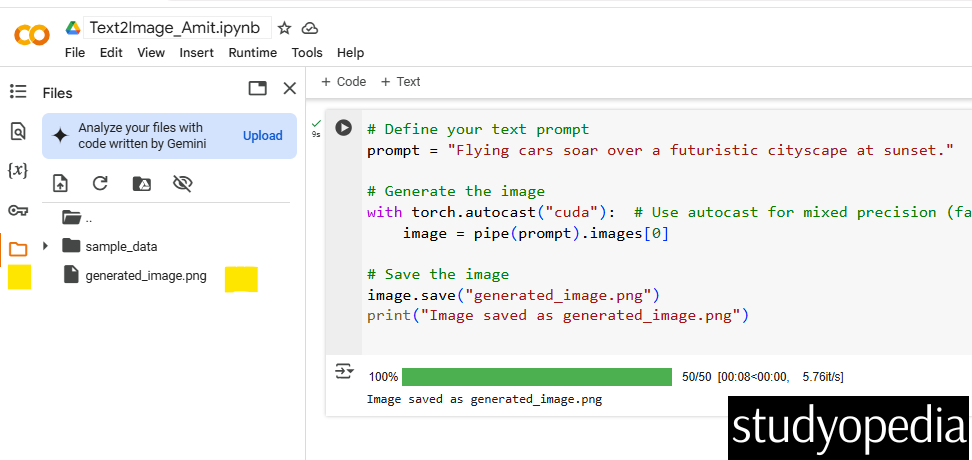
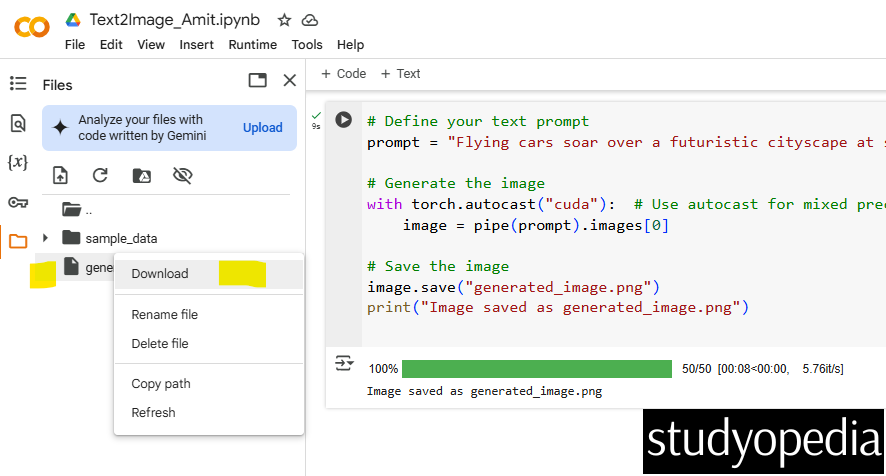
Right-click and click download it to see the result of your text-to-image generation:
Here is our prompt “Flying cars soar over a futuristic cityscape at sunset” to generate images:

How It Works
- The StableDiffusionPipeline loads the pre-trained Stable Diffusion model.
- The text prompt is passed to the pipeline, which generates an image using the diffusion process.
- The generated image is saved as a PNG file.
or
Alternative code: Customize the Generation (Optional)
You can customize the image generation process by adjusting parameters like:
- num_inference_steps: Number of denoising steps (higher = better quality but slower).
- guidance_scale: Controls how closely the image follows the prompt (higher = more aligned with the prompt).
- seed: Random seed for reproducibility.
Here is the alternative code:
# Customize generation parameters
image = pipe(
    prompt,
    num_inference_steps=50,  # More steps for better quality
    guidance_scale=7.5,      # Higher value for better prompt alignment
    generator=torch.Generator(device).manual_seed(42)  # Set seed for reproducibility
).images[0]

# Save the customized image
image.save("custom_generated_image.png")
Optimize for Performance (Optional)
If you’re running on a GPU with limited memory, you can enable memory-efficient attention or CPU offloading.
# Enable memory-efficient attention
pipe.enable_attention_slicing()

# Enable CPU offloading (if GPU memory is limited)
pipe.enable_sequential_cpu_offload()
If you liked the tutorial, spread the word and share the link and our website Studyopedia with others.
For Videos, Join Our YouTube Channel: Join Now
Read More:
- RAG Tutorial
- Generative AI Tutorial
- Machine Learning Tutorial
- Deep Learning Tutorial
- Ollama Tutorial
- Retrieval Augmented Generation (RAG) Tutorial
- Copilot Tutorial
- ChatGPT Tutorial
No Comments