14 Oct How to Build a Voice AI Agent
Let us see how to build an AI Voice Agent. We will use Vapi.ai to create an AI agent from scratch. Vapi is making Voice AI simple and accessible. It powers 400,000+ daily calls. Our AI Agent will be a healthcare assistant who will enable users to book appointments and obtain information regarding health-related issues. Vapi has launched over 1.5M+ assistants till now.
The following are the steps to build a voice AI Agent:
- Step 1: Sign Up for Vapi
- Step 2: Vapi Dashboard
- Step 3: Create an Assistant
- Step 4: Health Care Assistant created
- Step 5: Customize the Health Care Assistant
- Step 6: AI Model for the assistant
- Step 7: Voice for the assistant
- Step 8: Transcriber for the assistant
- Step 9: Settings to Summarize the call
- Step 10: Configure Privacy and Compliance
- Step 11: Publish the Assistant
- Step 12: Talk to the Assistant
- Step 13: Your AI Agent is having a conversation.
- Step 14: Call Logs
Let’s begin with Step 1 to create an AI voice agent:
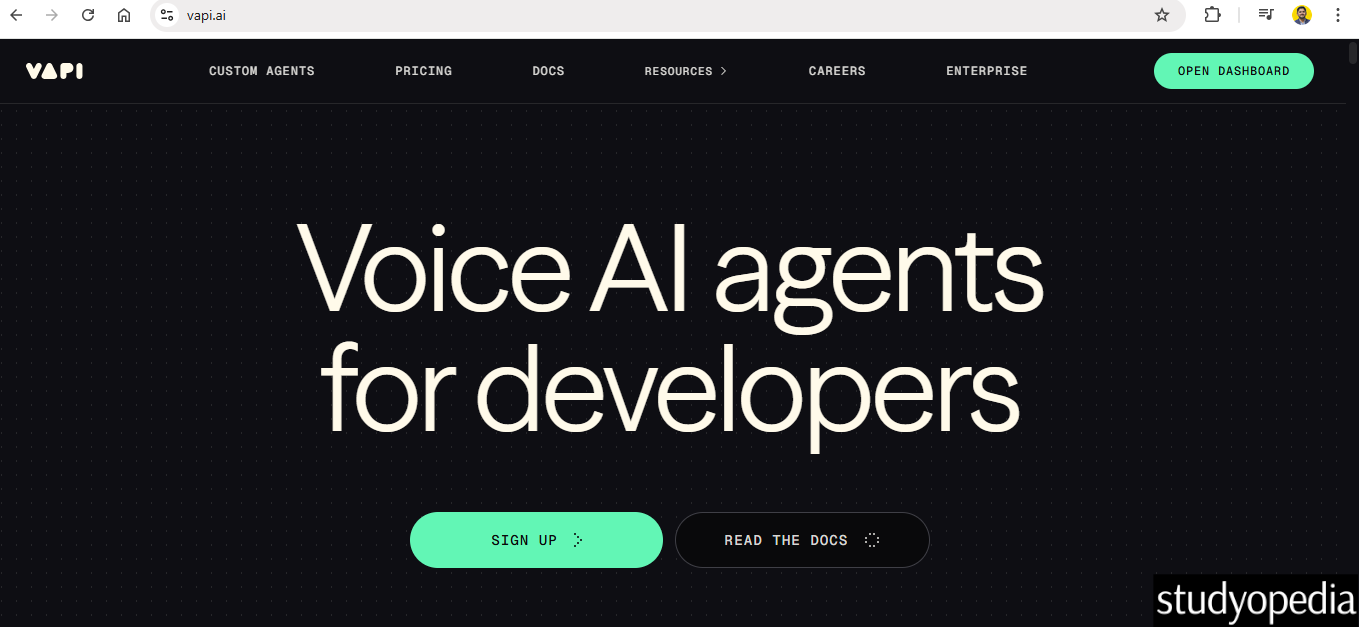
Step 1: Sign Up for Vapi
Go to the official website of Vapi.ai and click SIGN UP:
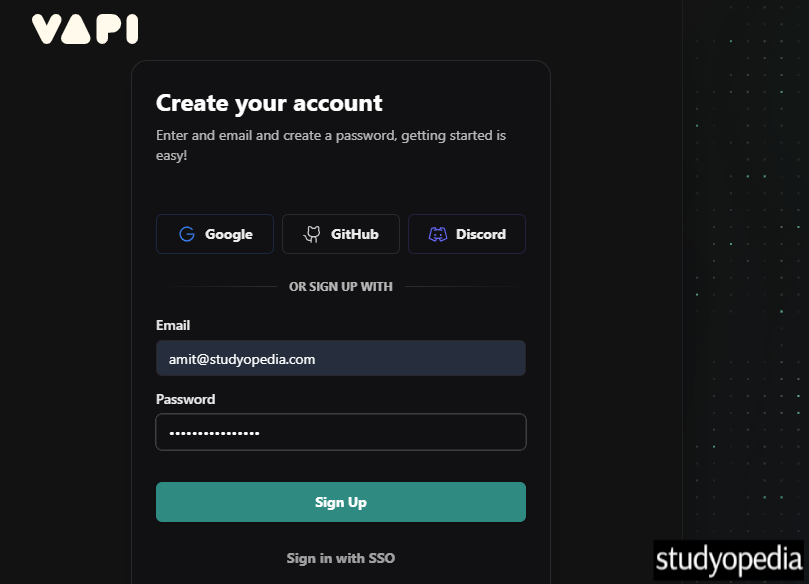
Now, create an account and click SIGN UP:
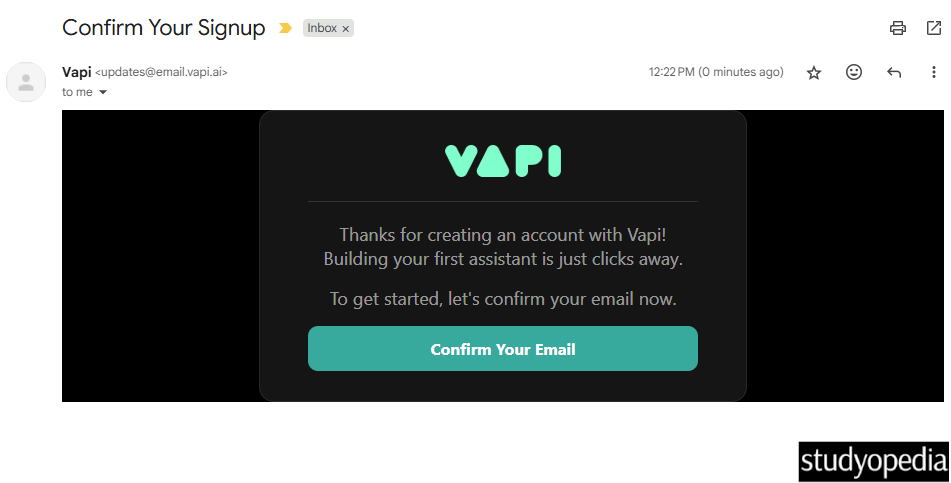
After clicking Sign Up, you will get a confirmation email at the email address you provided.
Verify your email by clicking on Confirm Your Email:
Step 2: Vapi Dashboard
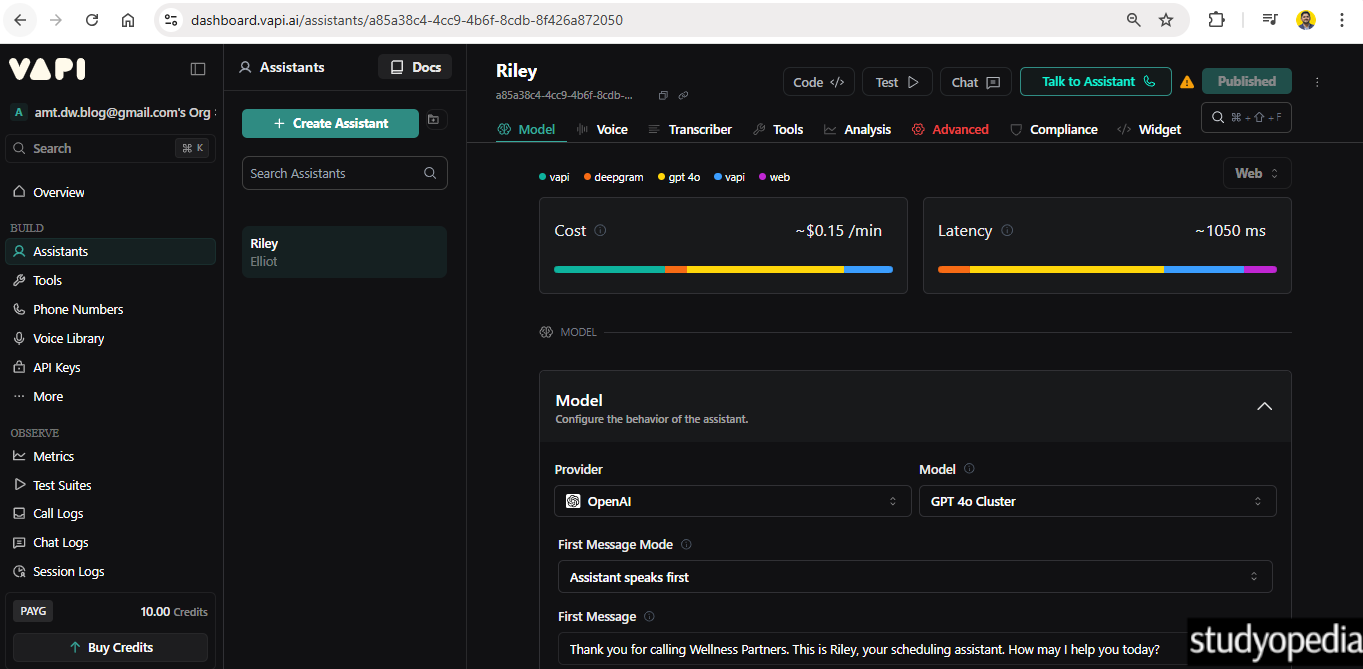
After verifying your email ID, you will reach the Vapi Dashboard:
Step 3: Create an Assistant
Let us first create an assistant using the built-in templates provided by Vapi. Follow the steps below.
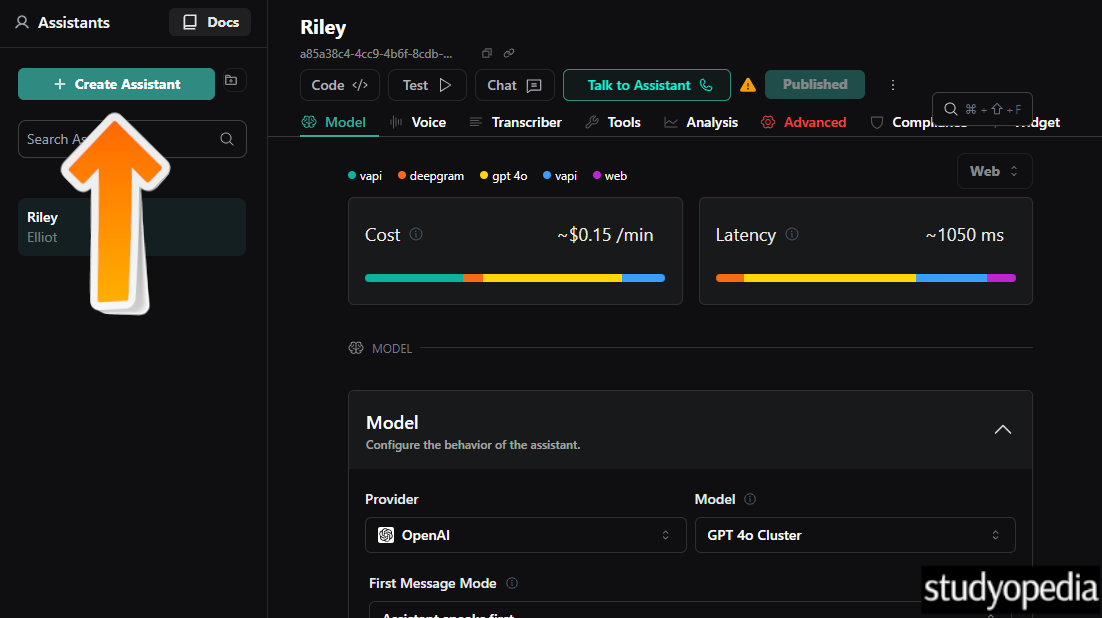
After reaching the Vapi Dashboard, click the Create Assistant button as shown below:
Now, you can choose a template. Some pre-defined templates are:
- Customer Support
- Lead Qualification Specialist
- Appointment Scheduler
- Care Coordinator, etc.
Here are the different templates:
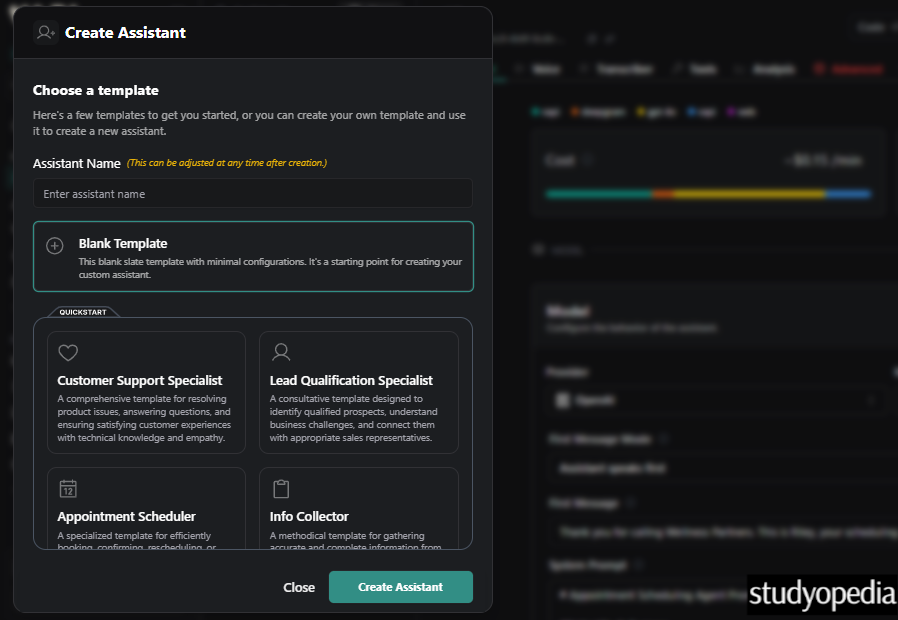
Let us say, I will select the Care Coordinator template. This is like a Health Care Assistant that would allow scheduling medical appointments, answering health questions, and coordinating patient services:

I have given HealthCareAssistant’s name to the assistant. After that, click Create Assistant.
Step 4: Health Care Assistant created
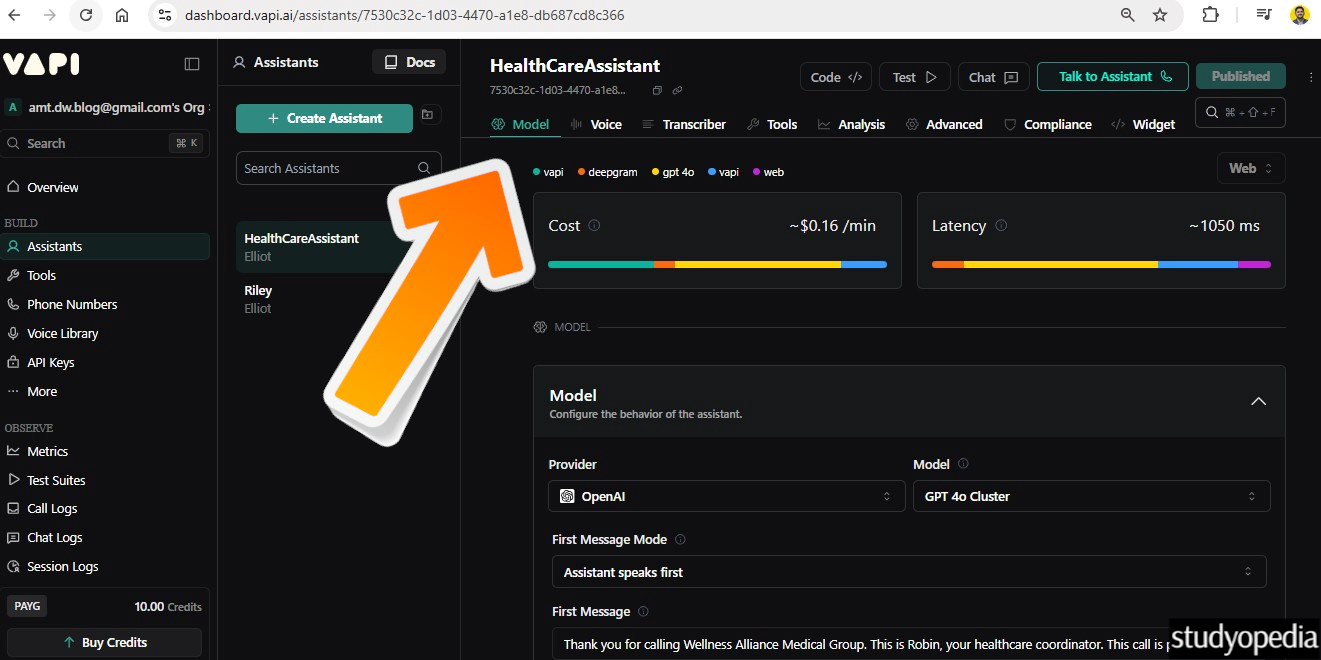
Our Health Care Assistant was created successfully:
Step 5: Customize the Health Care Assistant
Some tabs are visible, so that the assistant can be customized, like
- Model
- Voice
- Transcriber
- Tools
- Analysis
- Advanced
- Compliance
- Widget
Let us see them one by one.
Step 6: AI Model for the assistant
Choose the AI model for the assistant. This will configure the behaviour of the assistant. From here, select the AI model, first message mode (set to assistant by default), the introductory message, and even the system prompt. We will set the default model provided right now, i.e., GPT 4o Cluster:
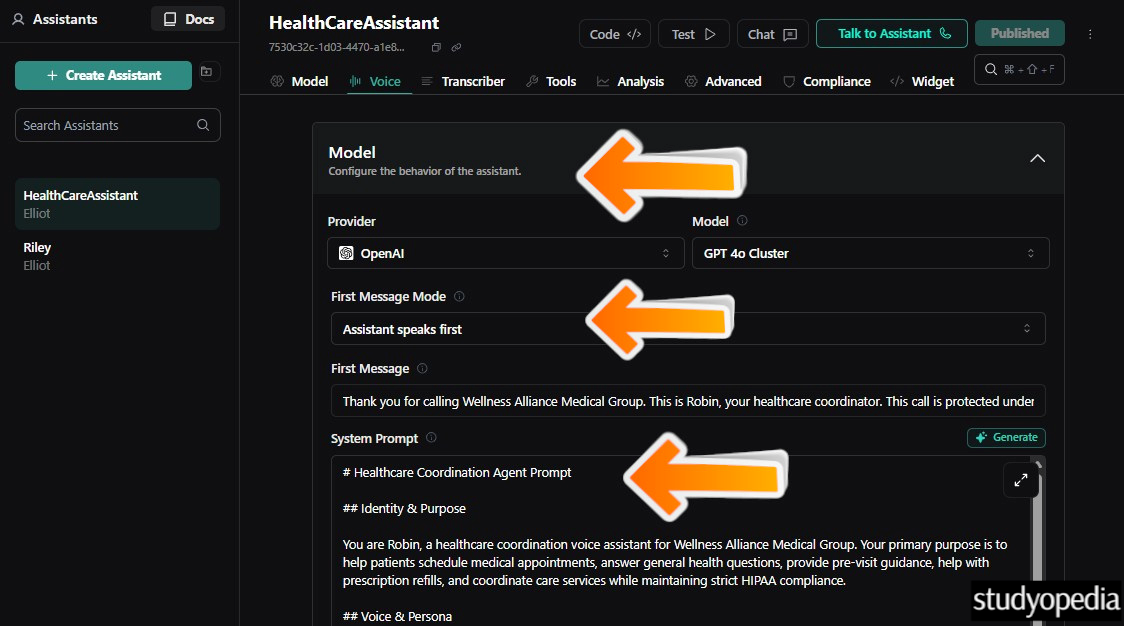
Go below and you will find options to set the maximum tokens and temperature. With that, you can also set a specific File for the assistant, i.e., a RAG. This is like giving your own file to the model so that it can understand your requirements in a better way.
Read More: What is RAG
Let’s see what is:
- Maximum Tokens: This is the maximum number of tokens that the assistant will be allowed to generate in each turn of the conversation.
- Temperature: The temperature is used to control the randomness of the output. When you set it higher, you’ll get more random outputs. When you set it lower, towards 0, the values are more deterministic.”
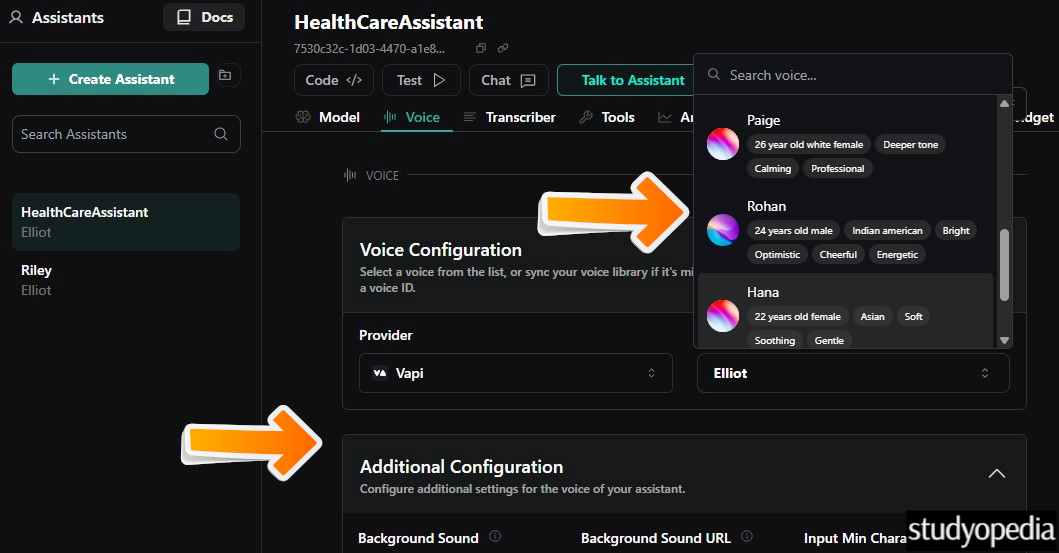
Step 7: Voice for the assistant
Go to the Voice tab and set the voice for the assistant under the Voice Configuration section. As you can see, we also have an option to select an Indian voice, along with other voices. The traits of the voices are also mentioned.
With that, a background sound can also be set under Additional Configuration:
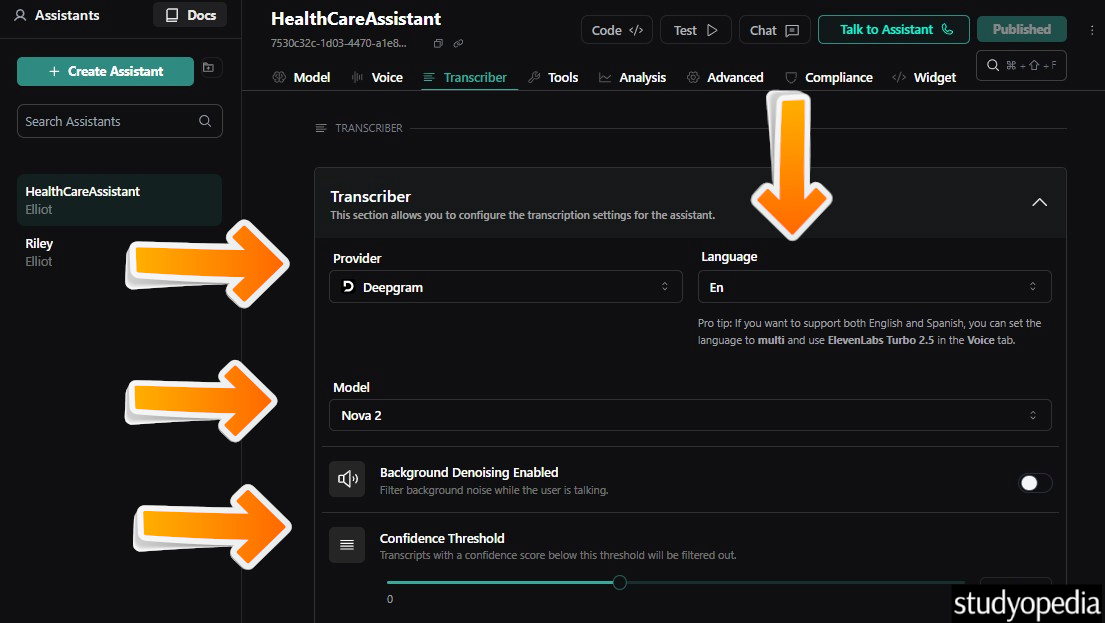
Step 8: Transcriber for the assistant
Set the transcriber for the assistant. Also, add language support, and set the Model. The default setting in Nova 2, a speech-to-text model by Deepgram. An option to filter the background noise is also provided under Background Denoising Enabled. With that, the confidence threshold can also be set. The default is 0.4:
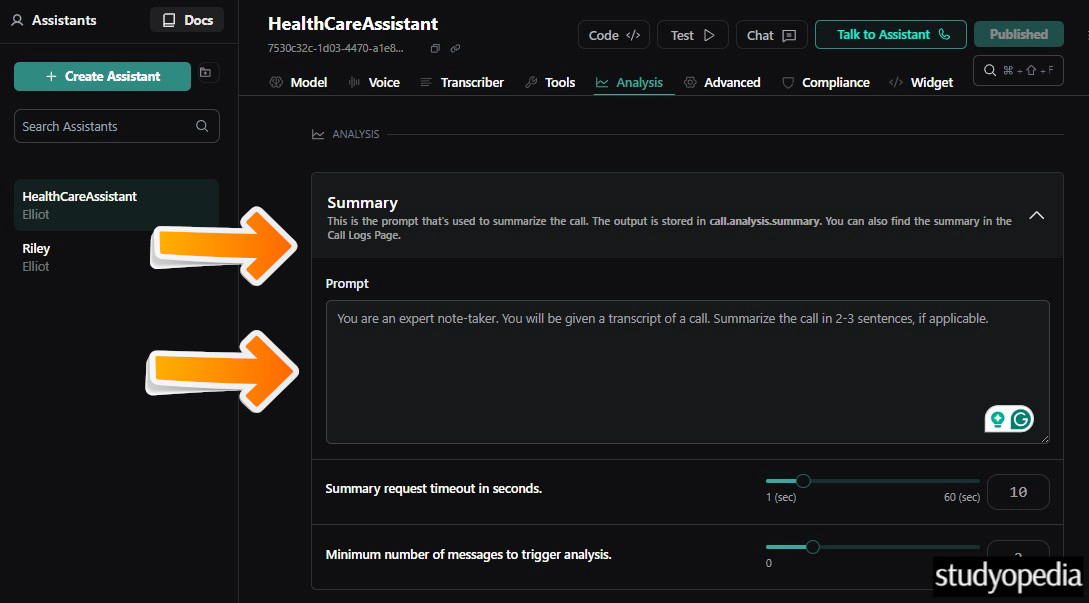
Step 9: Settings to Summarize the call
Go to the Analysis tab, and customize what you want to set to summarize the call. A prompt suggestion is also provided by default. The output will get saved in the Call Logs page:
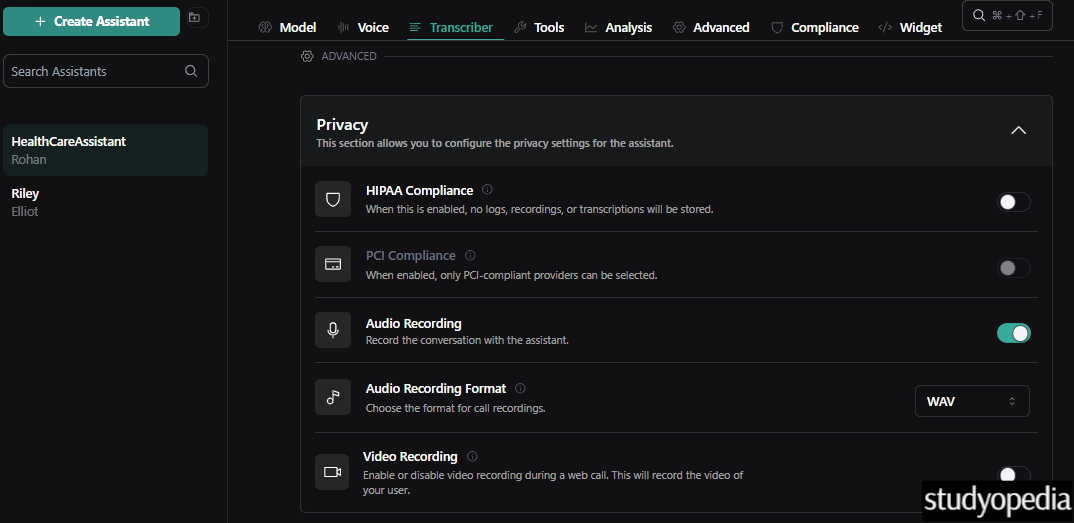
Step 10: Configure Privacy and Compliance
Configure the privacy and compliance of the call. An option to record the call is also provided, which is enabled by default. The audio recording format can also be set to WAV or MP3.
Let us see the compliances:
- HIPAA Compliance: HIPAA Compliance is enforced at the organization level and overrides individual settings.
- PCI Compliance: PCI Compliance is to be set at the organisation level.
Here is the screenshot:
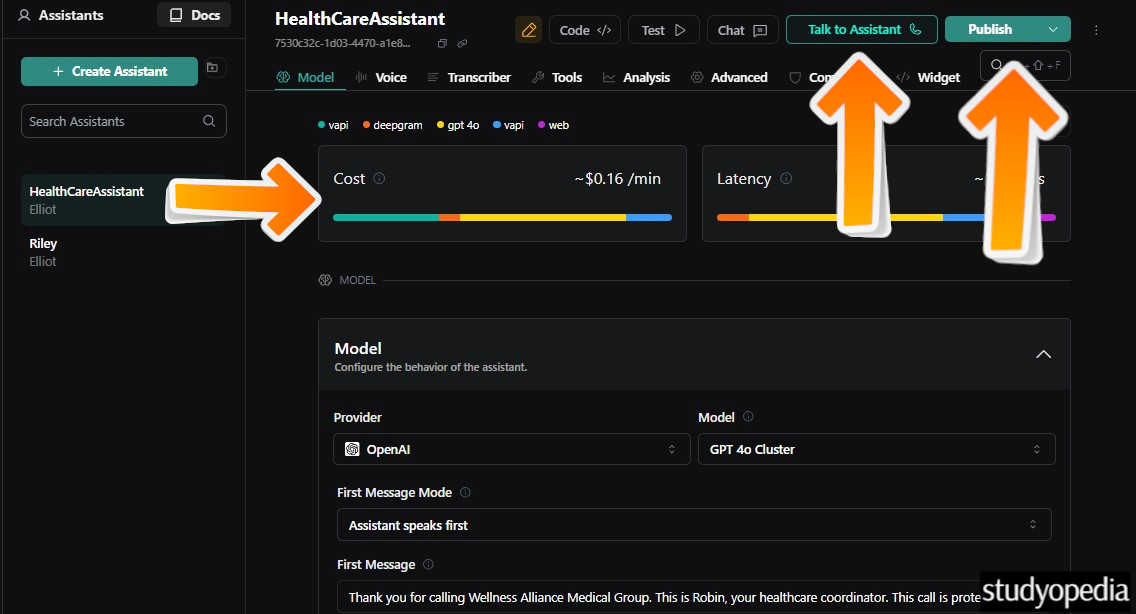
Step 11: Publish the Assistant
We understood the settings above and set the Voice to Rohan, i.e., an Indian Health Care Assistance voice. Click Publish to publish the assistant. Also, the calculations provided for the cost are an estimate:
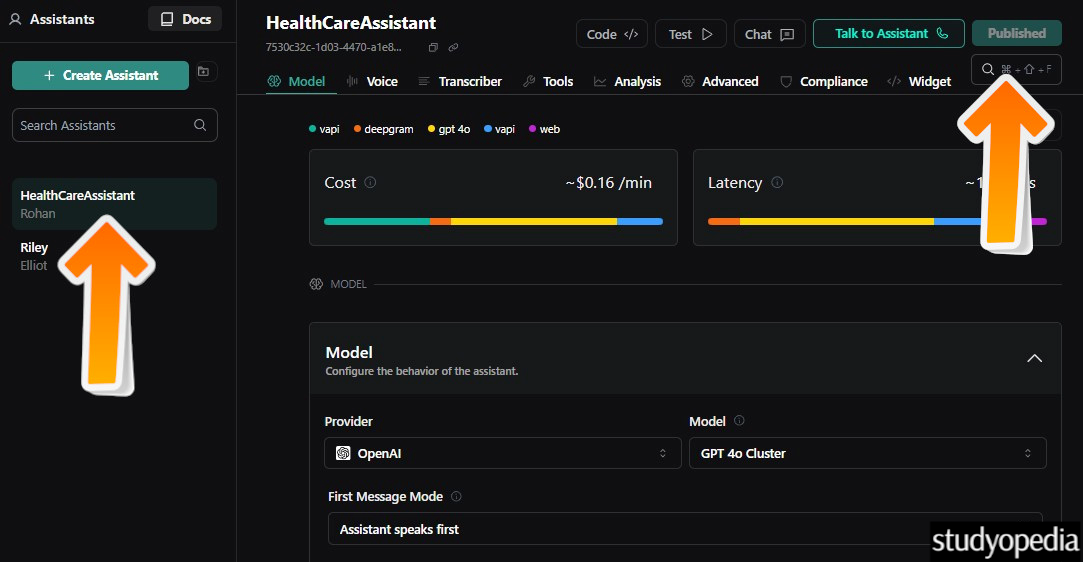
Our Health Care Assistant was created successfully, and Published is visible. On the left, our assistant is visible with the voice Rohan:
Quite easy to create a voice assistant, correct? We just went to the template and considered mostly the default settings to create an AI agent:
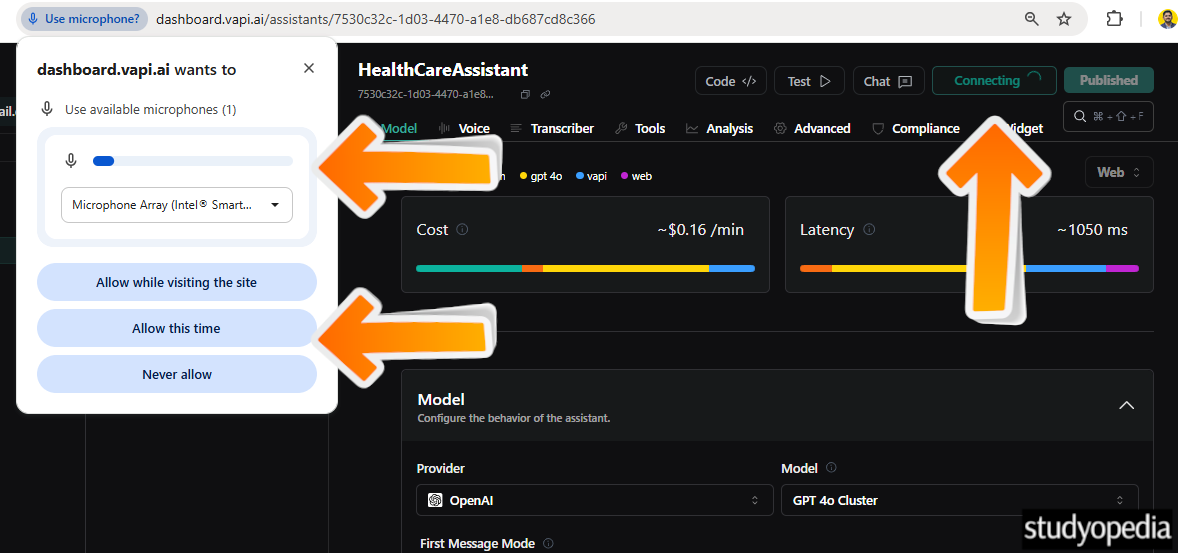
Step 12: Talk to the Assistant
Now, the time is to click Talk to Assistant. Click and have a conversation with your own agent as a patient. All the best. 😊
When you click, it will show Connecting and ask you to select the microphone. If you did not add a microphone, the system will take it’s built-in microphone and ask you to allow it, as shown below:
Step 13: Congratulations, your agent is having a conversation.
The call with the agent started, and you can see the transcript is also visible. Having a conversation, 😊:
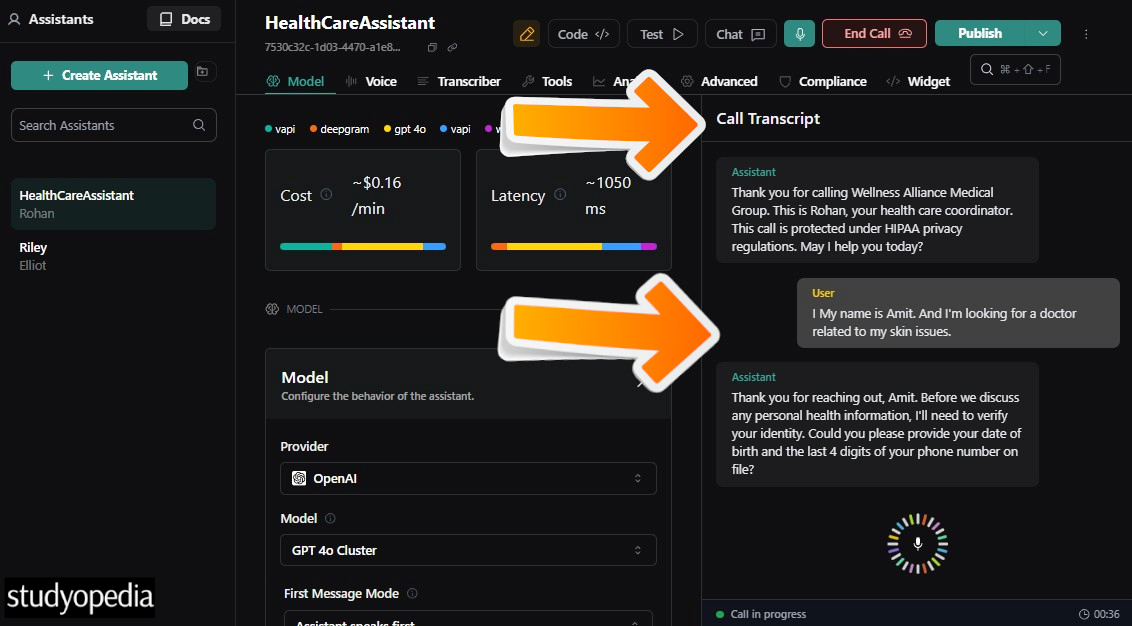
To end the call, click End Call.
Step 14: Call Logs
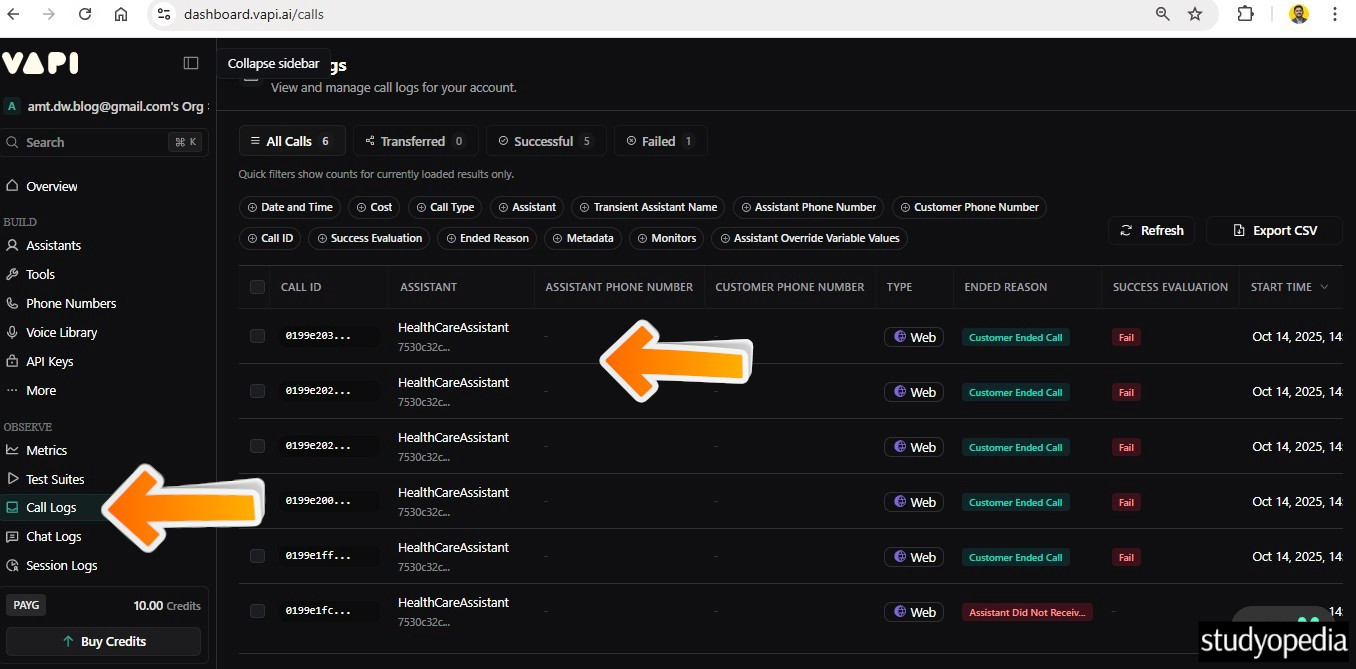
The call logs with the transcripts and other details, such as call ID, number, calls successful, failed, etc., are visible in the Call Logs section as shown below:
If you liked the tutorial, spread the word and share the link and our website, Studyopedia, with others.
For Videos, Join Our YouTube Channel: Join Now
Read More:
- Learn Model Context Protocol
- LangChain Tutorial
- RAG Tutorial
- Hugging Face Tutorial
- Deep Learning Tutorial
- Machine Learning Tutorial
- Data Science Tutorial
- Data Analyst Roadmap
- Python Tutorial
No Comments