15 Mar Rotate an image with OpenCV
Rotating an image with OpenCV is also quite simple. You can use the cv2.getRotationMatrix2D() function to get the rotation matrix and the cv2.warpAffine() function to apply the rotation.
First, we will load an image, then resize it to 600×600, and rotate it to 45 degrees. Here is an example:
# Rotate an image with OpenCV
# First, we will load an image, then resize it to 600x600, and rotate it to 45 degrees
import cv2

# Load an image
image = cv2.imread(r'C:\Users\hp\Downloads\amit.jpeg', 1)

# Define new dimensions (width, height)
new_dimensions = (600, 600)

# Resize the image
resized_image = cv2.resize(image, new_dimensions)

# Get the dimensions of the image
(height, width) = resized_image.shape[:2]

# Define the center of the image
center = (width // 2, height // 2)

# Define the rotation matrix
# Here, we rotate the image by 45 degrees
angle = 45
rotation_matrix = cv2.getRotationMatrix2D(center, angle, 1.0)

# Rotate the image
rotated_image = cv2.warpAffine(resized_image, rotation_matrix, (width, height))

# Display the rotated image
cv2.imshow("Rotated Image:", rotated_image)

# Wait for a key press and close the window
cv2.waitKey(0)
cv2.destroyAllWindows()
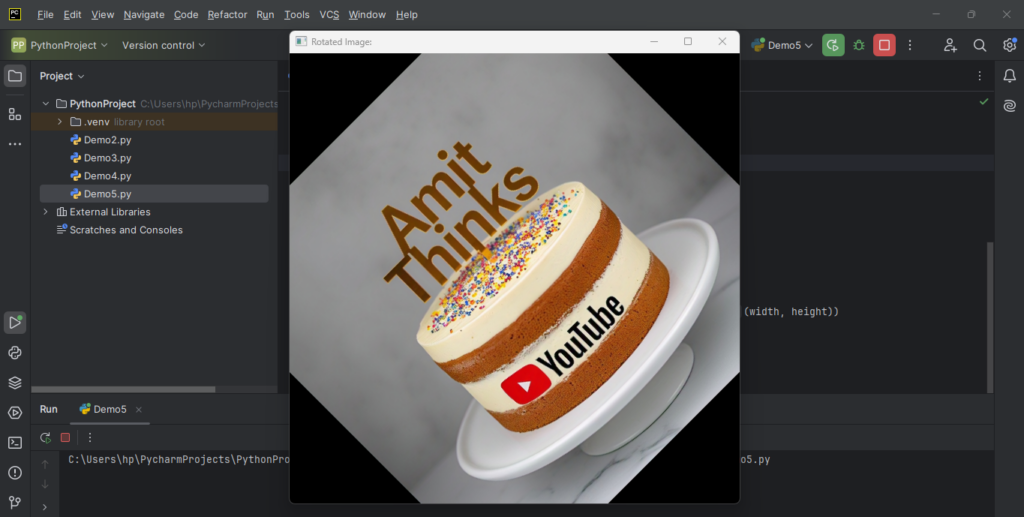
The following is the output:
Explanation:
- The above Python script leverages the OpenCV library to load, resize, and rotate an image. It begins by importing the OpenCV library, and then reads an image from the specified file path, loading it in color.
- The image is then resized to a new width and height of 600 pixels using the
cv2.resize()function. - After resizing, the script retrieves the image’s dimensions and defines the center of the image, which will serve as the pivot point for rotation.
- A rotation matrix is created using the
cv2.getRotationMatrix2D()function, specifying a rotation angle of 45 degrees. The script then applies this rotation matrix to the resized image using thecv2.warpAffine()function, resulting in a rotated image. - Finally, the rotated image is displayed in a window titled “Rotated Image:” using
cv2.imshow(), and the script waits for a key press before closing all OpenCV windows withcv2.waitKey(0)andcv2.destroyAllWindows(). This process enables users to view and interact with the rotated image.
If you liked the tutorial, spread the word and share the link and our website Studyopedia with others.
For Videos, Join Our YouTube Channel: Join Now
Read More:
- Generative AI Tutorial
- Machine Learning Tutorial
- Deep Learning Tutorial
- Ollama Tutorial
- Retrieval Augmented Generation (RAG) Tutorial
- Copilot Tutorial
- Gemini Tutorial
- ChatGPT Tutorial
No Comments