15 Mar Give grayscale to an Image with OpenCV
We read an image from the local Windows system in the previous lesson. Let us give it a grayscale now using the same imread() function. Just set the last parameter with the value 0 to get a grayscale image. You can also use cv2.IMREAD_GRAYSCALE to implement the same:].
Here is the code:
|
1 2 3 4 5 6 7 8 9 10 11 12 13 14 15 16 |
# Read and display an image with OpenCV and give it a grayscale import cv2 # Load an image # The 0 here gives grayscale to the image image = cv2.imread(r'C:\Users\hp\Downloads\amit.jpeg', 0) # Display the image cv2.imshow("My YouTube Channel's cake", image) # Wait for a key press and close the window cv2.waitKey(0) cv2.destroyAllWindows() |
The following is the output:
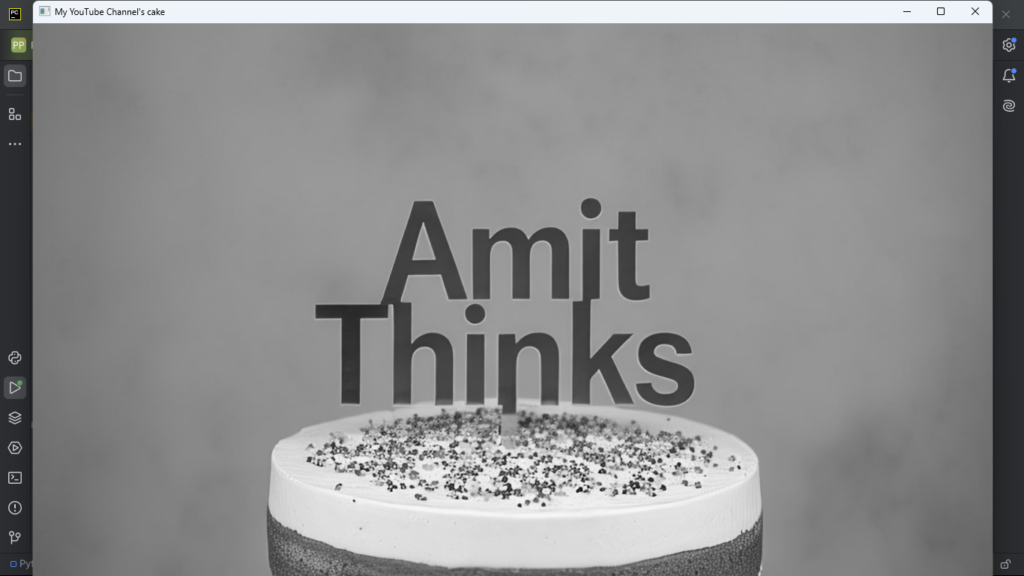
Explanation:
This Python script utilizes the OpenCV library to load, display, and convert an image to grayscale. The code starts by importing the OpenCV library:
- It then reads an image from the specified file path and loads it into a variable named
image. - By passing
0as the second argument to thecv2.imread()function, the image is loaded in grayscale mode. - The script then displays the grayscale image in a window titled “My YouTube Channel’s cake” using the
cv2.imshow()function. - To keep the image window open, the script includes a
cv2.waitKey(0)function, which waits indefinitely for a key press. - Once a key is pressed, the script closes all OpenCV windows using the
cv2.destroyAllWindows()function.
This process allows users to view the grayscale version of the loaded image and close the display window at their convenience.
If you liked the tutorial, spread the word and share the link and our website Studyopedia with others.
For Videos, Join Our YouTube Channel: Join Now
Read More:
- Generative AI Tutorial
- Machine Learning Tutorial
- Deep Learning Tutorial
- Ollama Tutorial
- Retrieval Augmented Generation (RAG) Tutorial
- Copilot Tutorial
- Gemini Tutorial
- ChatGPT Tutorial
No Comments