15 Mar Edge Detection with OpenCV
Create a sketch-like effect by detecting edges in the image. Detect edges using the Canny edge detector i.e. the Canny() function. Let us see the example of detecting edges with OpenCV:
|
1 2 3 4 5 6 7 8 9 10 11 12 13 14 15 16 17 18 |
# Read and display an image with OpenCV. Detect the edges. import cv2 # Load an image image = cv2.imread(r'C:\Users\hp\Downloads\Astronaut.png') # Detect edges using the Canny edge detector edges = cv2.Canny(image, 100, 200) # Display the result cv2.imshow("Edge Detection Filter", edges) # Wait for a key press and close the window cv2.waitKey(0) cv2.destroyAllWindows() |
The following is the output:
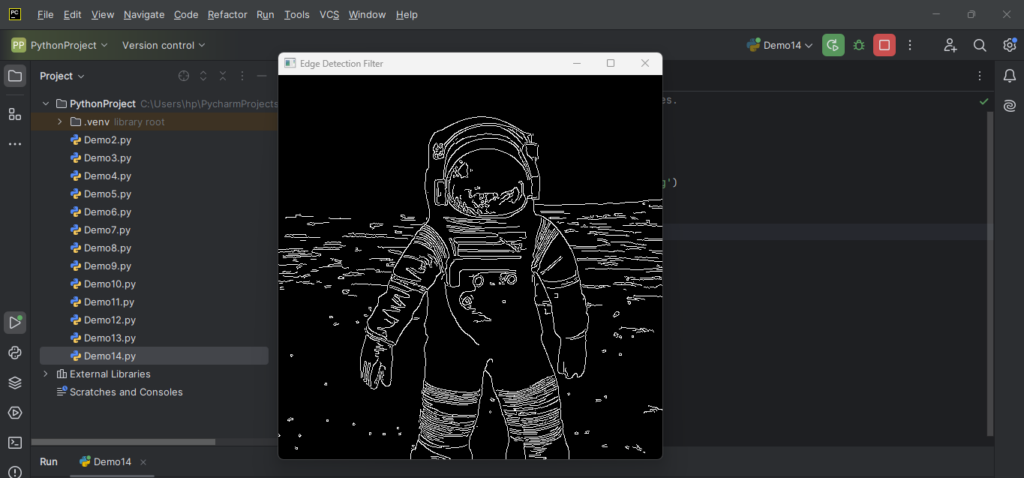
Explanation:
This Python script uses the OpenCV library to load an image, detect its edges using the Canny edge detection algorithm, and display the result:
- It begins by importing OpenCV and loading the specified image into the variable
imageusing thecv2.imread()function. - The Canny edge detector is then applied to the image using
cv2.Canny(), which identifies edges by detecting areas of rapid intensity change. This function takes three arguments: the input image, the lower threshold (100), and the upper threshold (200). - The resulting edge-detected image is stored in the variable
edges. - The script then displays the processed image in a window titled “Edge Detection Filter” using
cv2.imshow(). - To keep the display window open, it waits indefinitely for a key press with
cv2.waitKey(0)and closes all OpenCV windows usingcv2.destroyAllWindows(). - This allows users to visualize the edges of the image clearly and interactively.
If you liked the tutorial, spread the word and share the link and our website Studyopedia with others.
For Videos, Join Our YouTube Channel: Join Now
Read More:
- Generative AI Tutorial
- Machine Learning Tutorial
- Deep Learning Tutorial
- Ollama Tutorial
- Retrieval Augmented Generation (RAG) Tutorial
- Copilot Tutorial
- Gemini Tutorial
- ChatGPT Tutorial
No Comments