15 Mar Apply Sepia Tone filter with OpenCV
Give your image a warm, vintage look by applying a sepia tone. We have used the NumPy library for this. Initially, we imported the numpy. After that set the array for the sepia filter and use the transform() function:
import numpy as np
Let us see the example:
# Read and display an image with OpenCV and apply sepia tone

import cv2
import numpy as np

# Load an image
image = cv2.imread(r'C:\Users\hp\Downloads\Astronaut.png')

# Create a sepia filter kernel
sepia_kernel = np.array([[0.272, 0.534, 0.131],
                         [0.349, 0.686, 0.168],
                         [0.393, 0.769, 0.189]])

# Apply the sepia filter
sepia_image = cv2.transform(image, sepia_kernel)

# Display the image
cv2.imshow("Sepia Tone", image)

# Wait for a key press and close the window
cv2.waitKey(0)
cv2.destroyAllWindows()
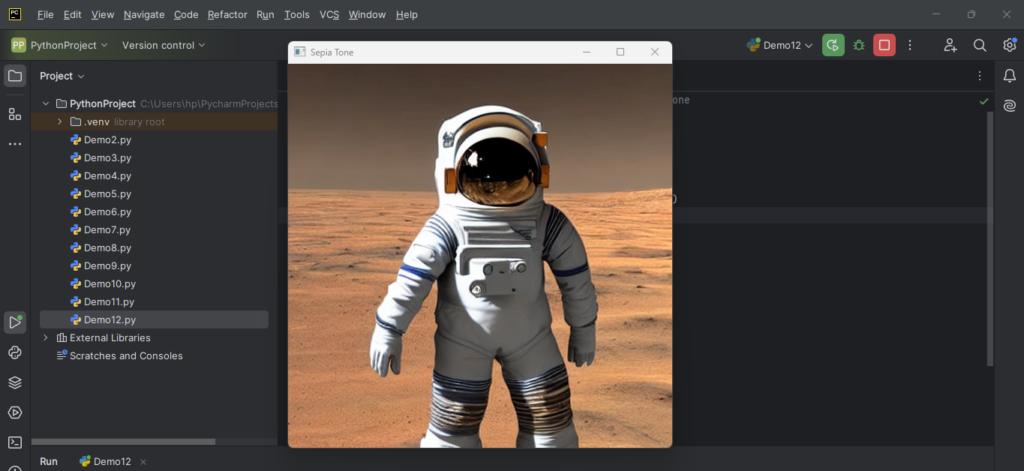
The following is the output:
Explanation:
This Python script applies a sepia tone effect to an image using the OpenCV and NumPy libraries:
- It starts by importing the necessary libraries.
- The script then loads the input image from the specified file path into the variable
imageusing OpenCV’scv2.imread()function. - To create the sepia effect, it defines a 3×3 matrix called
sepia_kernel, which contains specific weights for red, green, and blue color channels to mimic the warm tones of sepia. - The sepia filter is applied to the image using the
cv2.transform()function, which applies the matrix transformation to the image and produces the modifiedsepia_image. - The processed image is then displayed in a window titled “Sepia Tone” using the
cv2.imshow()function. - The script waits indefinitely for the user to press a key with
cv2.waitKey(0)before closing all OpenCV windows viacv2.destroyAllWindows(). - This workflow allows the user to view the sepia-toned image and close the display window when ready.
If you liked the tutorial, spread the word and share the link and our website Studyopedia with others.
For Videos, Join Our YouTube Channel: Join Now
Read More:
- Generative AI Tutorial
- Machine Learning Tutorial
- Deep Learning Tutorial
- Ollama Tutorial
- Retrieval Augmented Generation (RAG) Tutorial
- Copilot Tutorial
- Gemini Tutorial
- ChatGPT Tutorial
No Comments