13 Sep NetBeans Installation on Windows 11
To begin with developing applications in NetBeans, you need to first set environment and install NetBeans. NetBeans Installation is not difficult. Let’s learn how to install NetBeans IDE on Windows 10.
Before moving further, we’ve prepared a video tutorial to install NetBeans:
Steps to install NetBeans
Go to the official website of NetBeans and download NetBeans IDE as shown below,
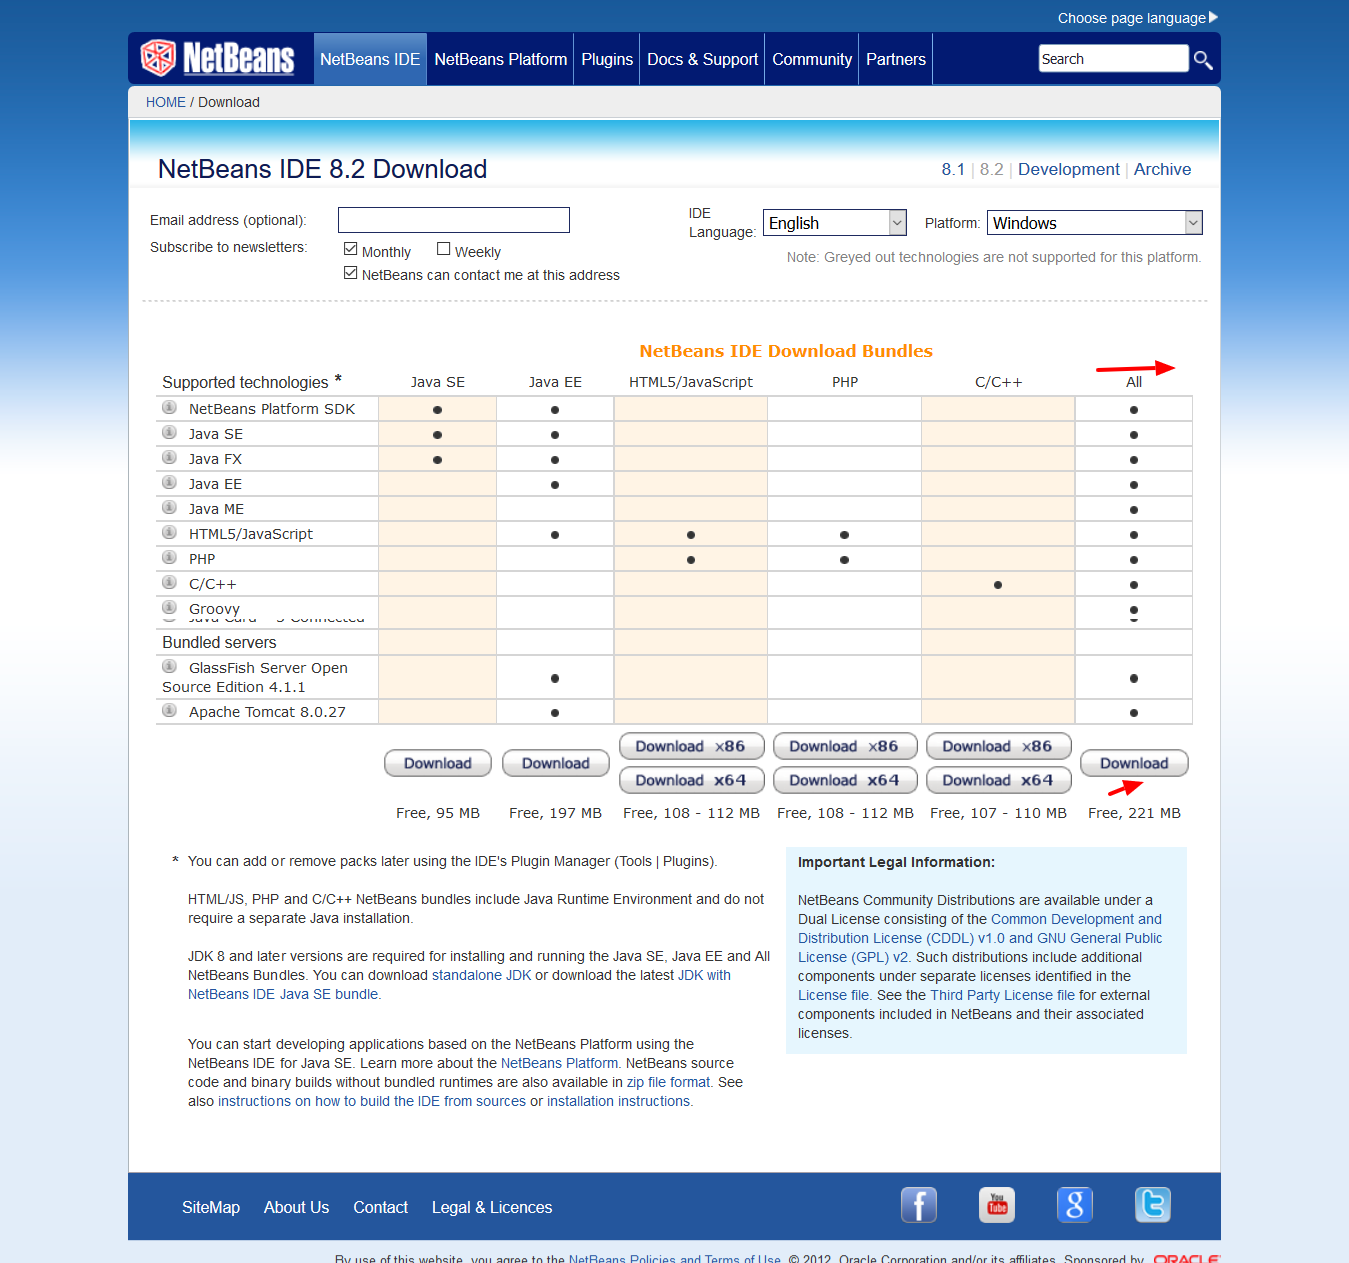
NetBeans IDE downloading,
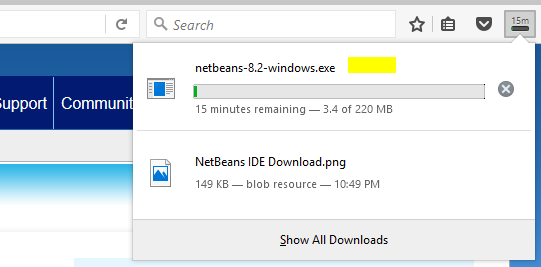
Now, click on the exe file: netbeans-8.2-windows.exe and start installation.
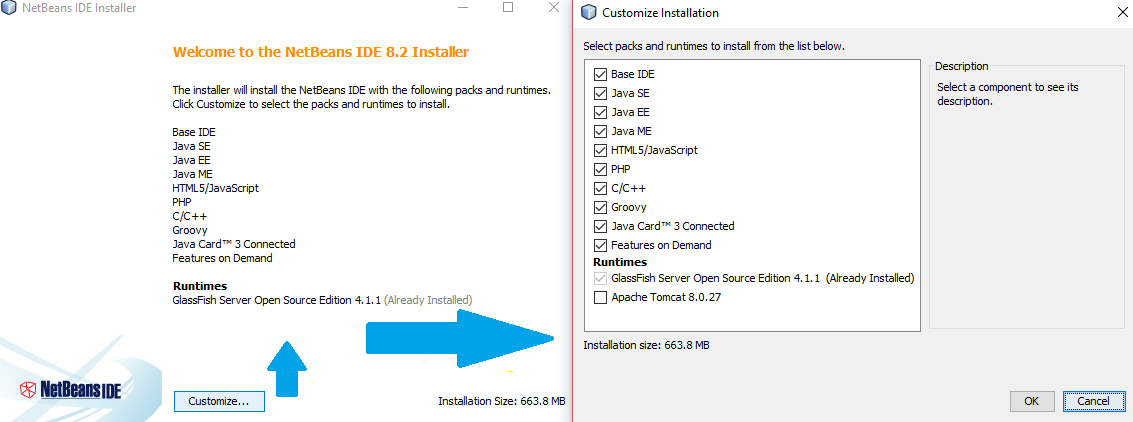
You can also customize the installation from the following. Here, you can select which all technologies you want to add in your NetBeans IDE installation.
Select all for all the technologies,
After customization, click Next, and now you can see the following screen to add the folder path to install NetBeans IDE.
Here, you also need to add the path for JDK,
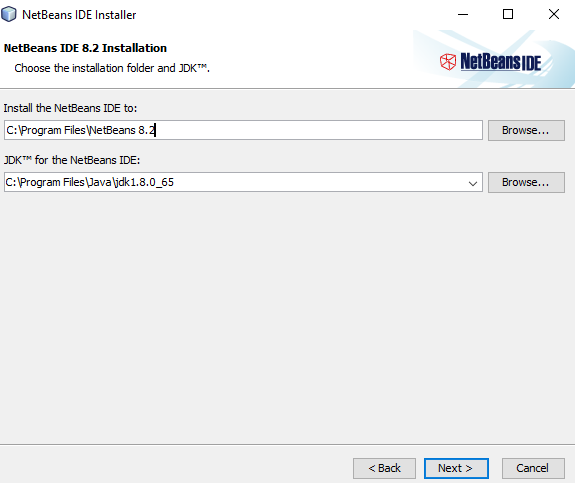
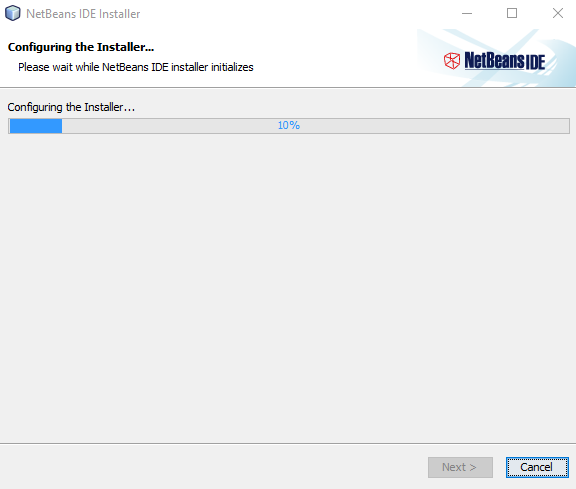
After above, click next. Now, you can see it is installing.
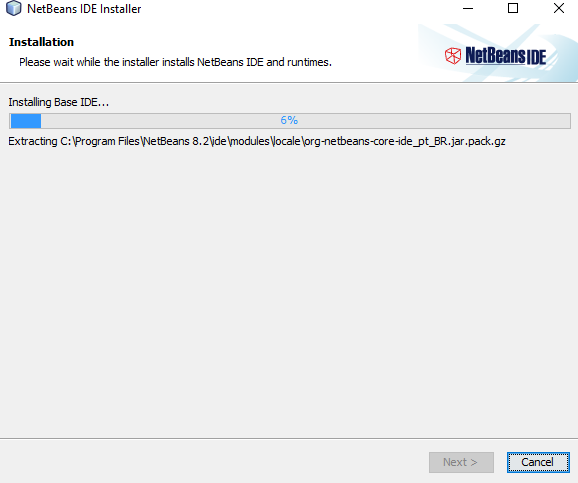
NetBeans IDE installed successfully. In the next lesson, we will learn how to launch NetBeans IDE.
No Comments