16 Oct How to Install Drupal Commerce Kickstart 2 on localhost
In this lesson we will learn how to install Drupal Commerce Kickstart 2. It is a good practice to install the Commerce Kickstart from scratch. So, we will first download it and place it in the XAMPP in the same way we started with Drupal Installation. This will provide visitors with a separate site for online shopping.
Drupal Commerce Kickstart installation is quite easy. It has some simple steps, which can be seen below,
What you need for Installation
For starting working on Commerce Kickstart, you need the following software/ tools on localhost:
- Commerce Kickstart: A free Ecommerce solution, to start creating online cart with Drupal Commerce.
- XAMPP: It is a cross platform open source web solution package, that fulfils your need of,
- Web Server
- MySQL
- PHP
Installing Drupal Commerce Kickstart on localhost
We’re learning Commerce Kickstart installation from scratch, so first we need to install it on localhost. Here are the steps,
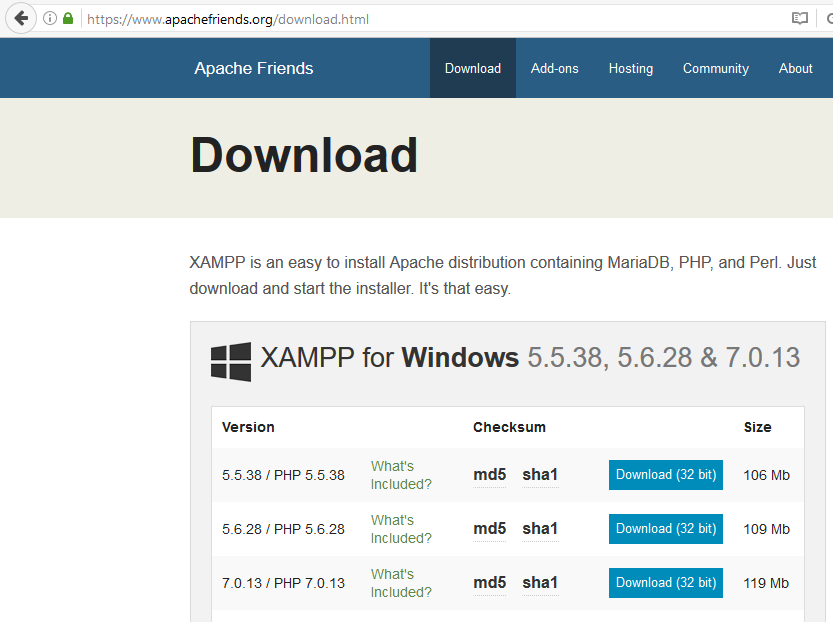
Step 1– Go to the XAMPP official website and download XAMPP,
Step 2– Install XAMPP at any location. We’re installing in C: Drive as shown below,
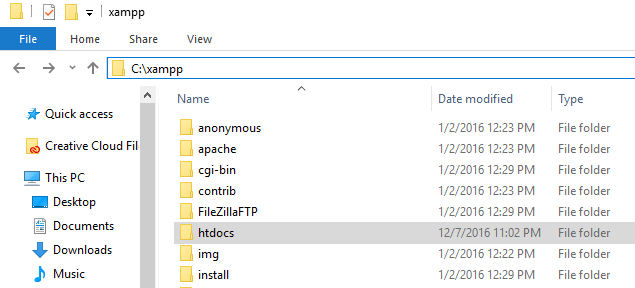
Step 3– Create project folder in the following htdocs directory, C:\xampp\htdocs\

We’re done with installation of XAMPP.
Now, we will learn how to install Commerce Kickstart.
Download and Install Commerce Kickstart
To start working with installation, first download Commerce Kickstart.
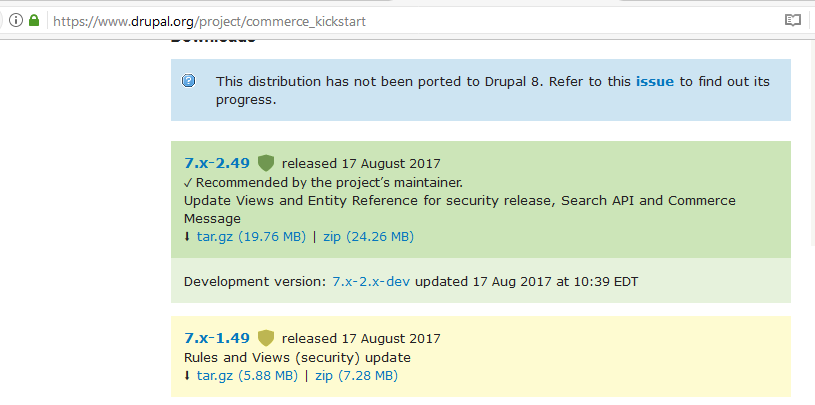
Go to the following link and download Commerce Kickstart,
|
1 2 3 |
https://www.drupal.org/project/commerce_kickstart |
Here’s the screenshot,
Go to your XAMPP folder and create a new folder for your E-Commerce website as shown below.
We are creating Studyopedia folder,
|
1 2 3 |
C:\xampp\htdocs\Studyopedia |
Step- Now, move the zip file commerce_kickstart-7.x-2.49-core.zip in the Studyopedia folder,
|
1 2 3 |
C:\xampp\htdocs\Studyopedia |
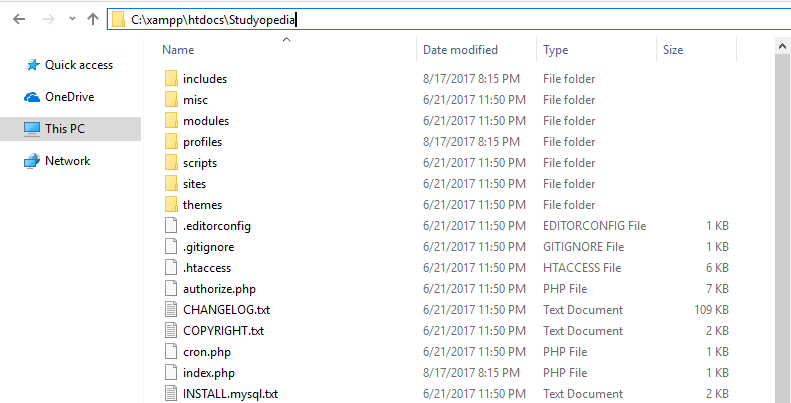
Step- Now your folder directory will look like the following,
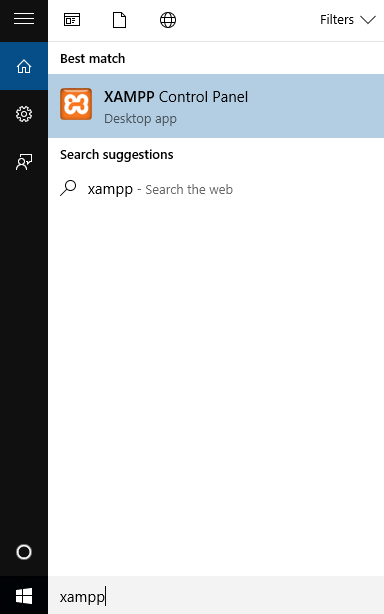
Step- Start XAMPP from XAMPP Control Pane”. Firstly, go to XAMPP Control Panel as shown below,
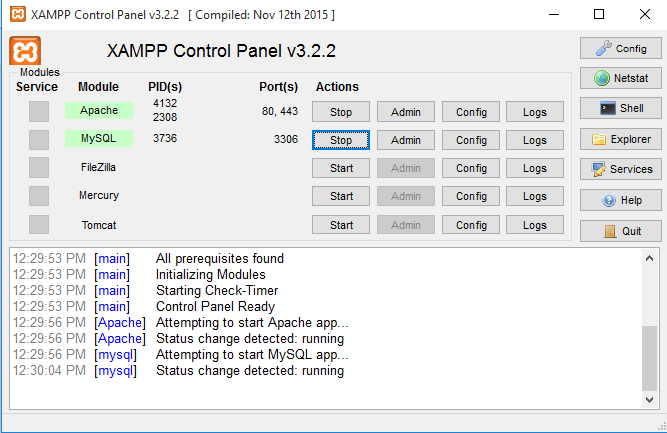
Now, start Apache and MySQL as shown below,
Step- Now, Go to the web browser and type the following and press enter,
|
1 2 3 |
localhost/studyopedia |
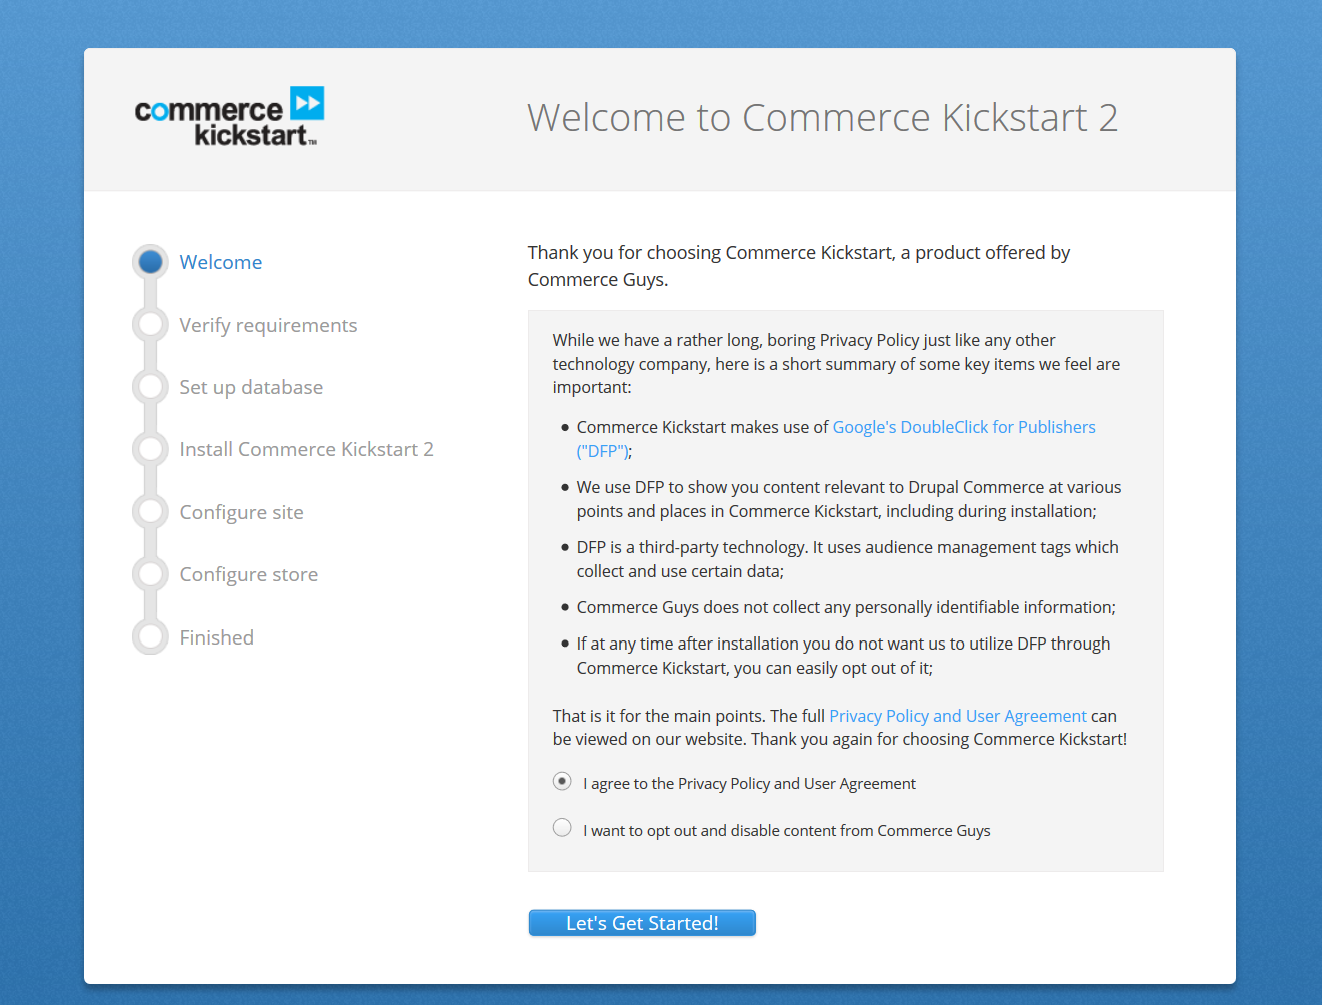
Now, you will reach the following page, select I agree to the Privacy Policy and User Agreementand click Let’s Get Started,
You need to add the Database name here, but first let’s create a database for our Drupal Commerce Kickstart,
Create Database
Let’s create a database by going through the following link,
|
1 2 3 |
localhost/phpmyadmin |
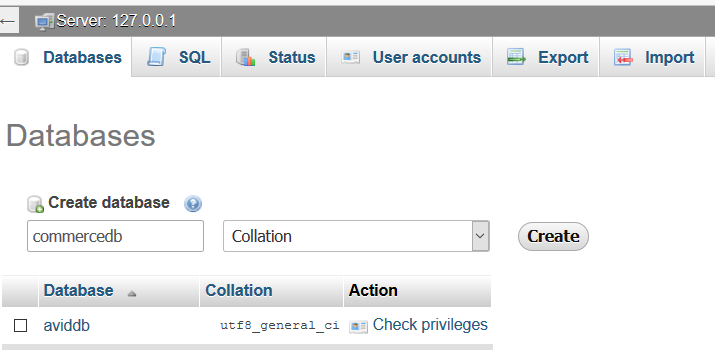
After reaching phpmyadmin, create a new database drupalcartdb. First, click New, then add a database name and click Create as shown below,
Now, add the following database information, with database name under Set up Database step,
| Field | Value | Description |
|---|---|---|
| Database type | MySQL | Add the type of Database |
| Database name | commercedb | Add database name |
| Database username | root | Add database username |
| Database password | (Enter Database password here) | Add database password |
| Database host | localhost | Add database host |
Here’s the screenshot,
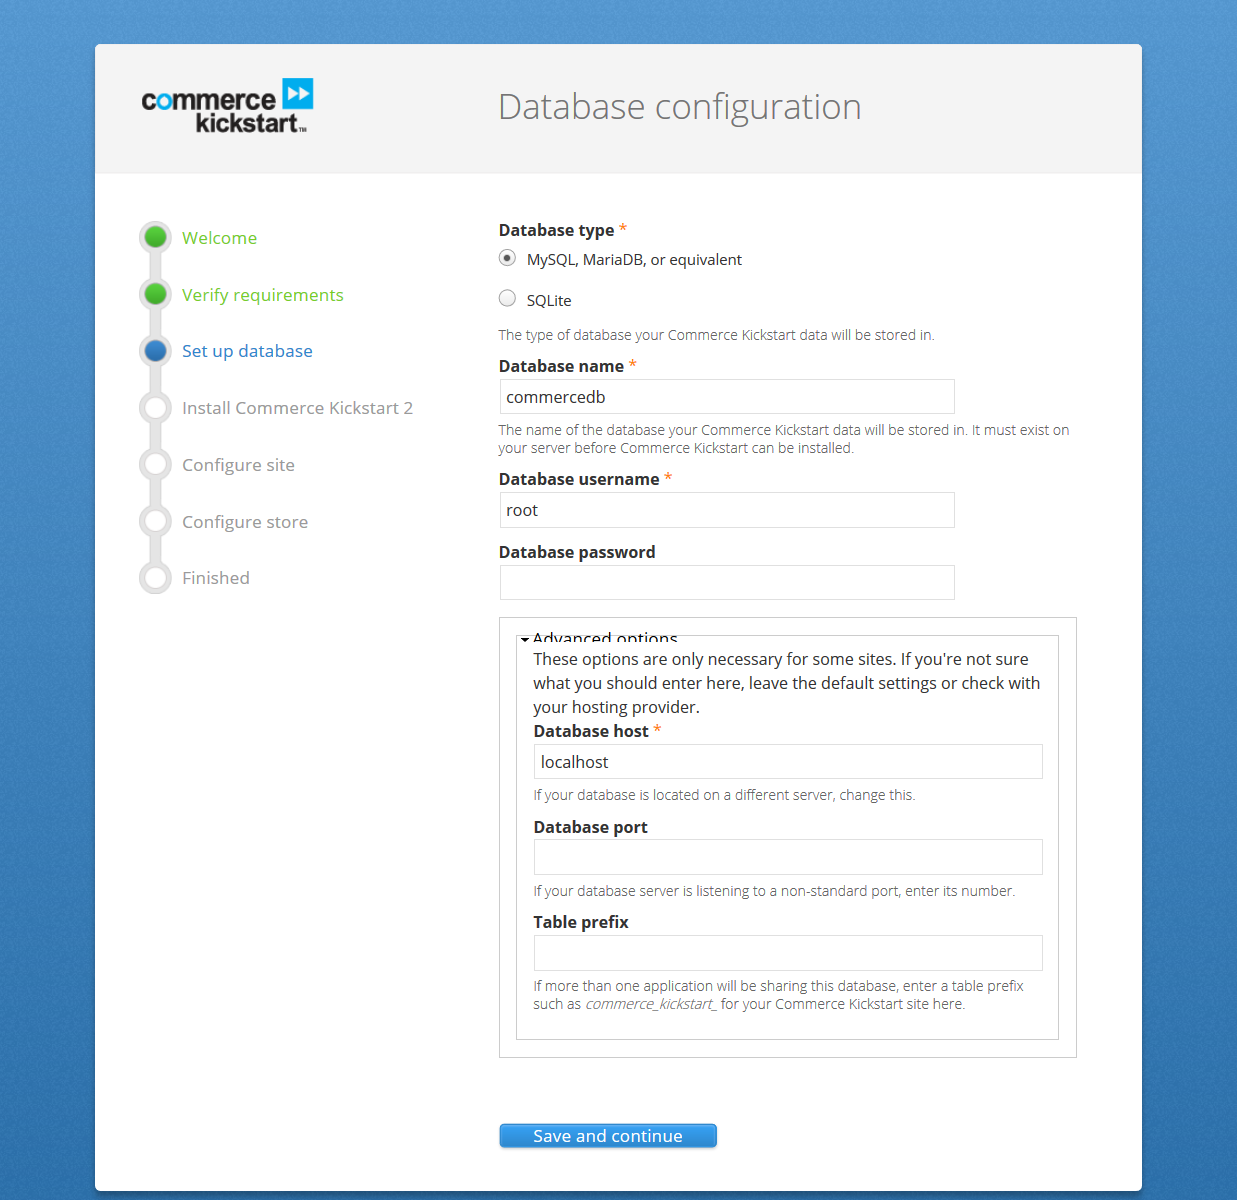
After filing the above details for Database, click Save and Continue
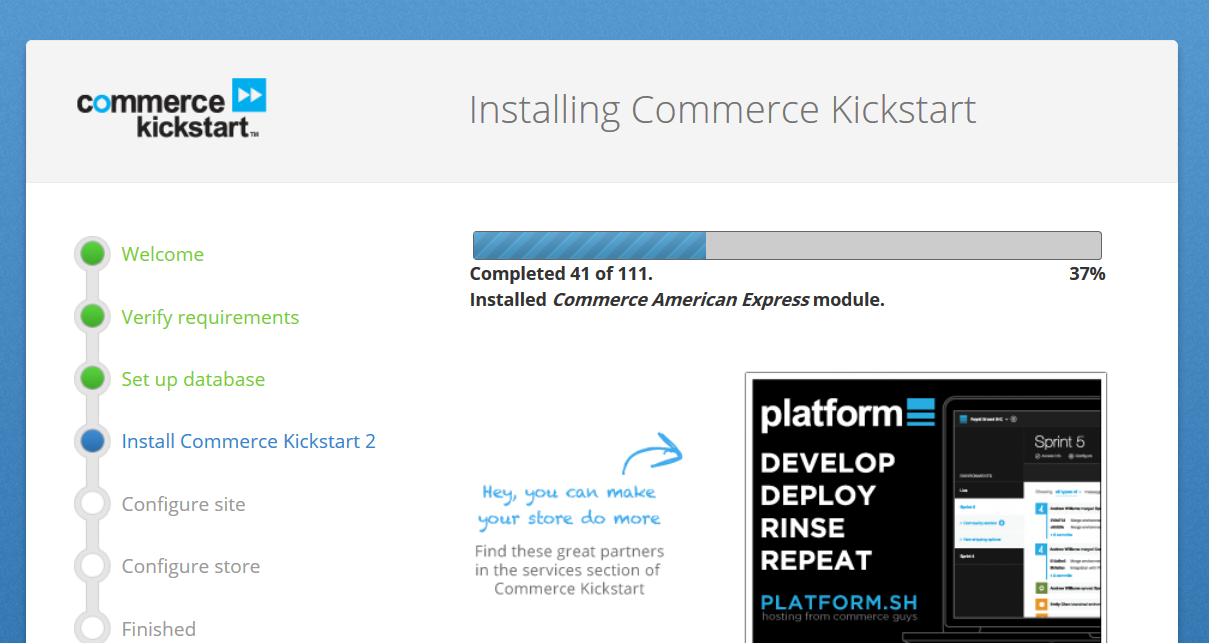
The Commerce Kickstart is installing as shown below,
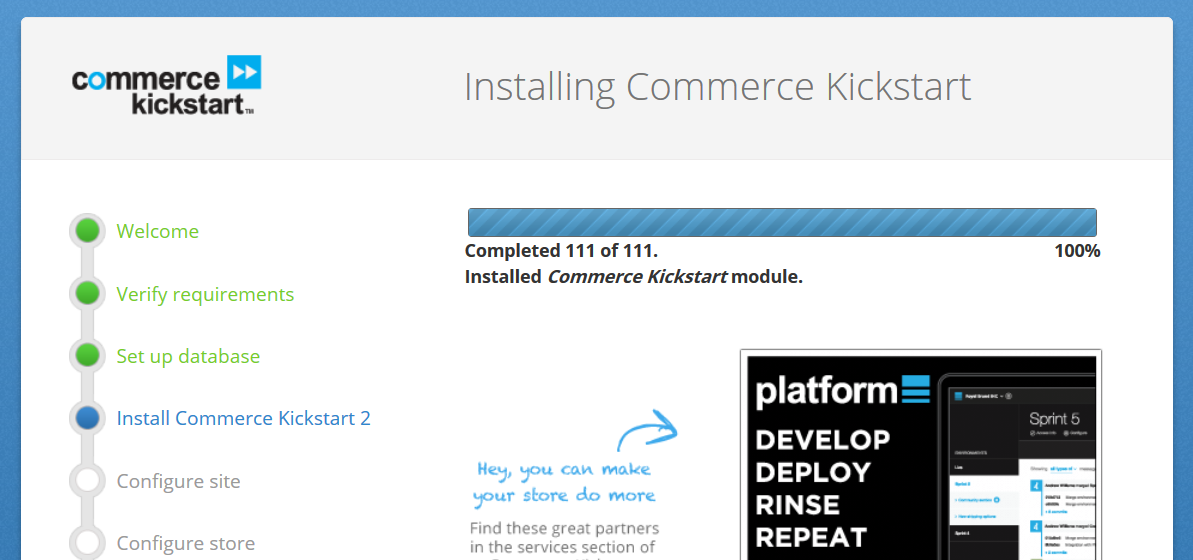
The Drupal Commerce Kickstart installed successfully as in the following screenshot,
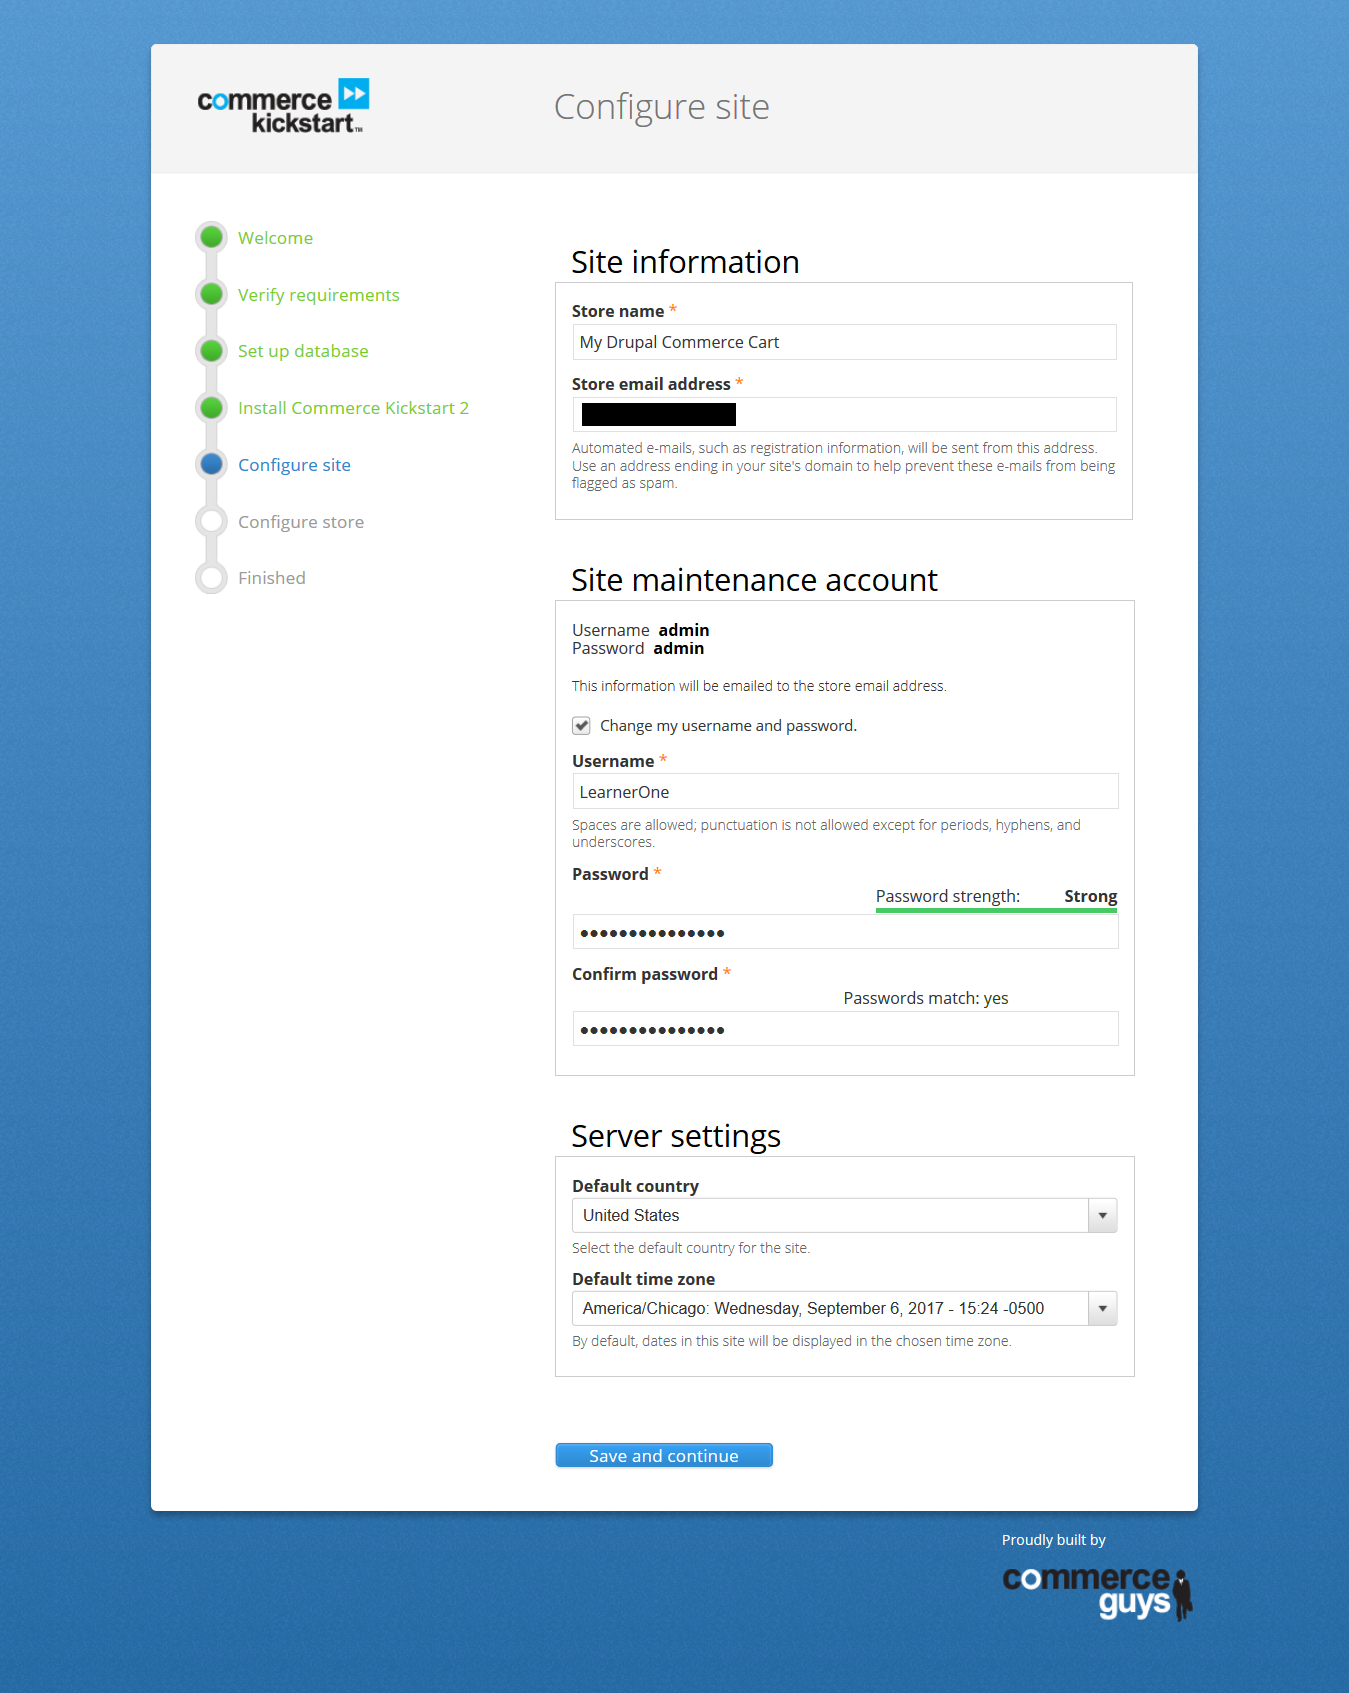
Now, configure site as shown below and click Save and Continue,
Now, configure store here as shown below. You can select No for demo store. Instead you can install additional functionalities,
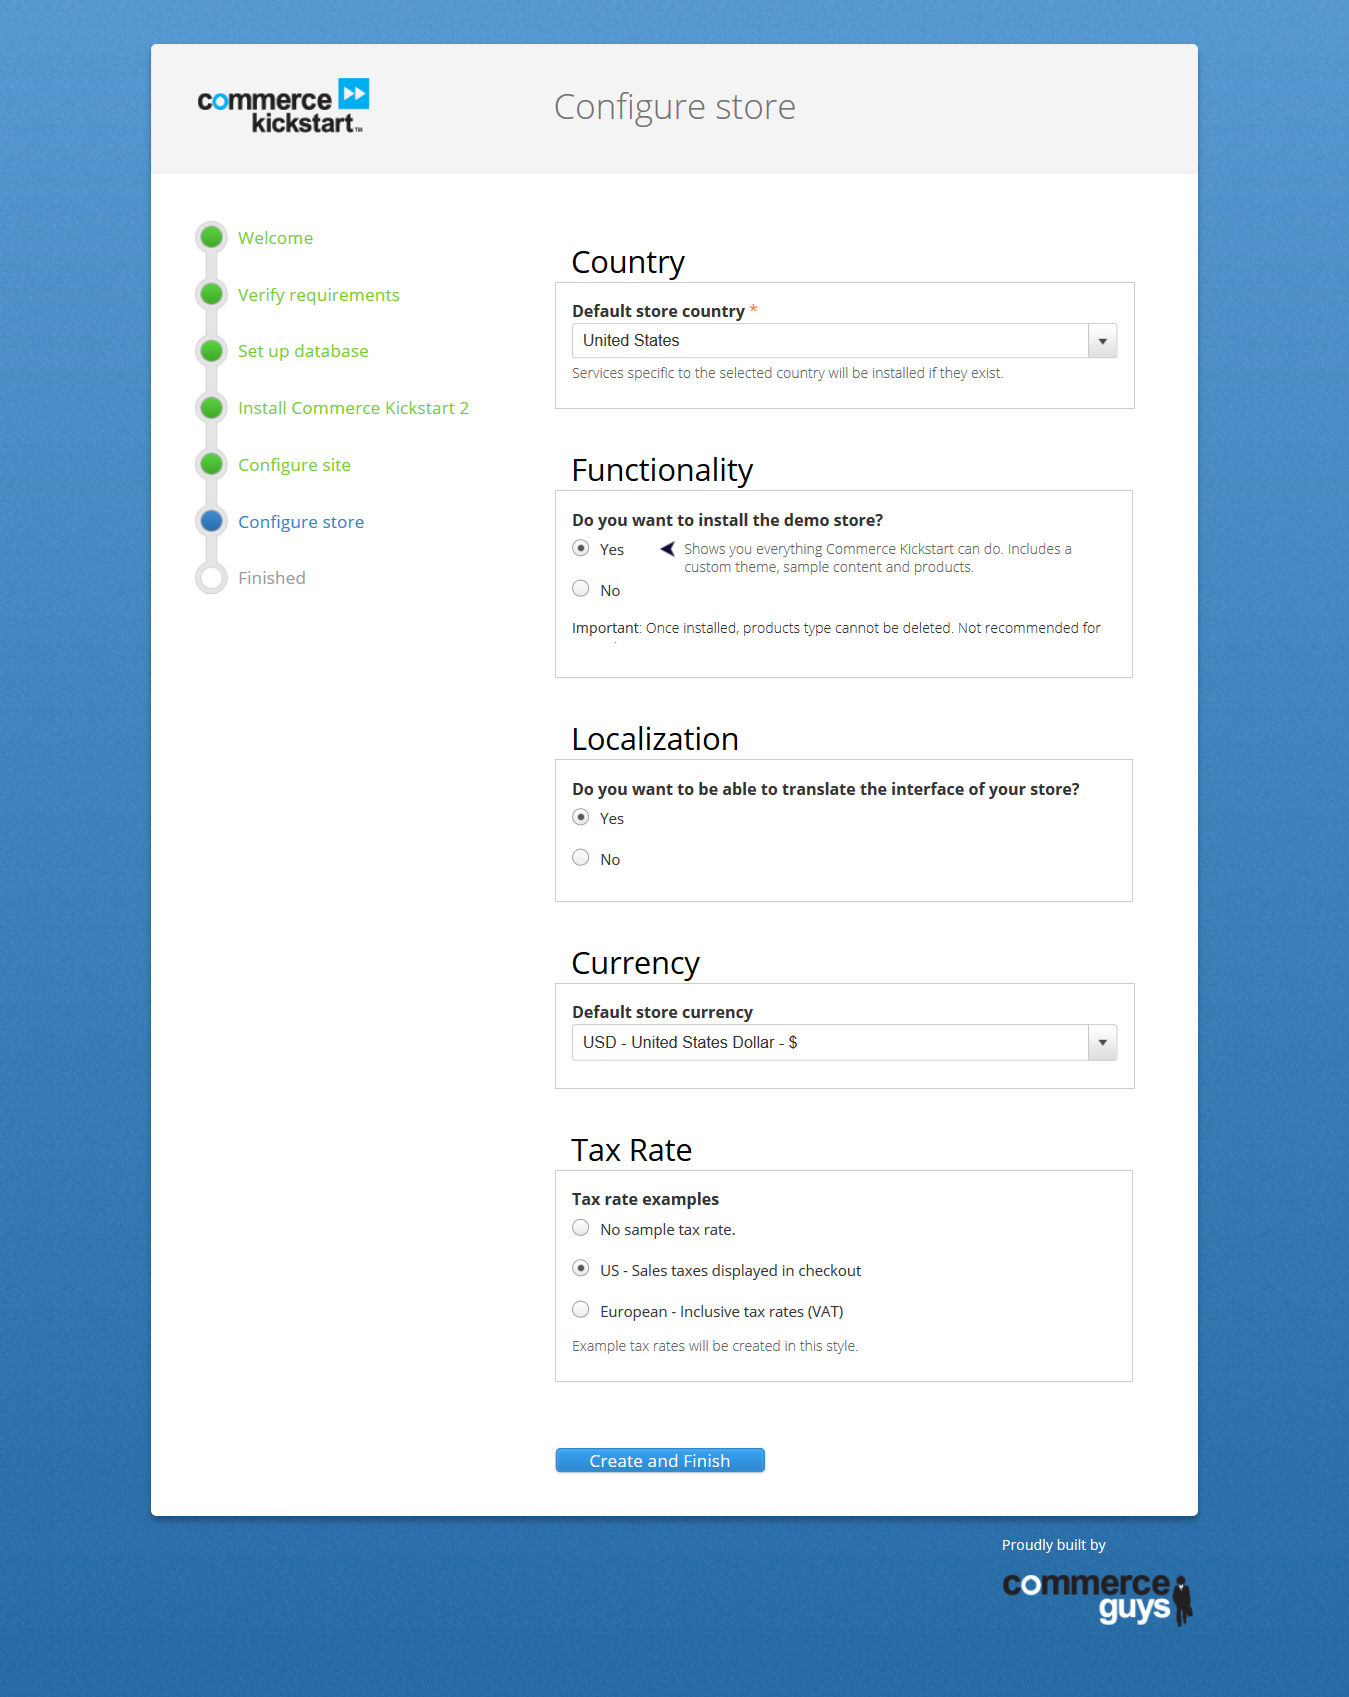
Above, we added the following information,
Country: United States
Demo Store: Yes, we are adding the demo store here with custom theme, sample products, etc.
Localization: Yes, we want to all for translating the interface of our store
Currency: US$
Tax Rate: US – Sales Tax
After that click Create and Finish.
Import content,
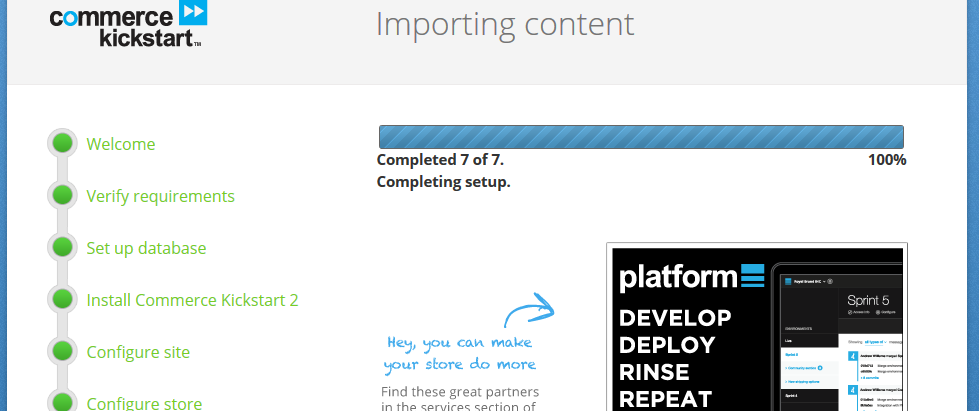
Now, installation completes.
In this lesson we learned how to install Drupal Commerce Kickstart 2 on Windows.


No Comments