05 Feb C# – Installation and Setup
To begin with C#, we need to set the Environment. A lot of open-source tools and software are available to run C# projects. We are preferring Microsoft Visual Studio Community version since it is open-source and flexible. It is easy to download and install. We will follow the below steps:
- Step 1: Download & Install Microsoft Visual Studio 2022
- Step 2: Setup C# Project in Visual Studio 2022
- Step 3: Run First C# Program on Visual Studio 2022
Download & Install Microsoft Visual Studio 2022
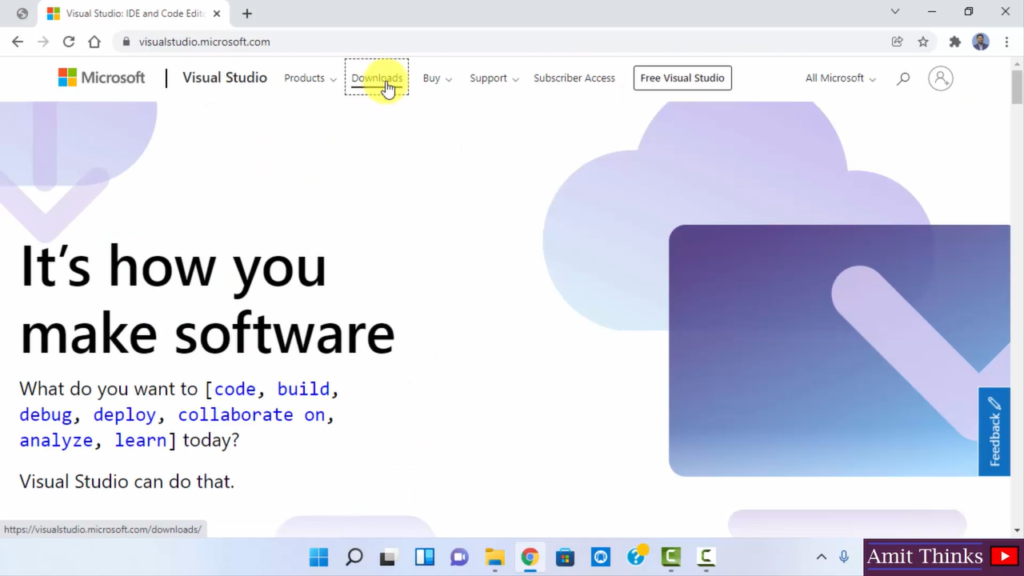
To download Visual Studio, go to the official website and click Downloads as shown below:
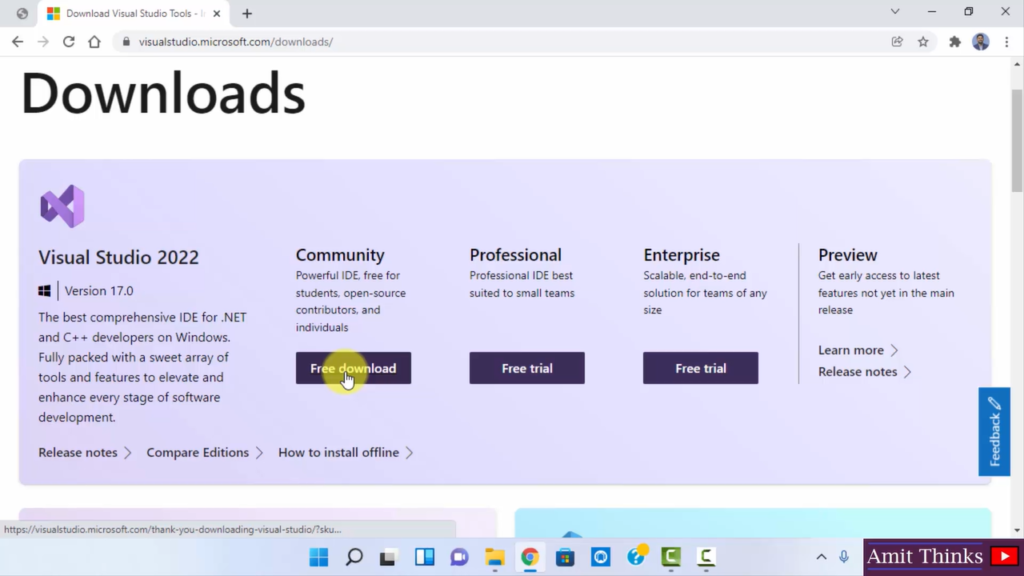
Now, the three versions of Microsoft Visual Studio are visible: Community, Profession, and Enterprise. We will click Free download on the free and open-source Community versions:
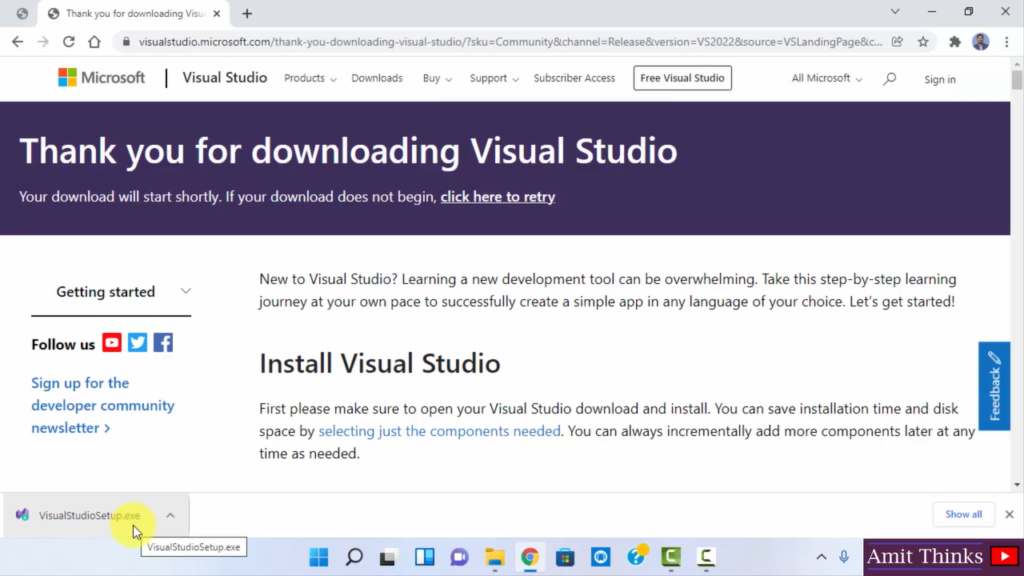
After clicking Free download above the Visual Studio Installer VisualStudioSetup.exe will download as shown below:
Double-click the VisualStudioSetup.exe file and the download begins as shown below
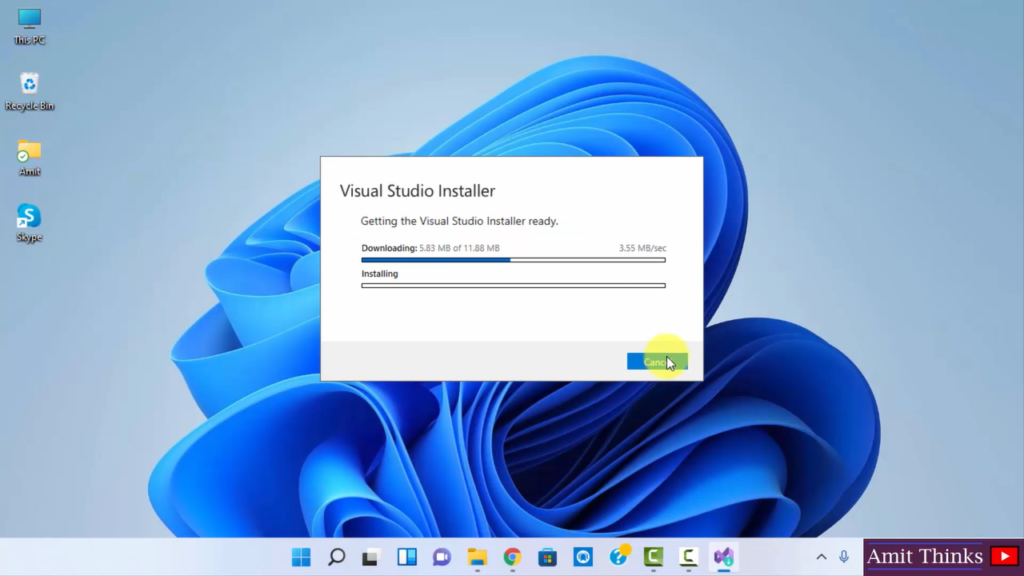
It completes successfully:
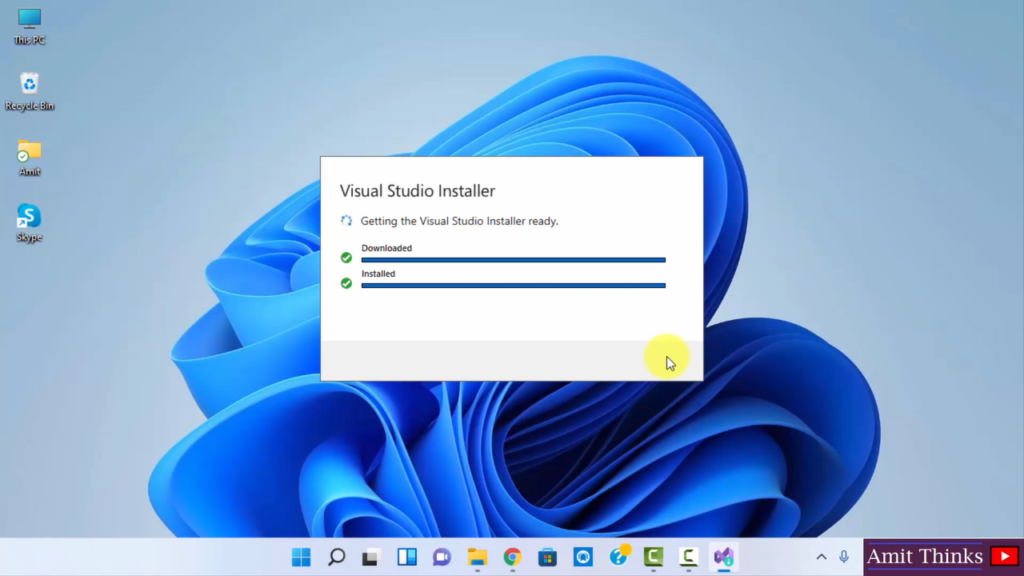
The above will automatically open Visual Studio 2022 for the first time as shown below:
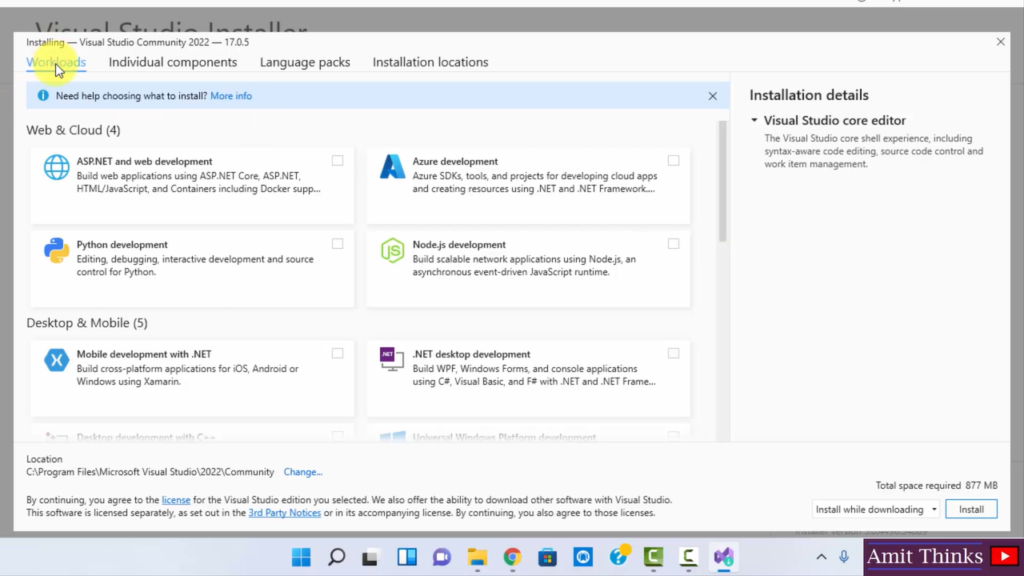
Setup C# on Visual Studio 2022
Reach the Workloads section and go to Desktop & Mobile. From there, select .NET desktop development.
On selecting, the right section displays the installation details:
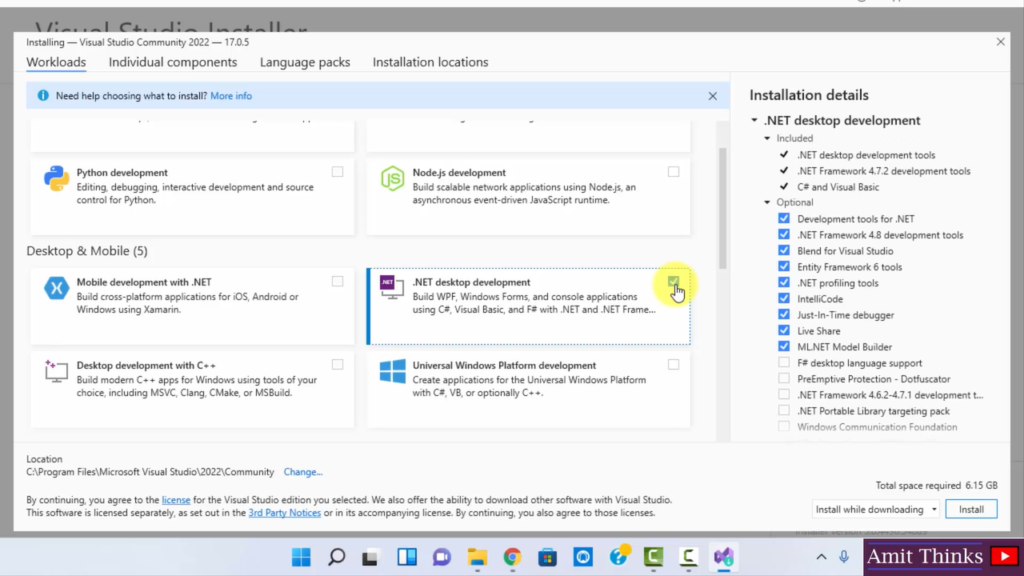
It also displays that Visual Studio will get installed in the following location:
|
1 2 3 |
C:\Program Files\Microsoft Visual Studio\2022\Community |
Click Install:
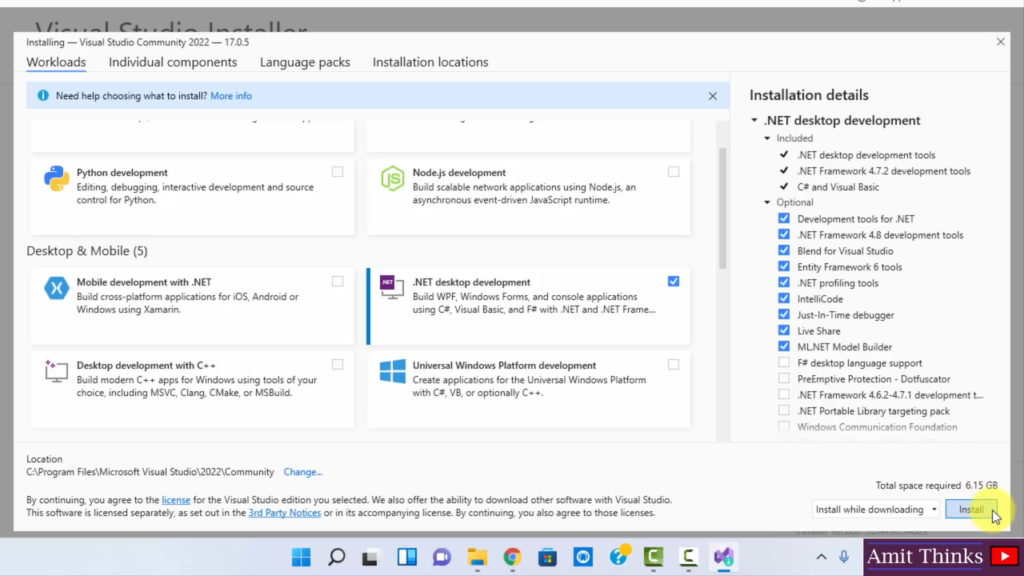
The final installation begins:
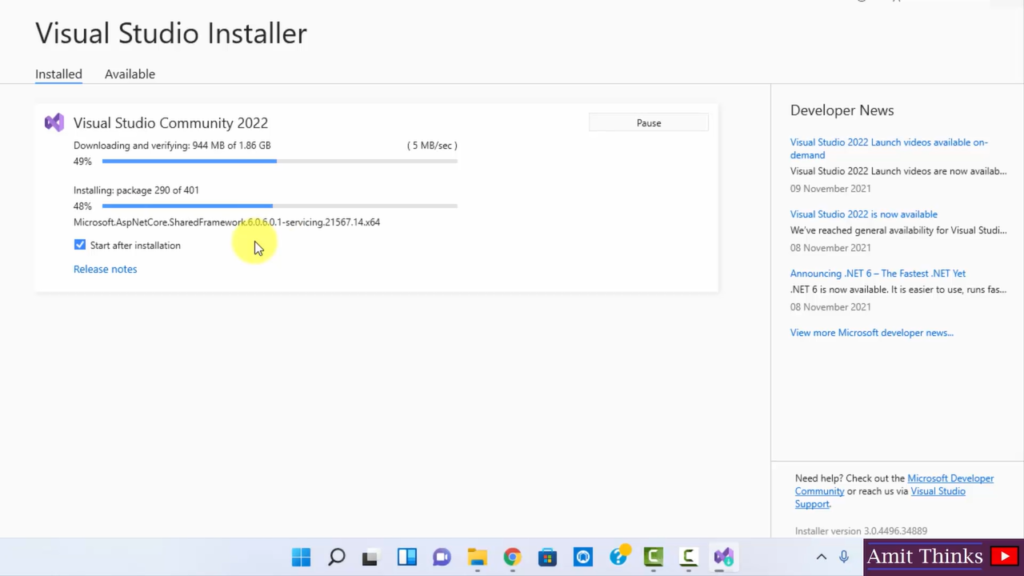
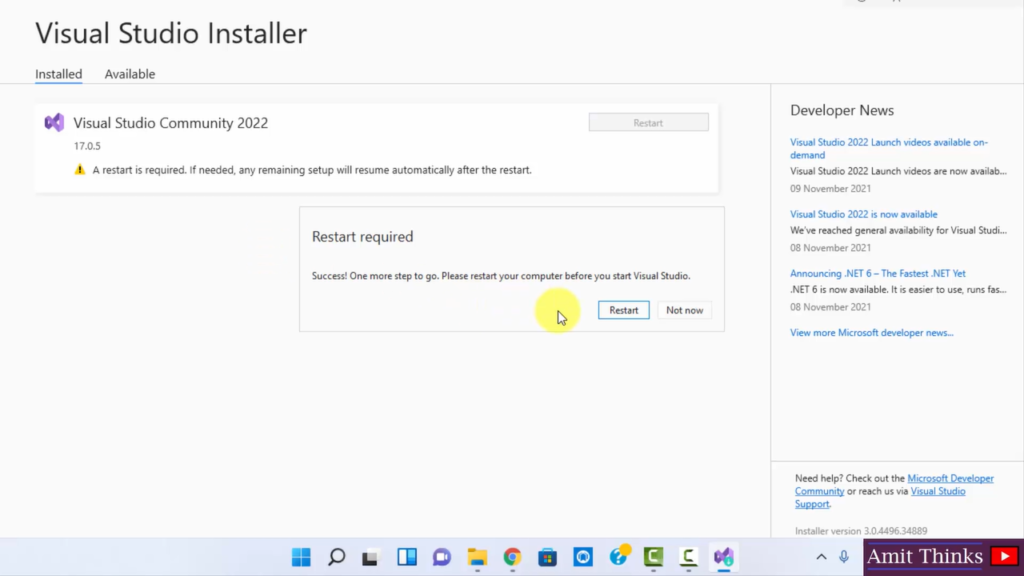
The installation completes. Restart is required as notified.
Click Restart to restart the computer:
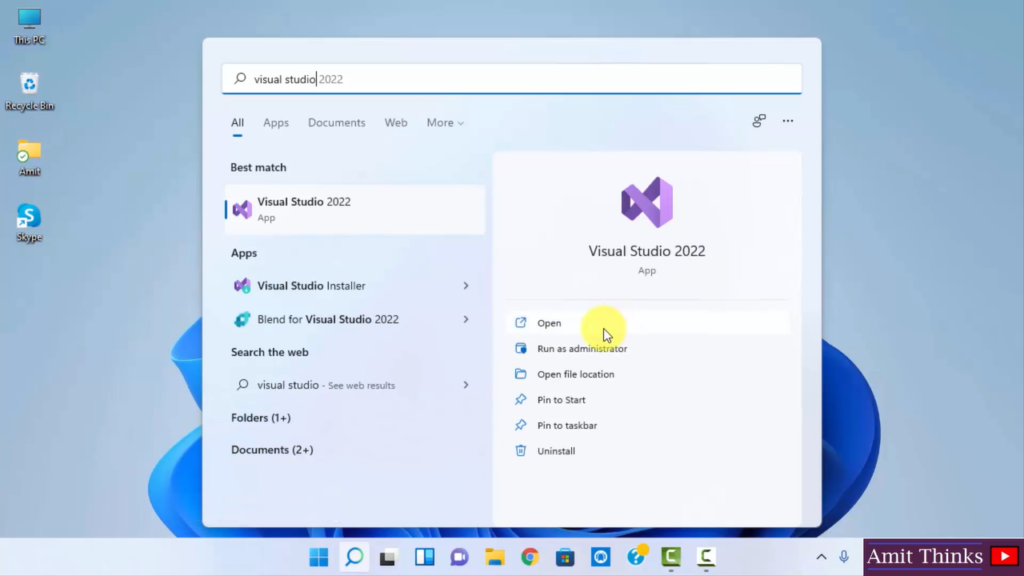
Now, go to START and type Visual Studio 2022, and click Open:
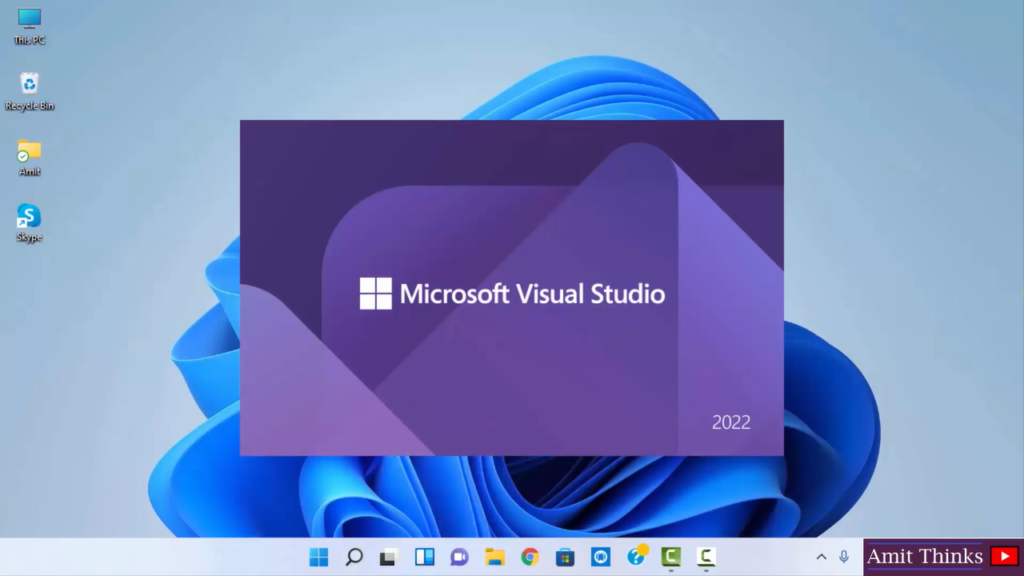
Visual Studio 2022 is opening:
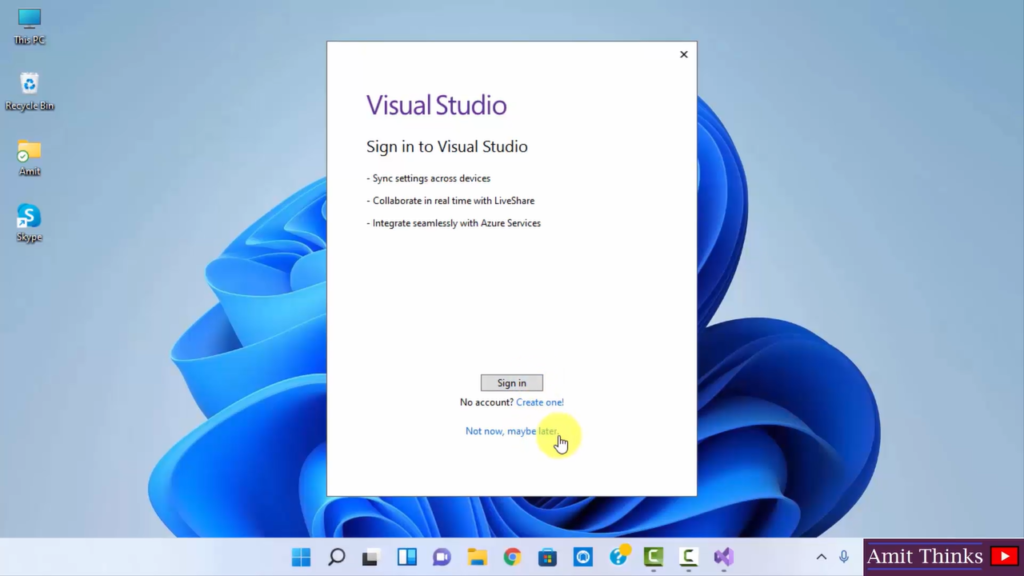
A Sign in section is visible. It isn’t required right now, therefore, click Not now, maybe later:
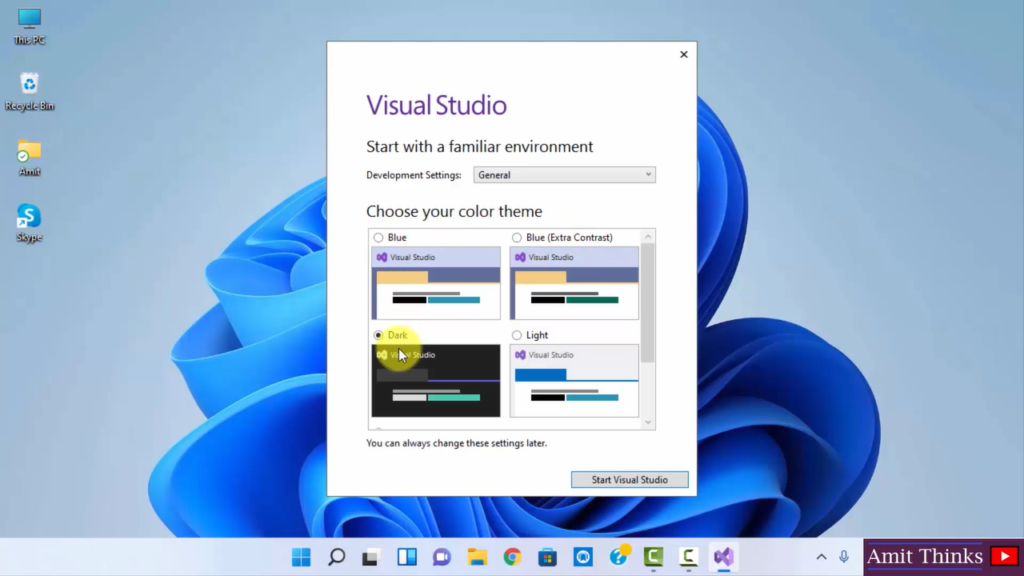
Select the theme. I have selected Dark.
Click Start Visual Studio:
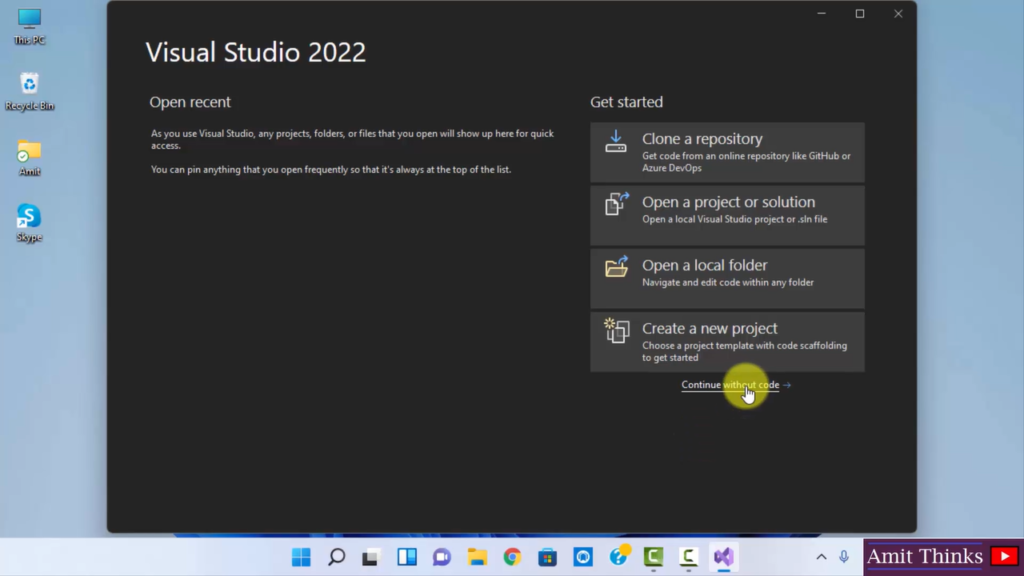
Visual Studio will open. Select Continue without code:
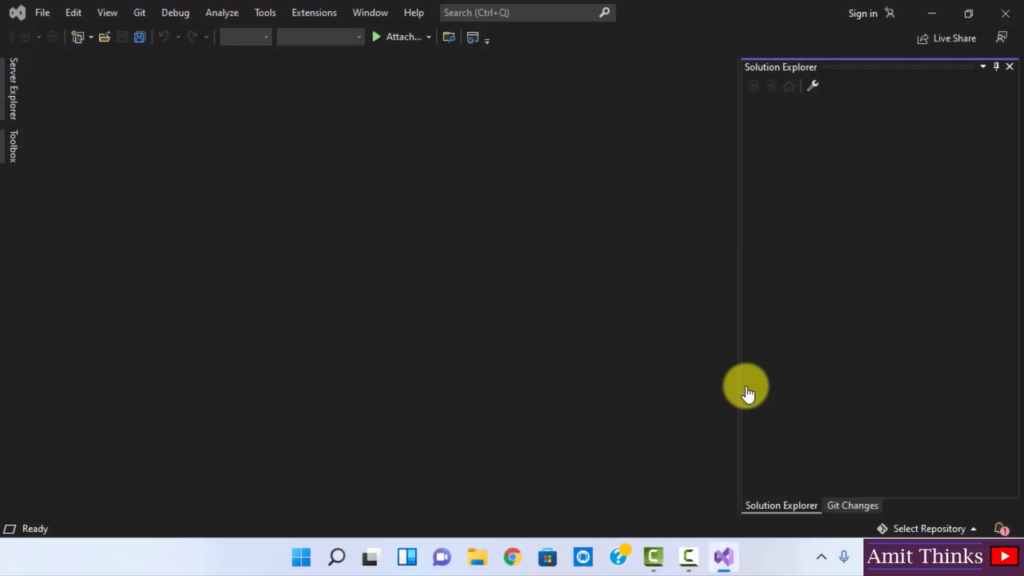
The above opens the IDE:
Create a C# project in Visual Studio
To create a C# project, Go to the File menu, then New, and click Project:
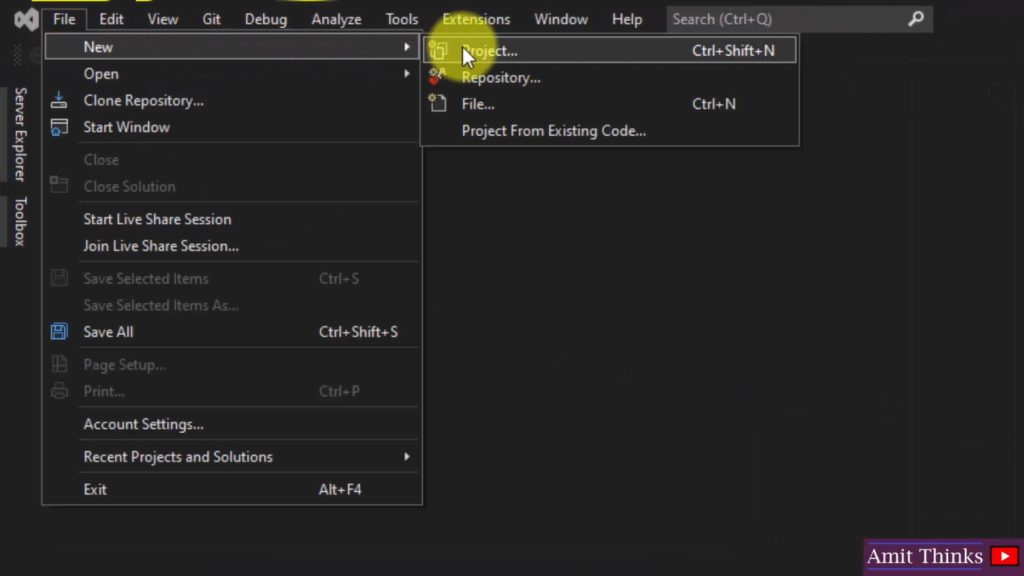
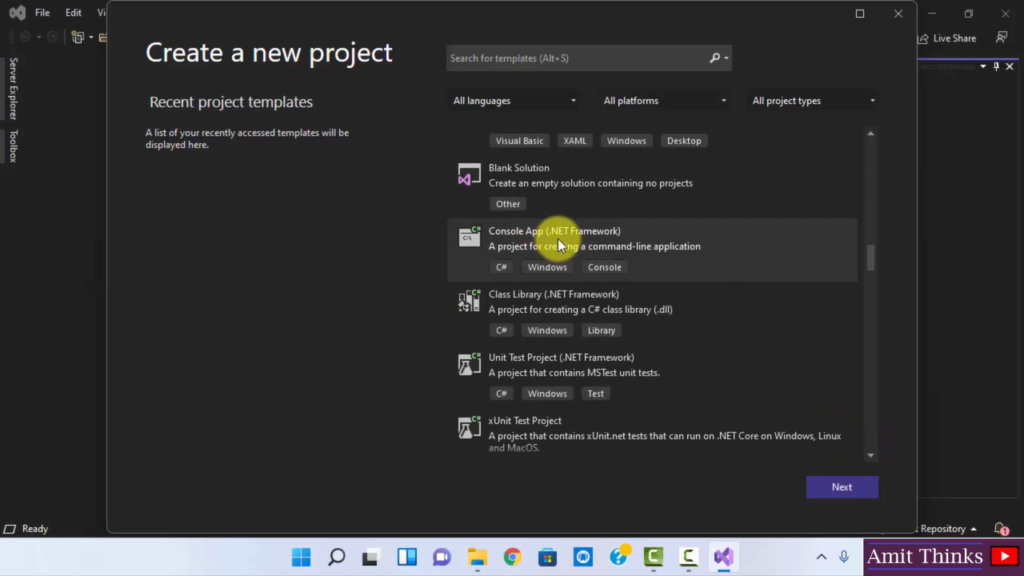
Now, select Console App (.NET Framework) and click Next:
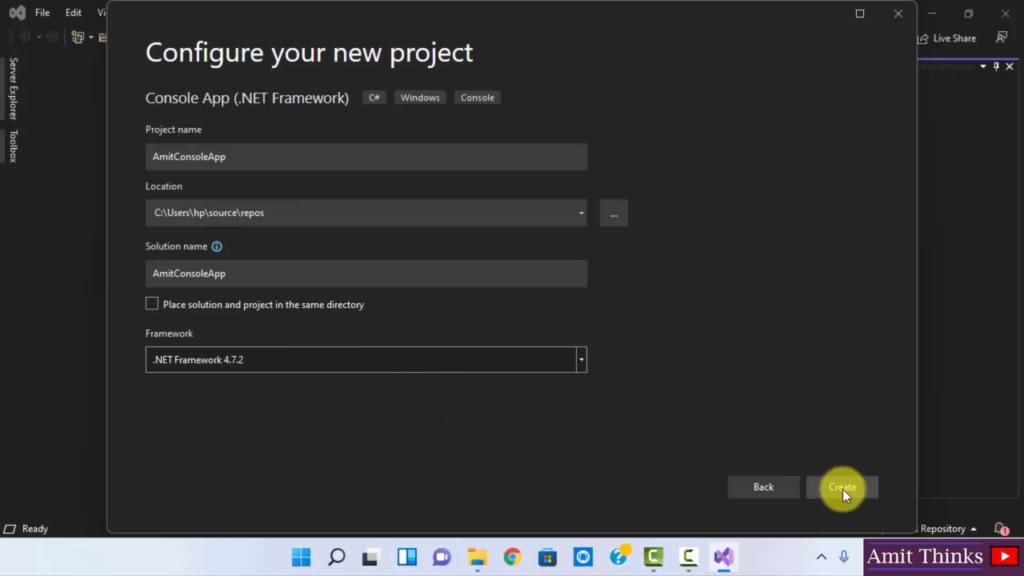
Now, Configure your new project, add the project name AmitConsoleApp and click Create:
It opens the code editor:
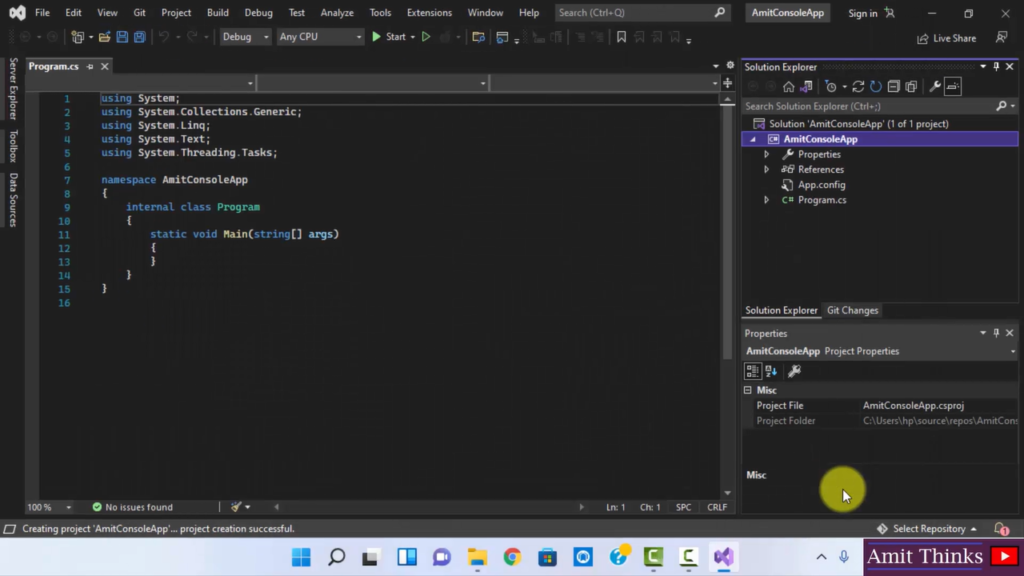
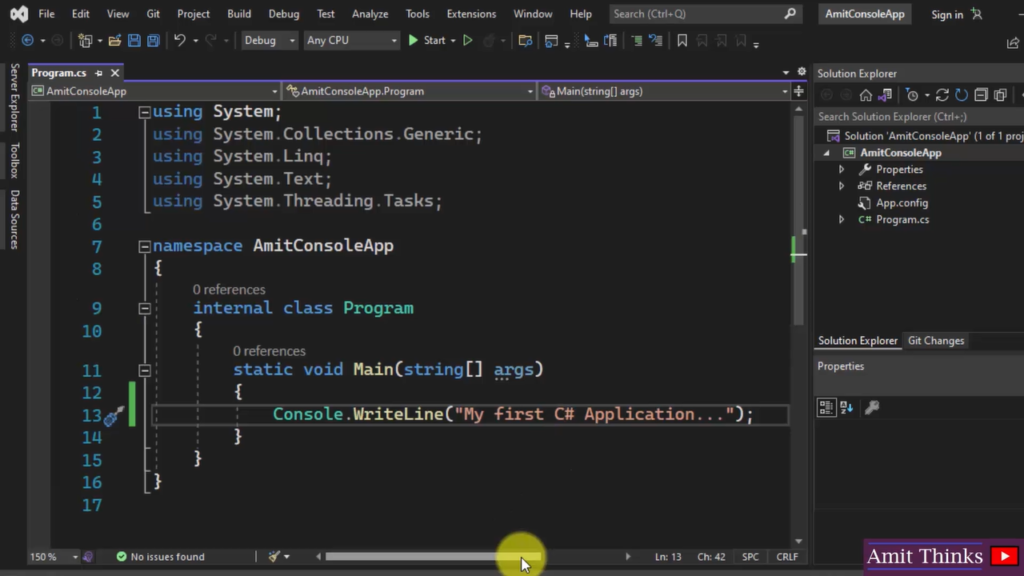
Add the following code:
|
1 2 3 4 5 6 7 8 9 10 11 12 13 14 15 16 17 18 |
using System; using System.Collections.Generic; using System.Linq; using System.Text; using System.Threading.Tasks; namespace AmitConsoleApp { internal class Program { static void Main(string[] args) { Console.WriteLine("My first C# Application...") } } } |
The code gets added and it will be visible like the following:
Click on the Run button, visible on the right of Start above. On clicking, the code runs successfully as shown below:
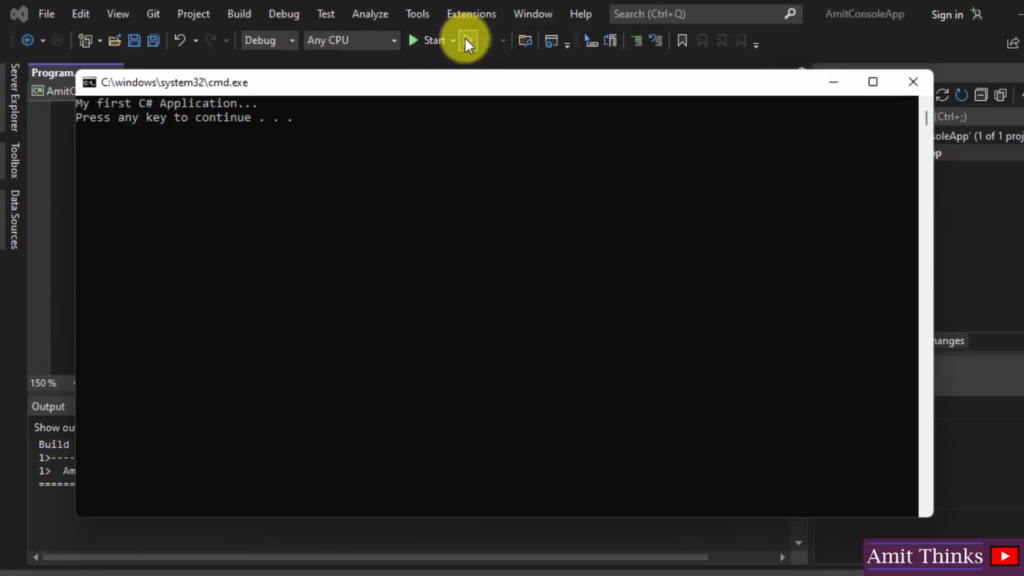
This installs and setup C# on Microsoft Visual Studio 2022.
Now let us understand our first C# program.


No Comments