18 Oct How to Install OpenCart on localhost
OpenCart installation on localhost is quite easy. If you’re beginning with a store/website development using CMS, then I would suggest you to begin with installation on localhost. It has some simple steps, which are shown below. First, we will learn about the software requirements to install OpenCart for online store development, then we will see how to install OpenCart.
What you need for Installation
Here, we will learn how to install OpenCart. For installation, we need XAMPP, an open source cross-platform web server solution stack package. XAMPP, developed by Apache Friends, provides a server i.e. Apache, and database i.e. MariaDB (formally MySQL), and PHP.
For starting working on OpenCart, you need the following software/ tools on localhost:
- OpenCart: A free Ecommerce solution, to start creating online cart.
- XAMPP: It is a cross platform open source web solution package, that fulfils your need of,
- Web Server
- MySQL
- PHP
Installing OpenCart on localhost
We’re learning OpenCart installation from scratch, so first we need to install it on localhost. Here are the steps,
Step 1– Go to the XAMPP official website and download XAMPP,
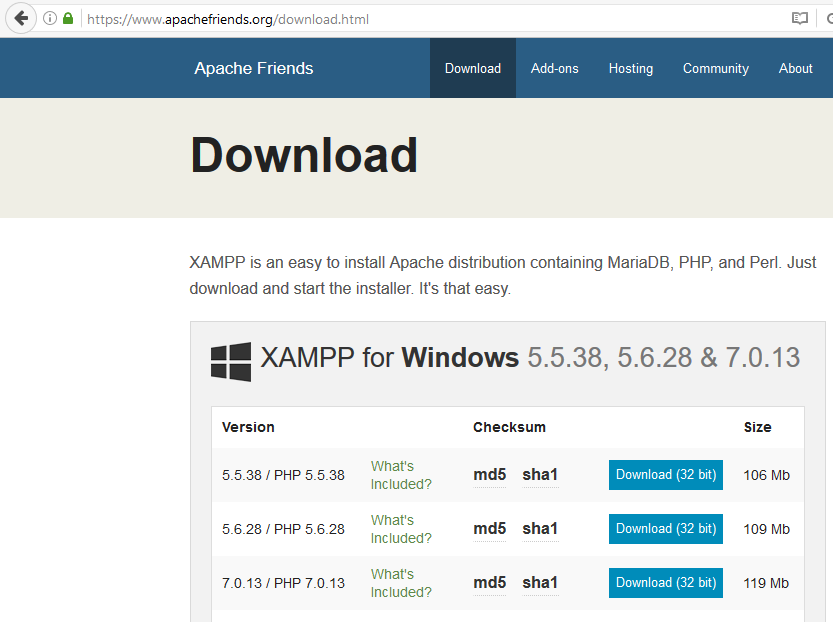
Step 2– Install XAMPP at any location.
We’re installing in C: Drive as shown below,
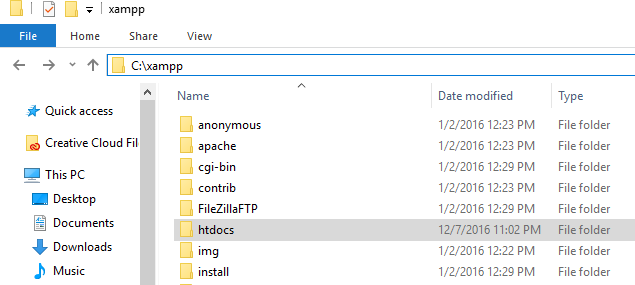
Step 3– Create a project folder in the following htdocs directory, C:\xampp\htdocs\.
We created a folder Studyopedia,

We’re done with installation of XAMPP.
Now, we will learn how to download and install OpenCart.
Download and Install OpenCart
To start installation, first download OpenCart.
Step: Go to the following link and download OpenCart 2.3.0.2,
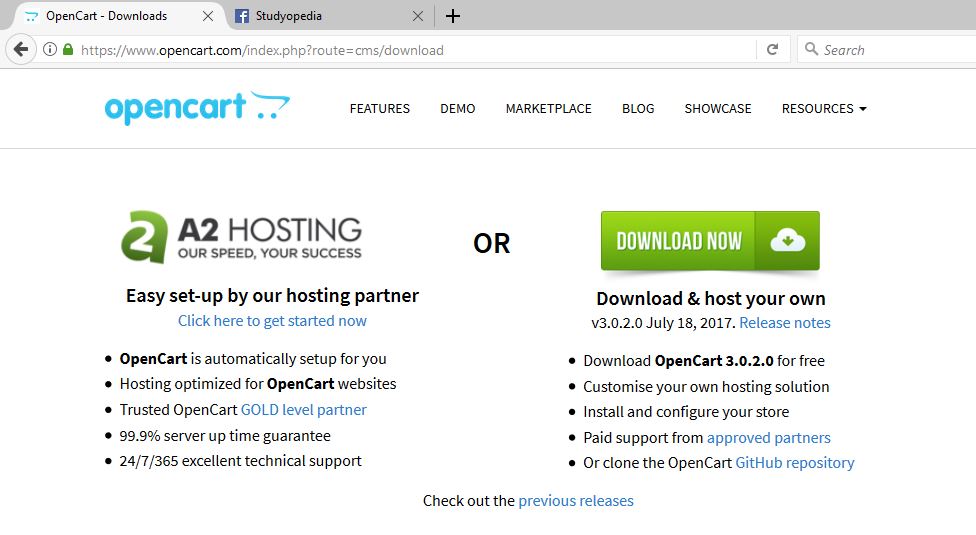
After clicking Download Now above, the OpenCart download starts.
Step: After downloading 3.0.2.0-OpenCart.zip, unzip OpenCart under the new project folder created at,
|
1 2 3 |
C:/xampp/htdocs |
We created a project folder with the name, Studyopedia, under xampp/htdocs,
Remember, only the contents of the upload folder is to be placed and you can remove the upload folder directory and past its content under your new project folder. This will make the following location of your open cart files,
|
1 2 3 |
C:/xampp/htdocs/studyopedia |
Here are the files under studyopedia directory,
Create Database for OpenCart Store
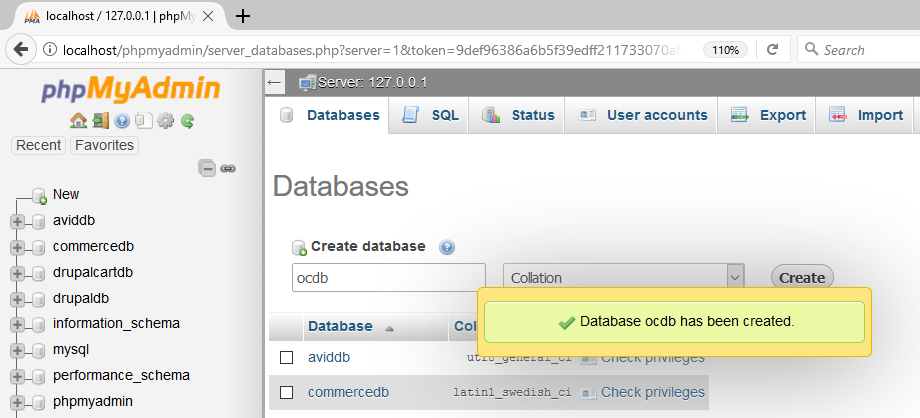
Step: Also, create a new database in localhost/phpmyadmin. We created a new one with name ocdb,
OpenCart Installation Starts
Now, go to a web browser and click http://localhost/studyopedia/, then press enter.
Now you can see the following license agreement,
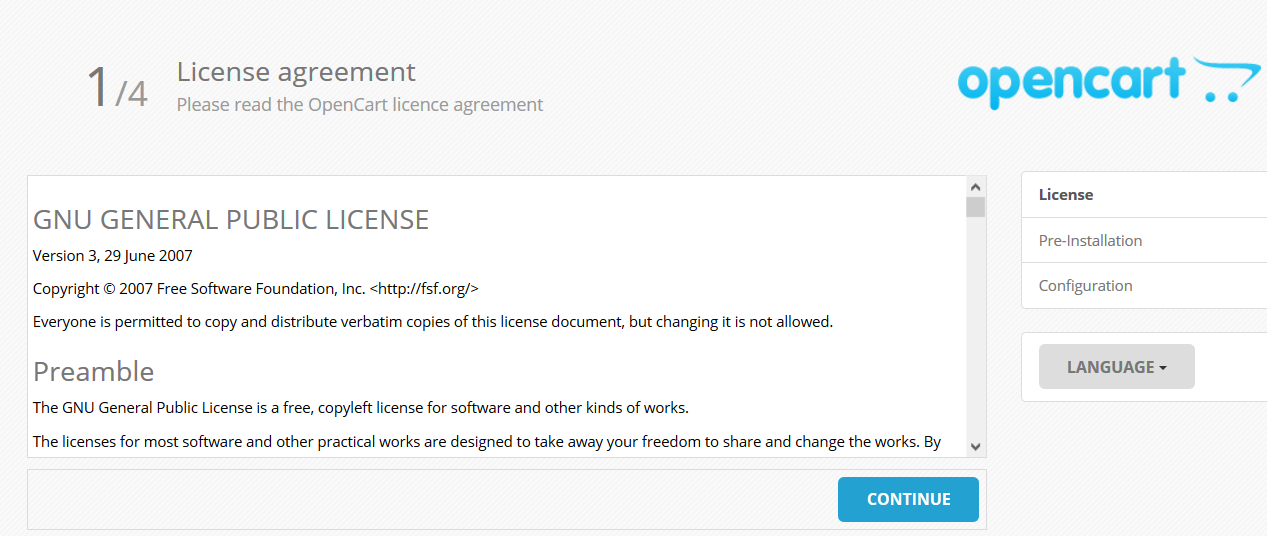
Read the above, and then click Continue,
Step: Now, the second step is visible. If you receive the following error,
|
1 2 3 4 |
Warning: admin/config.php does not exist. You need to rename admin/config-dist.php to admin/config.php! |

You may also get this error,
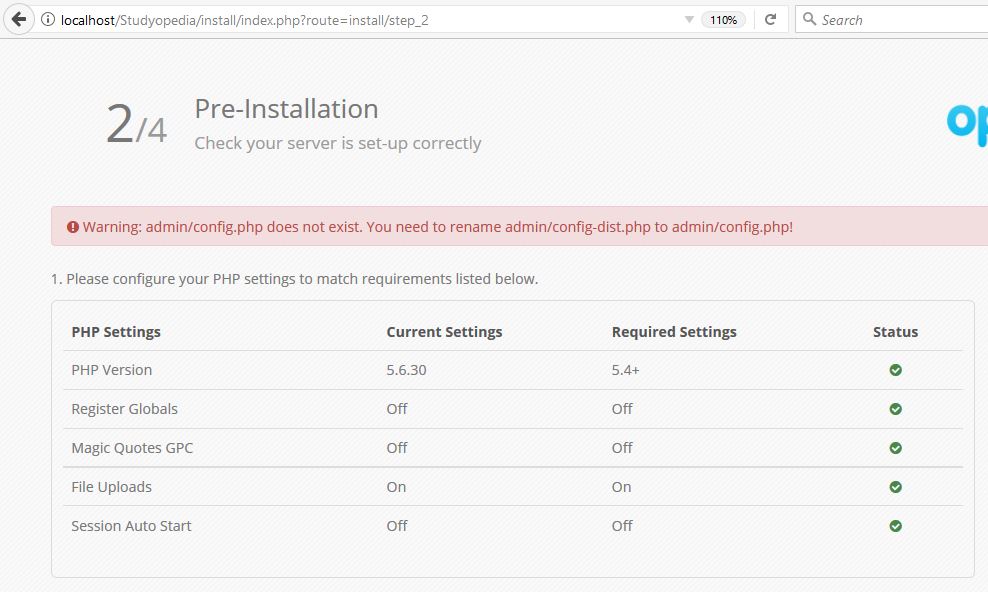
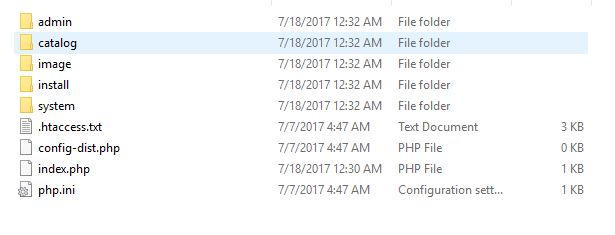
Then change the file names to config.php at,
xampp\htdocs\studyopedia\admin\config-dist.php and xampp\htdocs\studyopedia\config-dist.php,
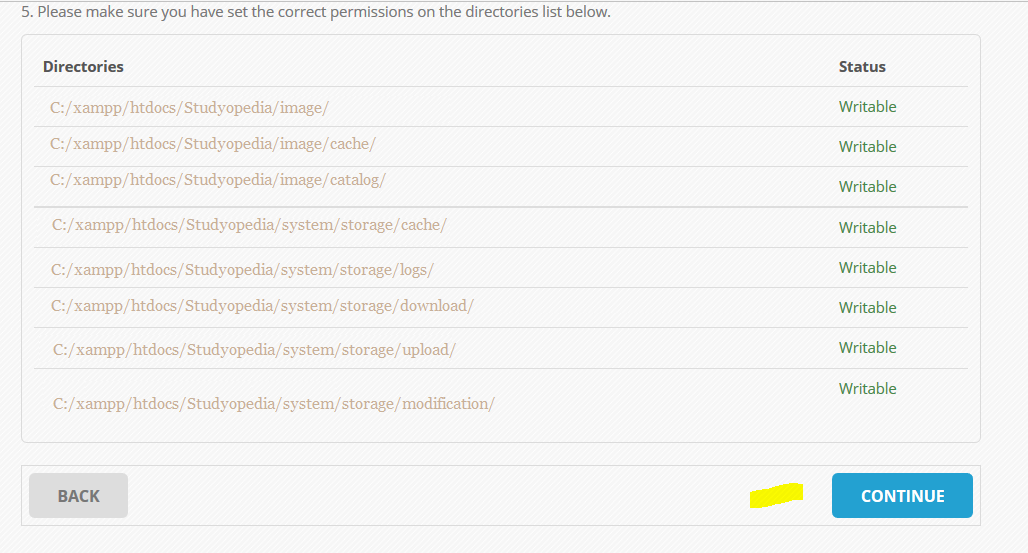
After doing the changes click CONTINUE,
Step: Now, the configuration options are visible, where you need to add the database and administration details,
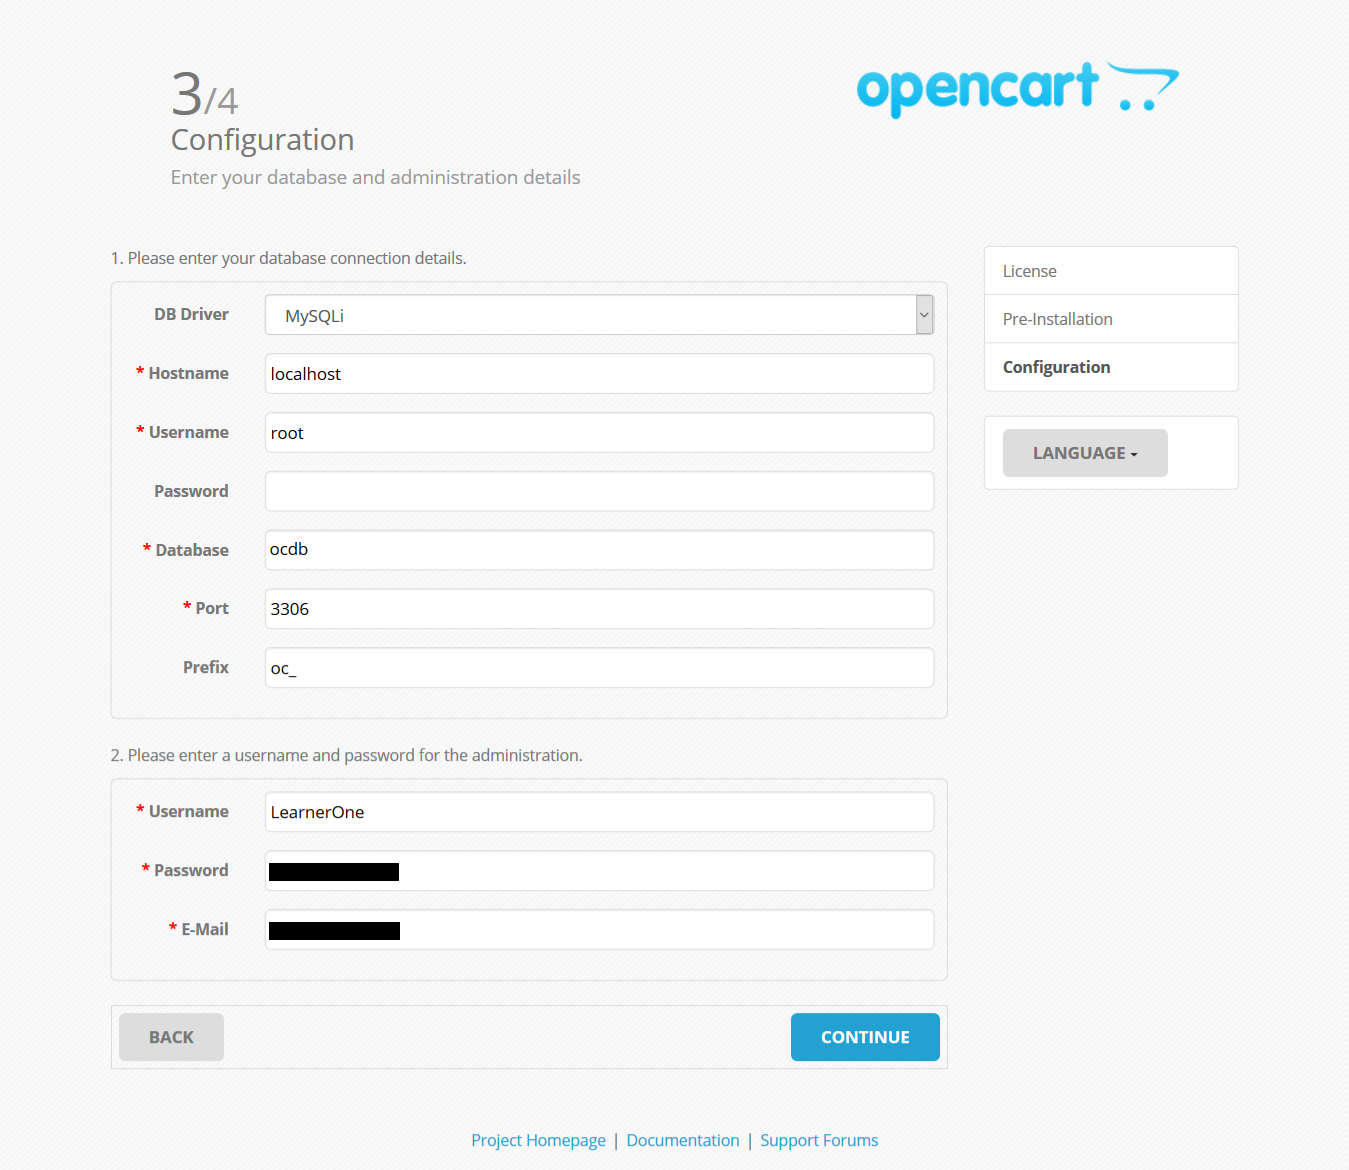
Here are details added above,
| Field | Value | Description |
|---|---|---|
| Database Connection Details | ||
| DB Driver | MySQLi | Database Driver |
| Hostname | localhost | Host name |
| Username | root | Username for database |
| Password | Password for database | |
| Database | ocdb | Database name |
| Port | 3306 | Port Number |
| Prefix | oc_ | Table Prefix |
| Administration Details | ||
| Username | LearnerOne | Admin Username |
| Password | (Enter password here) | Admin Password |
| (Enter email here) | Admin Email-id |
Step: OpenCart Installed successfully
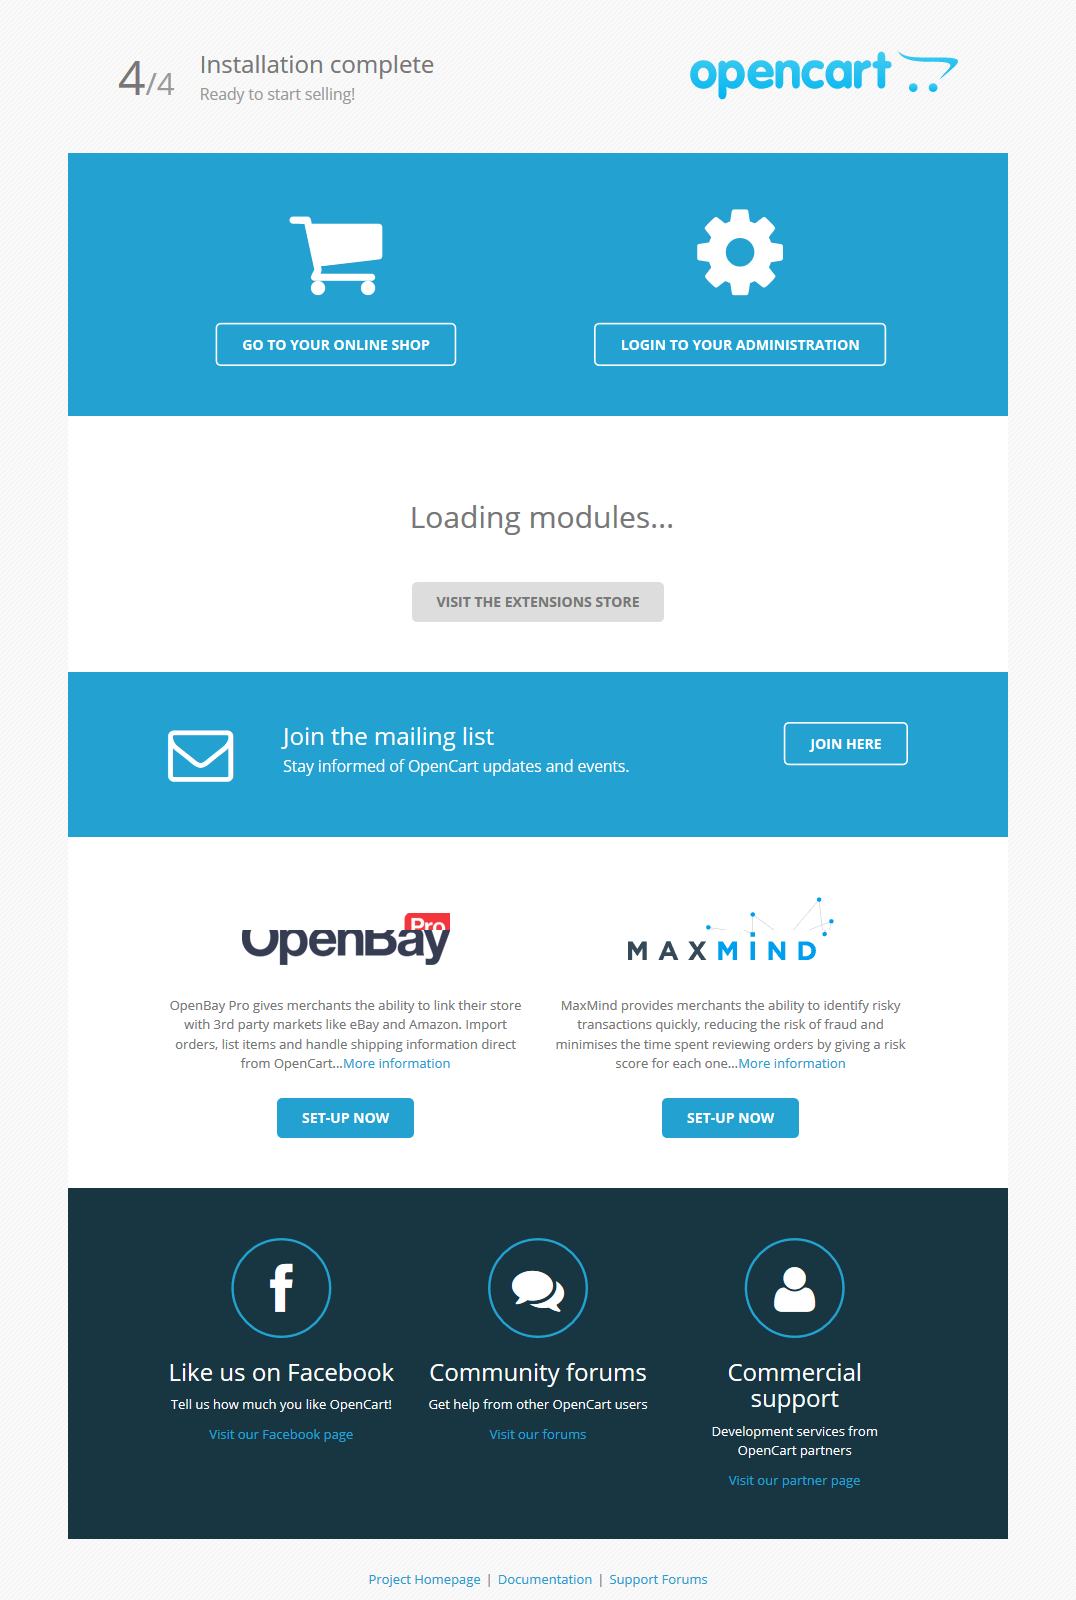
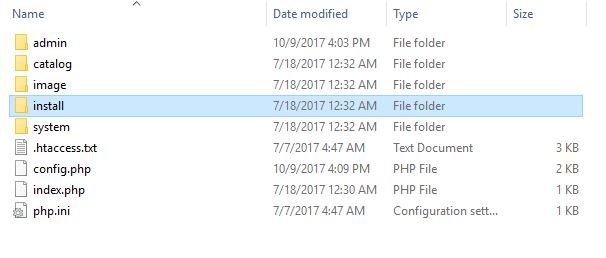
As mentioned above, delete the install directory,
In this lesson we learned how to install OpenCart on localhost on Windows. In the next lesson we will learn how to visit OpenCart store for the first time.


Andy
Posted at 20:50h, 11 JuneReally good and extremely useful tutorial
Puru
Posted at 00:51h, 02 Julythe configuration taking too much time and the config file is empty
t
Posted at 00:10h, 13 Maythank you!